


Using Plugins
Plugins can be used to enhance or transform the sound of individual Tracks via a Track Plugin, or groups of Track via a Send. Later in this FLOSS Manual, we will discuss some Plugins specific to the Mixing process, such as Compressors, Limiters, Parametric Equalizers, Reverbs and others.
Plugin Formats
LADSPA (Linux Audio Developers Simple Plugin API)
LADSPA Plugins are the "native" Plugin format for Ardour. They were initially developed for Linux, but since have been ported to OS X as well.
LV2
LV2 is a simple but extensible successor of LADSPA, which can be used to display sound characteristics in a graphical manner. LV2 Plugins can be used on OS X and Linux.
AU (Audio Unit)
AU Plugins are the "native" Plugin format for OS X. They will only work in Ardour if you have made a donation when you downloaded the program. See the Installing OS X chapter for details. AU Plugins will not work on Linux at all.
VST (Virtual Studio Technology)
VST Plugins are a Plugin format common to Microsoft Windows. Some VST Plugins can be used on Linux, however they may not function correctly, or even cause Ardour to crash. Using these Plugins requires manually Compiling the Ardour application, a task which is outside the scope of this manual.
More information about using LADSPA, LV2 and VST plugins with Ardour, you can find here: http://ardour.org/plugins
Pre-Fader vs Post-Fader
You have a choice whether you would like to add your Plugin to the Pre-Fader Plugin Region or the Post-Fader Plugin Region. The black region at the top of the far-left Mixer Strip functions as Pre-Fader, and the black area at the bottom of the Mixer Strip is used as Post-Fader. Pre-Fader Plugins are inserted in the signal path before the Fader, so that the Fader controls the level of the signal coming out of the Plugin. Post-Fader Plugins are inserted after the Fader: the Fader controls the level of the signal going into the Plugin. For some Plugins, Pre- or Post-fader placement does not matter. For others, the difference is subtle. For others still, inserting them in the right place is absolutely essential.
Adding a Plugin to a Track or Bus
Select the Track or Bus to which you want to add the Plugin.
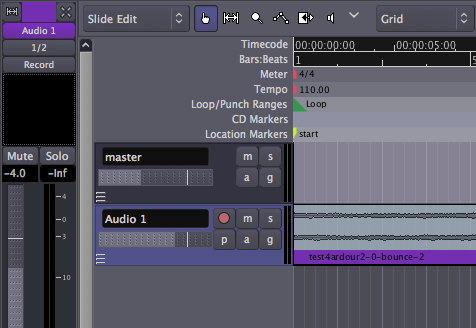
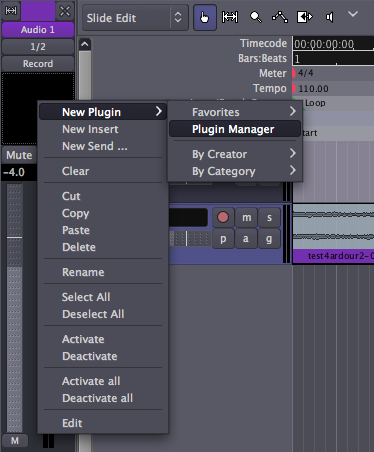
Right-click in the area you want to use, and click New Plugin > Plugin Manager to open the Plugin Window (you can also access the Plugin window by double-clicking in the black region).
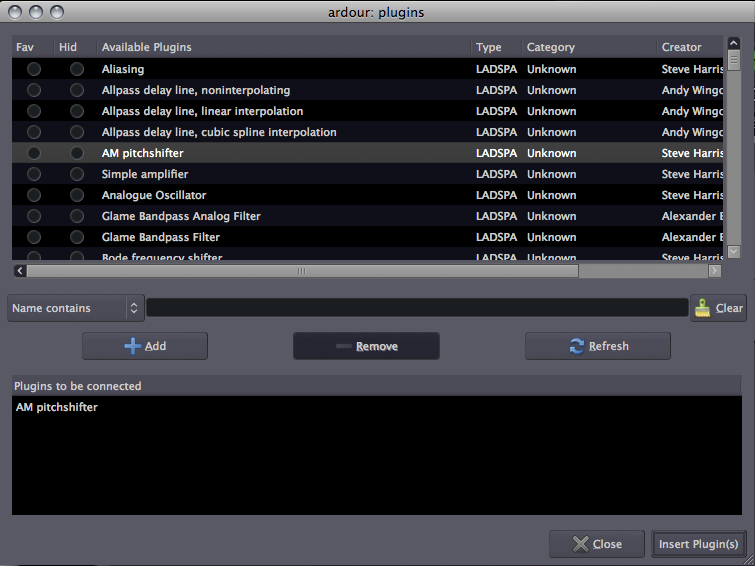
All available Plugins are listed at the top of the Plugin Window. Choose one by double-clicking it, or select it and press the Add button. The selected Plugin is listed in the black region at the bottom of the Plugin window. Select all the Plugins you want to add.
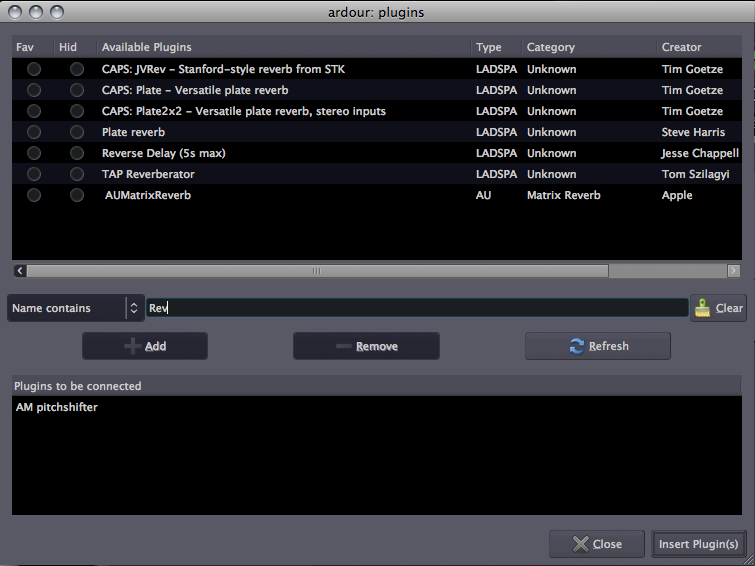
You can search for a Plugin by typing in the name or type of effect wanted. In this example, we look for a Reverb effect.
Insert the Plugins in the track by pressing the Insert Plugin(s) button. The Plugins are listed in the black area above the Mixer Strip.

Editing and Saving Plugin Parameters
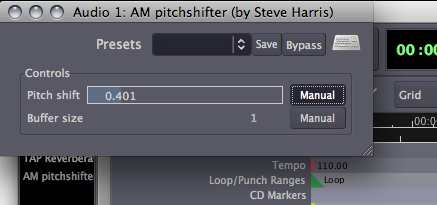
Double-click a Plugin to edit its parameters. In this example, we change the pitch shift or the buffer size.
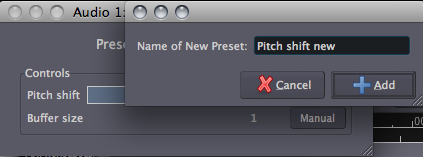
Click the Save button to save the preset under a new name.
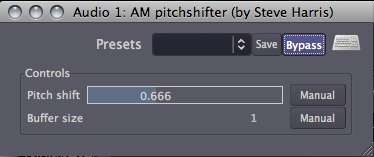
Bypassing Plugins
To bypass the Plugin, press the Bypass button. This turns the Plugin off and allows the signal to pass by it unaffected.
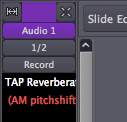
Bypassed Plugins are shown with parenthesis on the Mixer Strip.
Right-Clicking the Plugins will give a menu with the option to Activate and Deactivate them.

Continuing
In this chapter, we learned how to add a Plugin to a single Track. This is useful if that Track needs a specific Plugin, but if you have a Plugin which is used for many Tracks at the same time, you should continue to the next chapter about Using Sends. You can also continue to the various, Plugin-specific chapters such as Dynamics and Equalizing.