


Connecting a MobiGater
- Ensure that the MobiGater is not connected to a power supply and is also not connected via USB to the computer. The computer that Freedom Fone has been installed on must also be switched off.
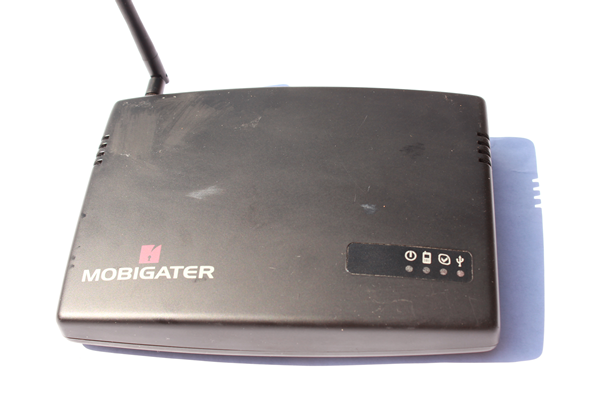
- Insert the SIM card into the bay inside the MobiGater.

- Make a note of the MobiGater IMEI and the telephone number of the SIM that has been inserted into it.
- Connect the MobiGater to the power supply
- Attach the MobiGater to the computer via the USB cable.
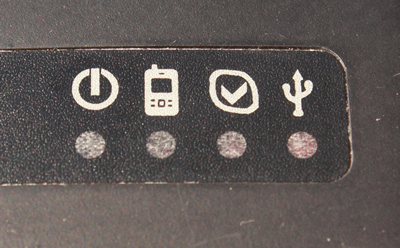
- If all is correct, the LEDs on the MobiGater will light up as follows: the LEDs under the power and USB icons will both light up red. The LED under the mobile phone icon will flicker red roughly every four seconds, as the SIM card polls the nearest mobile network tower.
- Turn on the computer
- If the Freedom Fone user interface is not already open, double click the Freedom Fone shortcut on the Desktop. Select Dashboard > GSM channels from the main Freedom Fone menu. The MobiGater you’ve just connected should be displayed. You may need to click the Refresh button a number of times to see this.
We have a known problem with some computer motherboards with regards to connecting multiple MobiGaters. Connecting multiple MobiGaters on some motherboards may result in concurrent voice calls interfering with each other.
See the Troubleshooting section if you are having difficulty connecting MobiGaters.
Modifying default settings
By default the MobiGater is configured to connect calls to the Voice menu with service number 4100. To direct your calls to another Voice menu, or to a Leave-a-Message IVR (LAM IVR) you will need to edit the /usr/local/freedomfone/xml_curl/dialplan.xml file.
For 2.0 users
gedit /usr/local/freedomfone/xml_curl/dialplan.xml
For 2.S users
gedit /opt/freedomfone/xml_curl/dialplan.xml
Look for this code snippet:
      <extension name="inbound_Mobigater1">
          <condition field="destination_number" expression="^5000$">
            <action application="transfer" data="4100 XML default"/>
          </condition>
      </extension>
      <extension name="inbound_Mobigater2">
          <condition field="destination_number" expression="^5001$">
            <action application="transfer" data="4100 XML default"/>
          </condition>
      </extension>
      <extension name="inbound_Mobigater3">
          <condition field="destination_number" expression="^5002$">
            <action application="transfer" data="2100 XML default"/>
          </condition>
      </extension>
You can see that the default values are 5000->4100, 5001->4100, 5002->2100. In version 2.0, this file will be created via the GUI once we implement ACL with the system.