


Somebody Should Set The Title For This Chapter!
Preparing Pduino
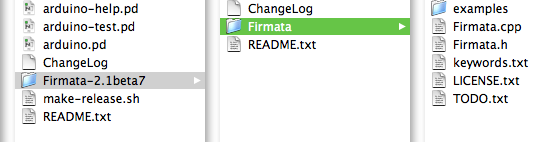
• download the Pduino...zip-file from here http://at.or.at/hans/pd/objects.html#pduino inside you will find pd-files (You will need them later!) and the maching Firmata-firmware-library for your arduino.app.
• update Firmata-library in your Arduino installation: you have to replace the old Firmata-folder with the new one. You should do this, to make sure, that the [arduino]-object and version of Firmata-library is matching. It is located here on Mac OS X:
... /Applications/Arduino.app/Contents/Recources/Java/libraries
1. delete the existing 'Firmata' library in the above location
2. move the included "Firmata" folder into your Arduino installation. (Do not
move the whole "Firmata-xx.xx" folder, just the included "Firmata" folder.)
For Linux replace the files in <path to arduino>/examples
• connect Arduino board and lauch Arduino application
• now setup your board:
select your Arduino board type 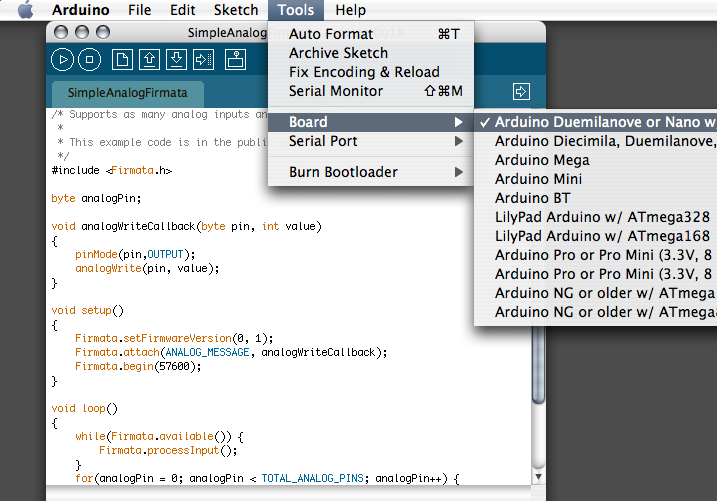 (...)
(...)
and your serial port
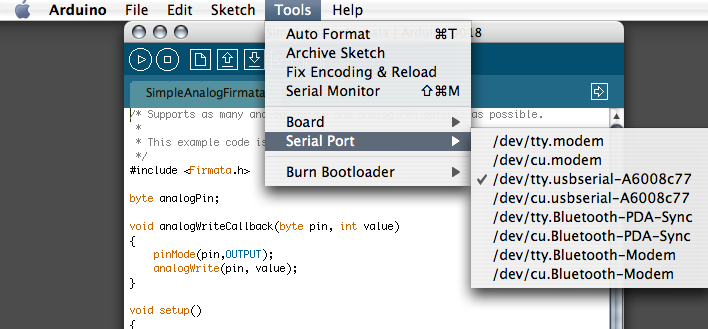
Here you can see if the usb-driver is correctly installed. If the usb-port /tty.usbserial... does not appear in the list you have to install the driver again.
After setting up the board and serial port, in the tool bar click the " ![]() Verify button "
Verify button "
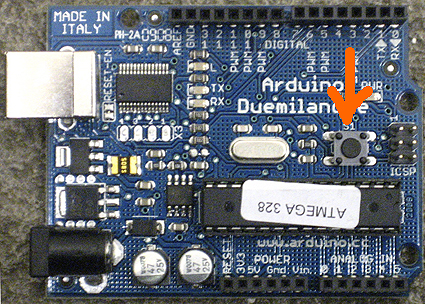
• in order to upload firmware, first press the reset switch button on your Arduino board, which is located closer to the main Atmel AVR ATmega chip on your board. The location of the reset switch on the board might vary based the type of the Arduino board.
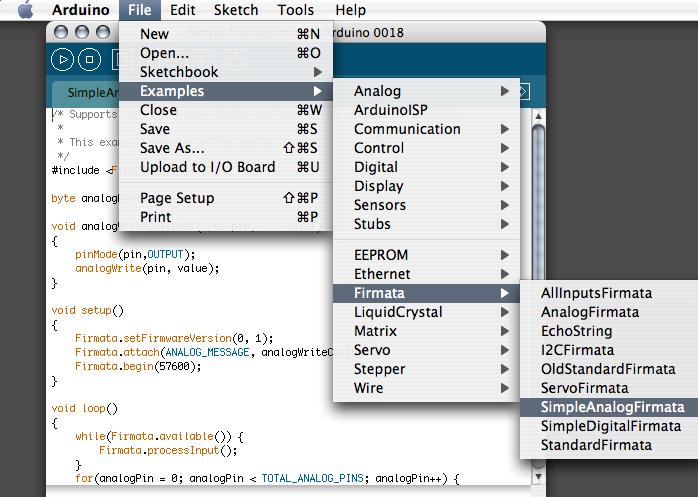
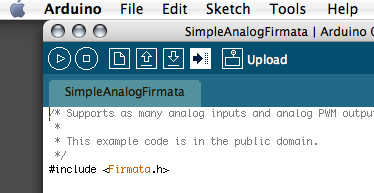
• now open menu >File >Examples >Firmata >SimpleAnalogFirmata and the Fimata will be opened in your Arduino application.
In this chapter we will introduce analog sensor examples; therefore we will upload SimpleAnalogFirmata to the board. For other types of sensors, such as any digital sensor or servo motor sensor, you need to choose the related Firmata based on your sensor type.
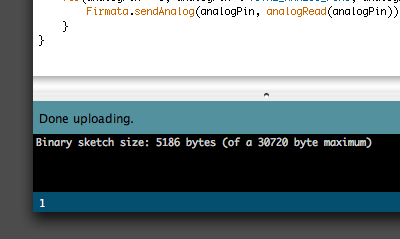
• press the upload-button in Arduino.app
if it is finished you can see this at the bottom of the Arduino-window:
• now you can close Arduino application
Installing Pduino-objects
• move the 3 pd-files, so called "pduino-objects", to Your pd-patches-folder
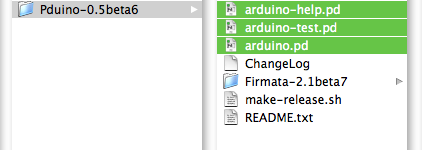
or create a new folder:
Lauch Pure Data
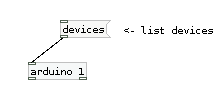
In Pure Data [arduino] object will set the connection with the firmata that you just uploaded to your Arduino board. When you create an [arduino] object in your patch, all the abstractions that are required for Pduino library will be loaded as well. The inlet of this object lets us to send messages to start serial port communication between the computer and Pd. Since there are more than one serial port in a computer, first we have to figure out the number of the serial port that the Arduino board is connected. Simply by sending a [devices( message to the [arduino] object, you can get the list of devices connected to your computer on the main Pd window.
Once you are sure that you have connected your Arduino board to the computer, click the [devices( message box and you get similar type of information in the main Pd window as below.
[comport]: available serial ports :
4 /dev/ttyUSB0
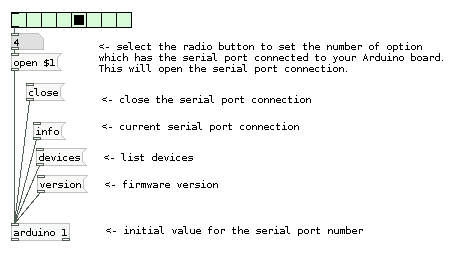
In this case, Arduino board is connected on the port /dev/ttyUSB0 and its port number is 4. Therefore, in order to start Arduino - Pd communication, related to the above example, you send [open 4( message to the [arduino] object.
Main Pd window will display similar type of below information if the serial connection is opened successfully.
get_baud_ratebits: 115200.000000
set_baudrate baudbits: 4098
[comport] opened serial line device 4 (/dev/ttyUSB0)
Once you open the serial port connection, you can immediately receive data from your Arduino board. First you need to enable sensor data to pass through [arduino] object and later separate the sensor data types. In this below example, we focus on analog input sensors; therefore [route] object only enables analog sensor type. The later [route] object separates the analog input data so that you can receive each sensor data in a separate number box.
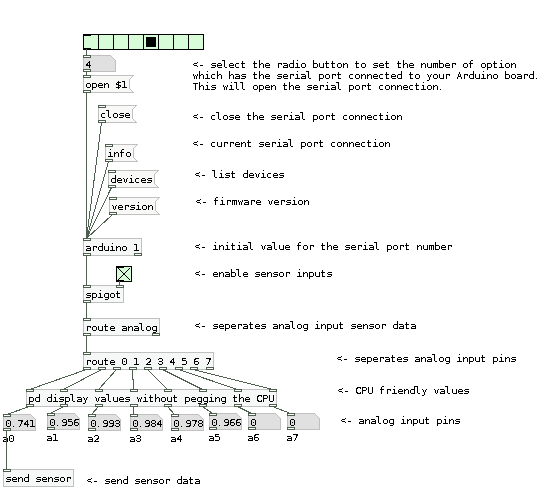
Even though there is not any sensor connected to the Arduino analog pins yet, when you enable the data to flow through [arduino] object, analog input pins number boxes in above patch receive flow of numbers. These are simply noise data that the empty pins on Arduino board generates.