


Status.net
There is a useful plugin which allows you to cross post from a Wordpress blog to Status.net interfaces. This Plugin is currently only available for the hosted Wordpress set up.
To quote from the maintainers description;
Every time you make a new blog post this plugin will post a status update to the Status.net servers, facebook, Ping.fm, Google Buzz and Twitter accounts you have specified. You can set as many acounts on as many servers you like.
The Plugin is called WP-Status.net and has it's own page on the Wordpress.org site here - http://wordpress.org/extend/plugins/wp-statusnet/
For more information about how to install and enable plugins see help elsewhere in this manual.
Configuring WP-Status.net
Navigate to the Dashboard of your blog and click on the Settings link at the bottom of the left column menu. Then click on the link WP-Status.net that appears.

You'll then get a list of boxes which allow you to cross post your blog posts to a number of different services. There is also a help text to explain the process.
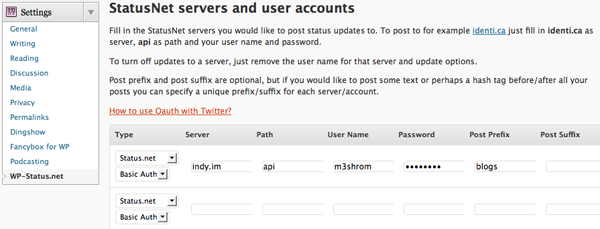
Fill in the StatusNet servers you would like to post status updates to. To post to for example identi.ca just fill in identi.ca as server, api as path and your user name and password.
To turn off updates to a server, just remove the user name for that server and update options.
Post prefix and post suffix are optional, but if you would like to post some text or perhaps a hash tag before/after all your posts you can specify a unique prefix/suffix for each server/account.
There is also a link to tell you how to link your blog with Twitter. This process is a bit more complicated as you have to apply to Twitter for a key.
How to use Oauth with Twitter?
1. Register a new application at dev.twitter.com/apps/new
* Application Type must be set to Browser
* The Callback URL should be the URL of your blog
* Default Access type MUST be set to Read & Write
2. Fill in the Consumer Key and Consumer Secret in the correct fields (will show up as soon as you select Server Type "Twitter" and "Oauth" in the server list (user name column))
3. Click on the link called "My Access Tokens" at http://dev.twitter.com (right menu)
4. Fill in your Access Token and the Access Token Secret in the correct fields (password column)
5. Now you should be able to post to Twitter
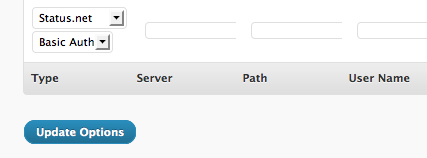
When you have finished adding your details then be sure to click on the blue Update Options button. Every time you make a new post now that information and a link should be added to your micro-blogging accounts.