


Using Widgets
WordPress allows you to modify the design and look of your page in several ways; the most obvious way to affect your design is to change the theme you are using. Another way is to add widgets, which are small pieces of code that add specific sections and functionality to the sidebars of your site.
Note that not all themes are "widget-aware"; if your theme does not define at least one sidebar you will not be able to use widgets on your site.
Widgets
A widget could be a bit of text, a calendar, links to other sites or other content that you can include in your blog that aren't blog posts or pages themselves.
By default, WordPress provides some widgets for you. If you haven't changed your theme you might see the following things in your second column:

The sections headed Recent Posts, Recent Comments, Archives, Categories and Meta are often default widgets.
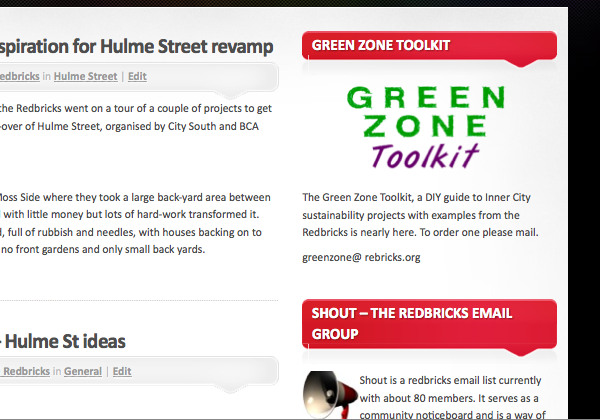
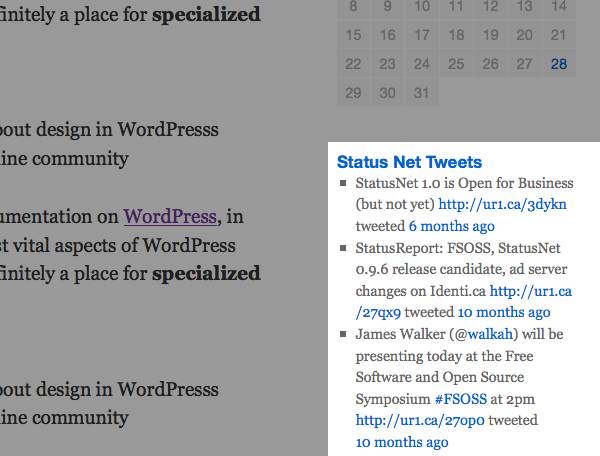
You can use widgets as a way to add content boxes with additional information about your site, such as is shown in the example below:
To add widgets to your WordPress blog you must be using a theme which has at least one side column, as this is where widgets are placed. This tutorial outlines how to use widgets on a theme with two columns. If you chose a theme with three columns then the situation will be a bit different but the same principles apply.
Adding a simple Widget
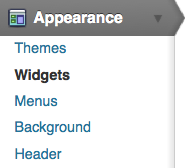
From your Dashboard, navigate to Appearance > Widgets.
You will see a list of Available Widgets on the left of the page, and on the right there is a column for different widget areas:

In the example above on the righthand side we see the widget areas for the Twenty Ten theme. To add more widgets, drag and drop the ones you want from the main area ("Available Widgets") to relevant widget area on the right. If you are not sure where you want the widget to appear, choose the Primary Widget Area; you can always change it later.
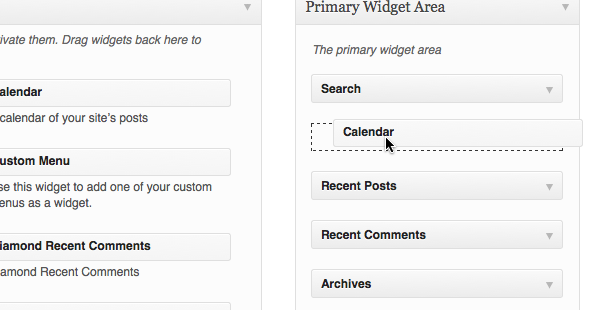
As you drag the widget you have chosen into the relevant area, a dark dotted space will appear and move as you move your cursor. When you are happy with where this is, let go of your mouse to drop the widget there.
When the widget appears in the list, the changes to your layout have been made. You don't need to save anything. However, if you enter settings in the widget itself, you may need to save those.
Some useful widgets
One of the more simple widgets you can add is the Pages widget. This will display a list of pages that you have created for your blog in the second column.
Links are a vital widget to add if you have been using the default WordPress system to add links (see the chapter on Links).
If you use Categories for your posts then you should make sure that that widget gets included to help your visitors find the content you want.
The Flickr and Twitter plugins are useful if you use those services. A sample setting for Twitter is shown below.
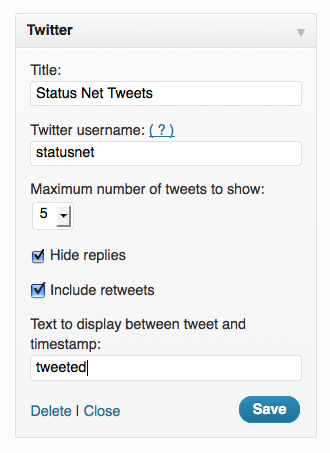
Click on Save and then view the front page of your site to see the changes. In this example you should see the last 5 tweets of the Twitter user you have entered.
There is a really good resources page on Wordpress.com which outlines how to use widgets and lists the default widgets and what they do.1
Create a custom text and image widget
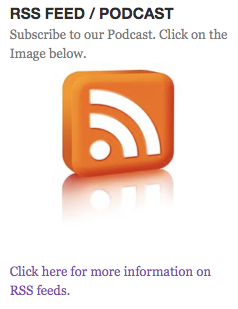
A more advanced use of a widget is to include text and images. This can be done in many flexible ways to really customise your site. An example is below.
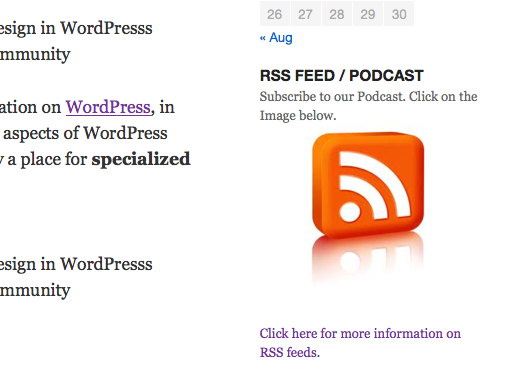
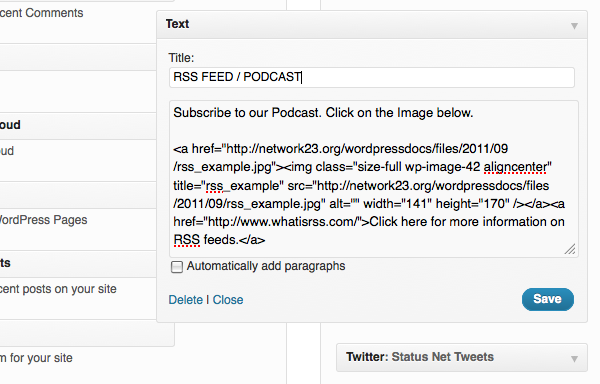
To create a widget with this image which links to your RSS feed and some text underneath to describe what it is, add a text widget. The text widget allows you to include text, images, links and HTML code in your sidebar.
If you already know how to write HTML this next part will be straightforward; in case you don't know HTML, we've provided instructions to create a simple text widget using HTML.
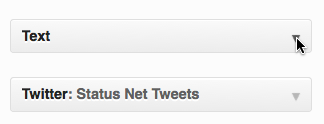
Navigate to the Widgets page and find the Text Widget in the main area of Available Widgets.
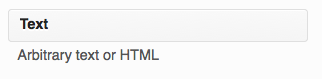
Drag and drop this widget into one of the target areas. As you do this, it will expand to allow you to enter text. If for some reason this doesn't happen, you can click on the arrow in the bar to the right of Text.
Now paste some HTML code linking to an image into the text area and add a suitable title.
Click Save. View the front page of your site to see if the results are correct. You should see something like the screenshot below:
To create some suitable HTML
If you are not used to writing HTML then follow these steps.
Find an image which represents your RSS feed and create a new post in your WordPress site which includes any text, images and links you want to include in your widget. Remember that, depending on your theme, your image should be limited in width to around 200 pixels.
Now click on the HTML tab of the editor (at the top righthand corner). This will show you the HTML code of this post. If you ever need to create some HTML for other reasons then this is a very easy way of doing it.
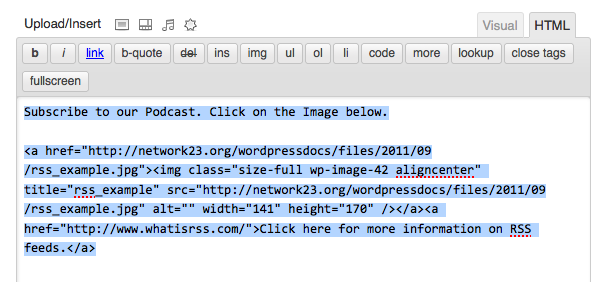
Copy the code you see there to the memory of your computer (by selecting all of the text and then using right-click+C, or apple+C). You may also want to save this post as a draft to come back to later.