


Installing Chromium on Windows
Note: The following steps are specific to Windows 7 Professional. They should work with earlier versions of Windows.
Since Chromium is an ongoing open source project, you will not find an official Chromium browser download page. Instead, to install Chromium, visit the web page where developers post the latest hourly builds, or code updates, of Chromium for download.
To install Chromium on Windows, do the following:
- Go to http://build.chromium.org/f/chromium/snapshots/chromium-rel-xp/.
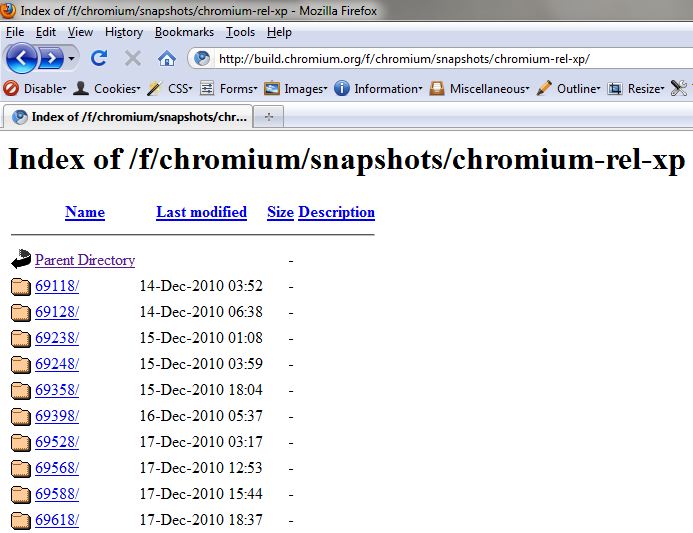
- Scroll down to the bottom of the page and click on Latest.
- Note the number that appears on screen. This is the number of the latest Chromium build. You should download and install this version.
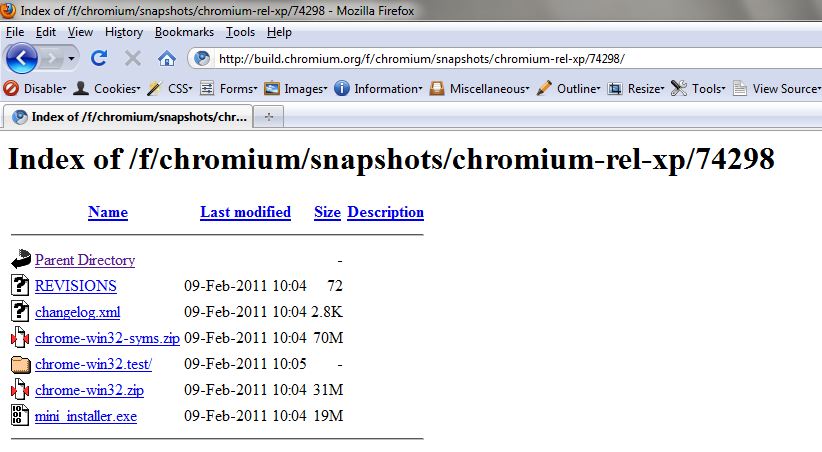
- Press the Back button in your browser to return to the Chromium build index, and click on the latest build number.
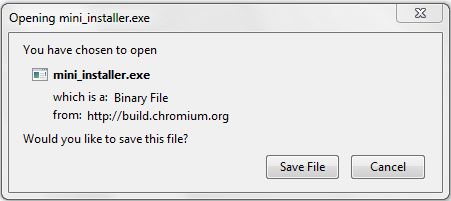
- Click mini_installer.exe.
- Save the file to a folder on your computer.
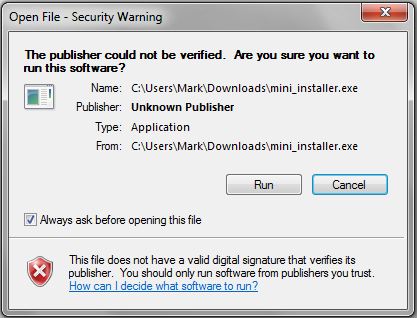
After the file mini_installer.exe has finished downloading, double click the file to open it.
- Your computer prompts you to confirm that you would like to open a program from an unverified publisher. Click Run.
The Chromium browser should start up. You should also find shortcuts to the program on your desktop and under the Start Menu in the Windows taskbar.