


Installing Kdenlive
Kdenlive is a video editing system developed for use with Linux based operating systems including Debian, Fedora, Gentoo, OpenSUSE, Slackware and Ubuntu. This guide to installing Kdenlive takes Ubuntu as the chosen operating system as it is by far the most common (and best supported by the Kdenlive community).
Hands On: Installing Kdenlive on Ubuntu
Rather than installing the version in Software Centre the creators of Kdenlive tell us that 'Versions of Kdenlive in official repositories are deprecated'. Which means that the default version of Kdenlive that you see in Ubuntu's Software Centre is no longer maintained and it will be difficult to get help for it. It is therefore worth the extra couple of steps to install Kdenlive from an alternative source.
To install Kdenlive, first click on the Dash Home icon at the top left of your screen and type Software Centre.
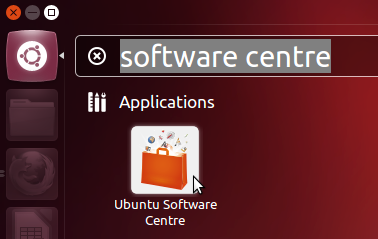
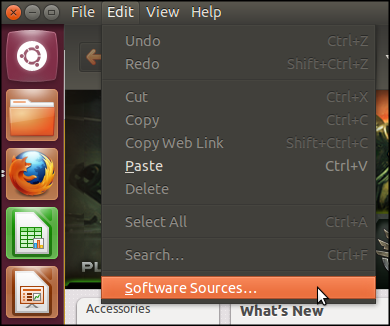
Click on the Ubuntu Software Centre icon. And Select Edit > Software Sources.
Click on the Other Software Tab
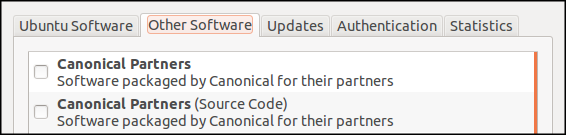
Click on the Add button at the bottom of this window.

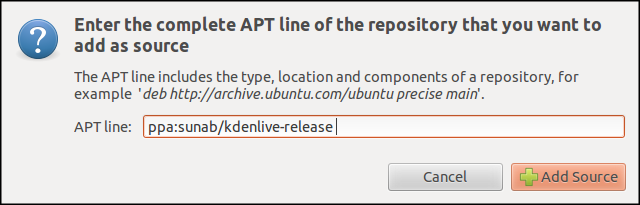
Enter the following in to the APT line prompt - ppa:sunab/kdenlive-release and click Add Source.
 Close software source and click Reload.
Now we can install Kdenlive with the Software centre. Enter Kdenlive in the top left search box.
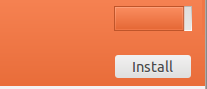
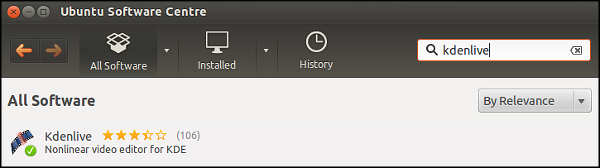 Click on the entry for Kendlive and then click on the Install button. Enter your admin password and you should see the application installing.
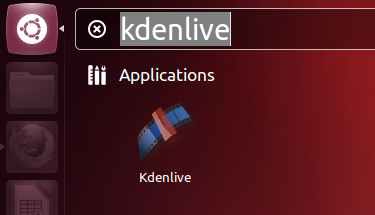
Now that Kdenlive is installed we can start it by clicking on the Dash Home icon, typing in Kdenlive and clicking on the Kdenlive icon.
Installing via the Command Line
If the above instructions do not apply to you then you should try installing via the command line.
Open a Terminal and enter the following.
sudo add-apt-repository ppa:sunab/kdenlive-release && sudo apt-get update && sudo apt-get install kdenlive
Enter your admin password and the most well maintained version of Kdenlive should install.
Running Kdenlive for the first time
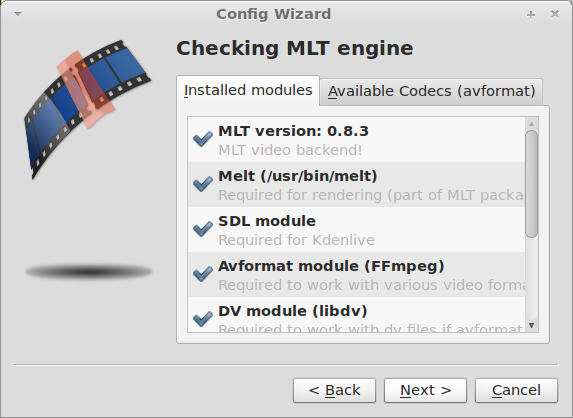
When you run Kdenlive for the first time you will see the Config Wizard.
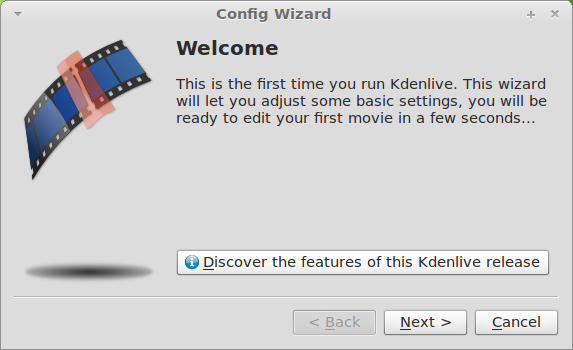
The fist screen tells you details of the MLT engine. Click Next.
The next screen tells us what audio and video formats and codecs are installed.
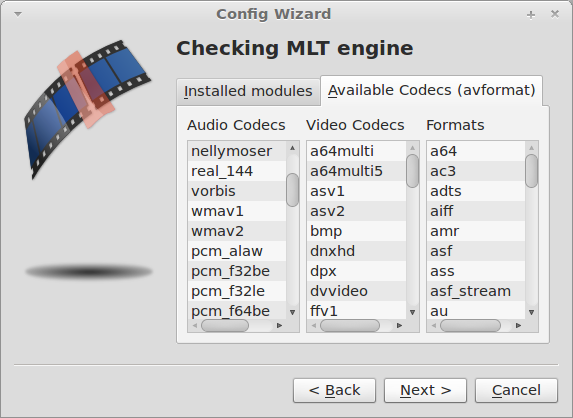
Click Next.
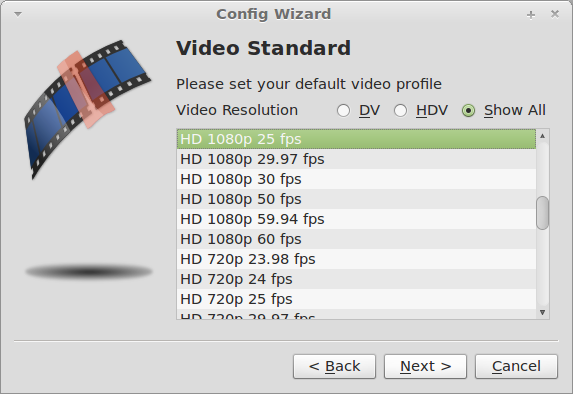
Choose a Video profile standard or select one at random if you don't know what type of video you will be working with. Click Next.
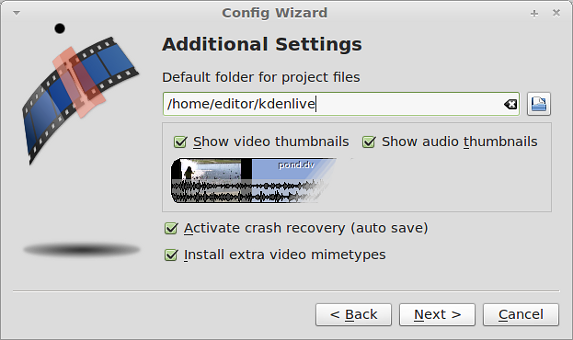
Choose a Default folder for working.
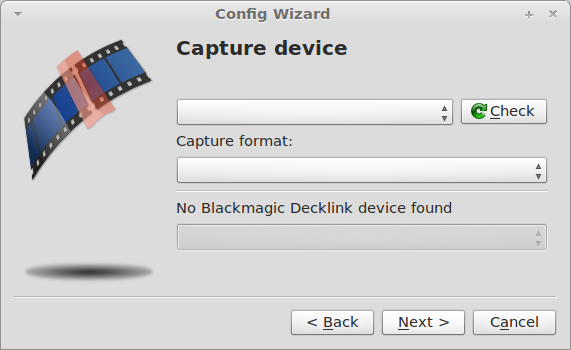
Choose a Capture device if you are going to capture from DV tapes or similar.

The final config screen checks your system for other tools that may be useful.