


Editing with Potlatch 2
Now we can look at editing OpenStreetMap with the online editor Potlatch 2, which you can use in your browser, later we will look at the desktop editor JOSM that you can install on your computer, and the mobile phone editors Vespucci and Mapzen.
Potlatch 2 is an OpenStreetMap editor that allows you to make edits directly to the OpenStreetMap database. Before you begin editing, however, you must log into OpenStreetMap. If you don't already have an account, go to http://www.openstreetmap.org/ in your browser to create an account and log in.
Getting your hands on Potlatch 2
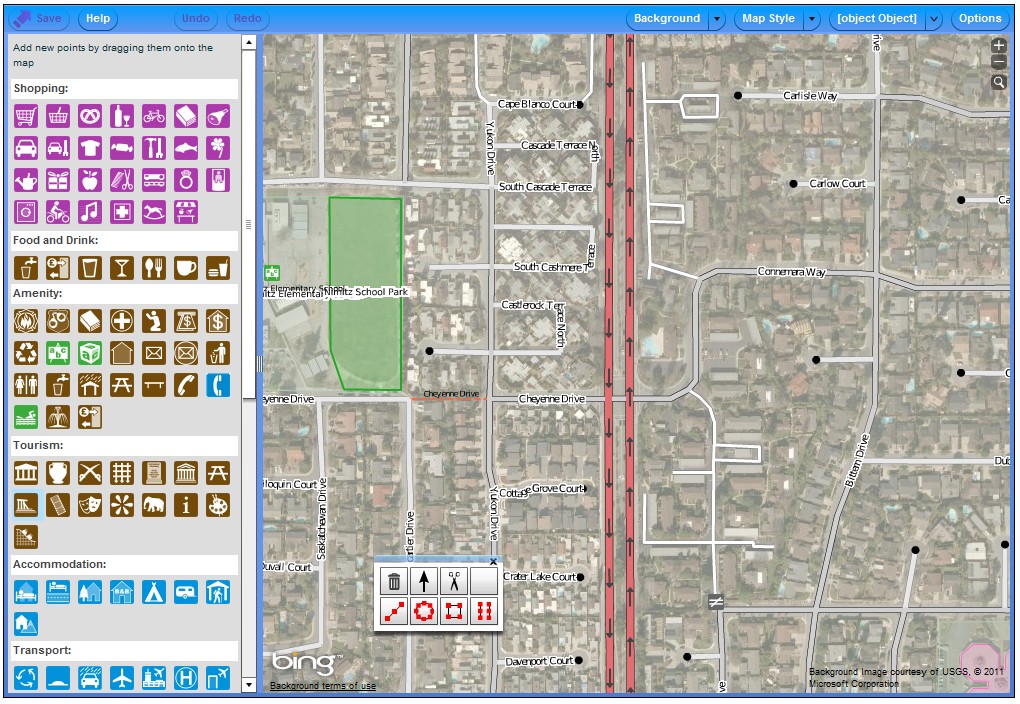
You should access Potlatch 2 through the OpenStreetMap web site first. Click Edit in the menu on the top of the OpenStreetMap web page. You should see the Potlatch 2 interface, like this:
Saving your edits
In the top of the Potlatch 2 interface you see the most important button: Save. Remember to always click Save after your edits! Help will open a Help file, Undo will cancel your previous edit, and Redo will return the last edit you cancelled with the Undo button.

Moving around the OpenStreetMap
You can move around the map by holding down the left mouse button and moving your mouse.
On the top right corner of the map you see three buttons. These are the zoom buttons and the search button. + increases and - decreases zoom level.

Adding points to OpenStreetMap
On the left side of the map you should see a list of different types of point you can add to the map.
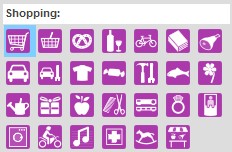
You can just click on a point type with the left mouse button and drag it to the right location on the map while holding down the mouse button.

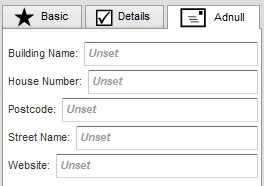
When you have placed it you will see that on the left side of the map there are now tabs with information for the feature.
Note that the tabs and the information contained will be different depending on the feature type you have selected. Some features have more tabs.
You can always edit this information by selecting the feature you want to edit.
Here we are looking at the Music shop tabs. In the Basic tab you can just add the name of the location.

Details tab contains various fields you can edit depending on the type of point you are adding.
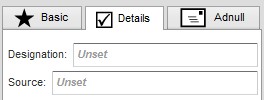
Address tab is where you can edit address information for the point.
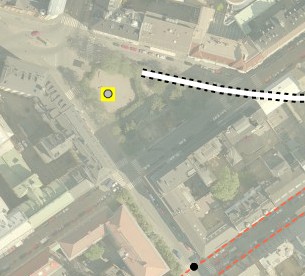
You can also create a point by clicking three times on the map.
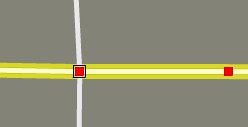
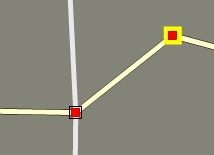
Creating lines
Just clicking on the map allows you to create lines. Another click adds a new node. Double click ends the line.
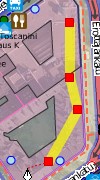
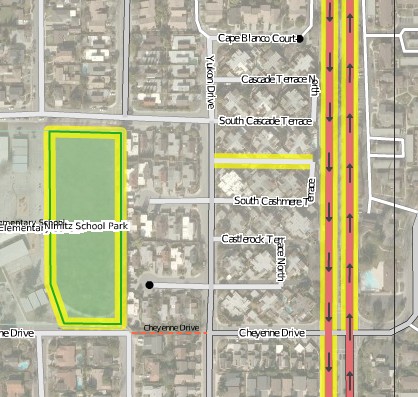
Creating areas
To create an area, create a line by clicking as above, and make it a closed area by double clicking on the starting node when you're done.
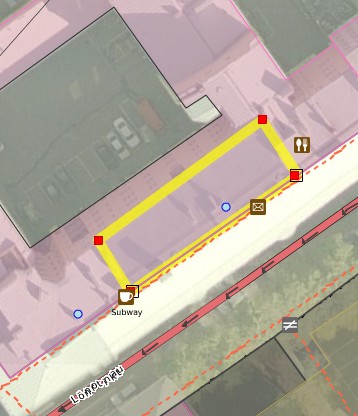
Selecting a feature
Click on a feature on the map to select it for editing. The selected feature is highlighted.

You can select multiple features by holding down the CTRL key and clicking on features.
Moving points
To move nodes around, click on a feature to activate it. When the feature is highlighted, the nodes become visible.
Now you can click a node and drag to move a node around.
You can also click and drag on a line to move the entire feature around!
Editing toolbox
You should see a toolbox which you can move around on top of the interface:
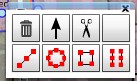
This allows you to edit the features on the map. The following table explains what the buttons do.
 |
Delete | Deletes the selected feature. |
 |
Reverse direction | Reverses the direction of the selected feature. |
 |
Split way | Splits a way feature into two parts. |
 |
Merge ways | Merges ways when you have selected two ways that end in the same node. |
 |
Straighten way | Straightens the selected way straight between two or more nodes. |
 |
Make circular | Makes a selected area circular. |
 |
Make right-angled | Turns the area you have selected into a right-angled area. |
 |
Create parallel way | Creates a way parallel to your selection. |
Searching maps
Below the zoom buttons you should see a magnifying glass button. This is for map search. Click it to find a location on the map. A search box opens.
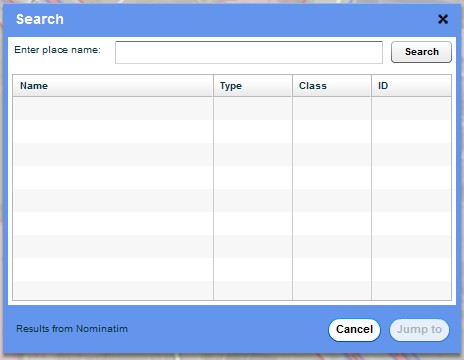
Enter the place name you are looking for and click Search. This will return a list of locations that match the place name you are searching for.
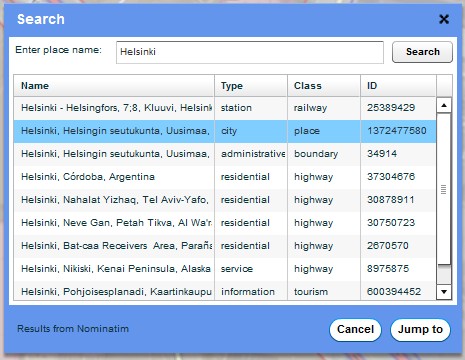
Select the location you want to edit and click Jump to.
Potlatch 2 options
The menu on the top right of the Potlatch 2 interface contains the following buttons:

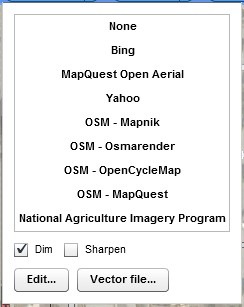
Clicking Background opens a menu which allows you to change the background image of the OpenStreetMap.
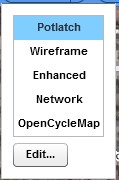
Clicking Map Style allows you to change the style of the displayed map.
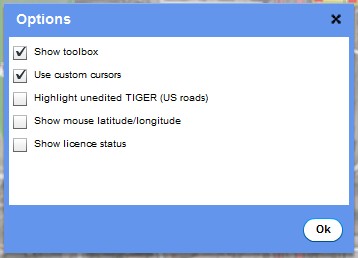
Clicking Options allows you to change several options about how OpenStreetMap looks.