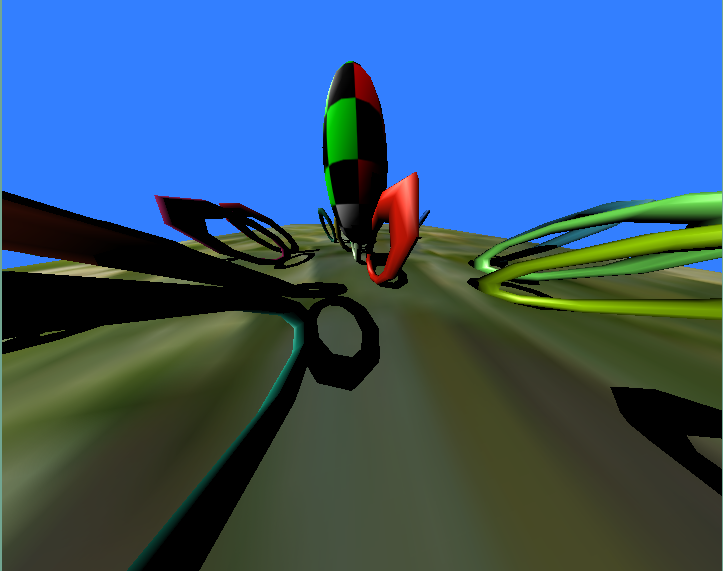
Cameras
Without a camera you wouldn't be able to see anything! They are obviously very important in 3D computer graphics, and can be used very effectively, just like a real camera to tell a story.
Moving the camera
You can already control the camera with the the mouse, but sometimes you'll want to control the camera procedurally from a script. Animating the camera this way is also easy, you just lock it to a primitive and move that:
(clear)
(define obj (build-cube)) ; make a cube for the camera to lock to

(with-state ; make a background cube so we can tell what's happening
    (hint-wire)
    (hint-unlit)
    (texture (load-texture "test.png"))
    (colour (vector 0.5 0.5 0.5))
    (scale (vector -20 -10 -10))
    (build-cube))

(lock-camera obj) ; lock the camera to our first cube
(camera-lag 0.1) ; set the lag amount, this will smooth out the cube jittery movement

(define (animate)
    (with-primitive obj
         (identity)
         (translate (vector (fmod (time) 5) 0 0)))) ; make a jittery movement

(every-frame (animate))
Stopping the mouse moving the camera
The mouse camera control still works when the camera is locked to a primitive, it just moves it relative to the locked primitive. You can stop this happening by setting the camera transform yourself:
set-camera-transform (mtranslate (vector 0 0 -10)))
This command takes a transform matrix (a vector of 16 numbers) which can be generated by the maths commands (mtranslate), (mrotate) and (mscale) and multiplied together with (mmul).
You just need to call (set-camera-transform) once, it gives your script complete control over the camera, and frees the mouse up for doing other things.. To switch mouse movement back on, use:
(reset-camera)
More camera properties
 By default the camera is set to perspective projection. To use orthographic projection just use:
(ortho)
Moving the camera back and forward has no effect with orthographic projection, so to zoom the display, use:
(set-ortho-zoom 10)
And use:
(persp)
To flip the camera back to perspective mode.
The camera angle can be changed with the rather confusingly named command:
(clip 1 10000)
Which sets the near and far clipping plane distance. The far clipping plane (the second number) sets where geometry will start getting dropped out. The first number is interesting to us here as it sets the distance from the camera centre point to the near clipping plane. The smaller this number, the wider the camera angle.
Fogging
Not strictly a camera setting, but fog fades out objects as they move away from the camera - giving the impression of aerial perspective.
(fog (vector 0 0 1) 0.01 1 1000)
The first number is the colour of the fog, followed by the strength (keep it low) then the start and end of the fogging (which don't appear to work on my graphics card, at least).
Fog used to be used as a way of hiding the back clipping plane, or making it slightly less jarring, so things fade away rather than disappear - however it also adds a lot of realism to outdoor scenes, and I'm a big fan of finding more creative uses for it.
Using multiple cameras
Todo: hiding things in different camera views


