


Interface Basics
Software name : GIMP
Software version : 2.6.11
At the heart of GIMP is the user interface, the set of elements a user interacts with to carry out image manipulation and other tasks. If you've worked with earlier releases of GIMP, you may notice some slight improvements with this interface.
The GIMP interface consists of two main elements: the Image window and the Toolbox.
The Image window is similar to a painter's canvas. This is where images are opened up and contained during the editing process. At top of the Image window is the Main menu, which includes a row of sub-menus. These sub-menus access nearly all functionality of GIMP. Options from saving a file, to selecting specific tools and filters, to working with layers are controlled here. The nice thing about GIMP is that it allows the use of multiple Image windows within the same session. This is especially helpful when working with layered images or creating animated GIFs.
The Toolbox is a sidebar that contains both image editing tools and the Dock. The Dock is a container window where Dockable Dialogs can be stored for easy access. Dockable Dialogs are additional features not included by default on the Toolbox. Think of the Dock as your own customizable Toolbox.
The GIMP interface at a glance:

Let's take a closer look at the Image window and Toolbox:
The Image Window
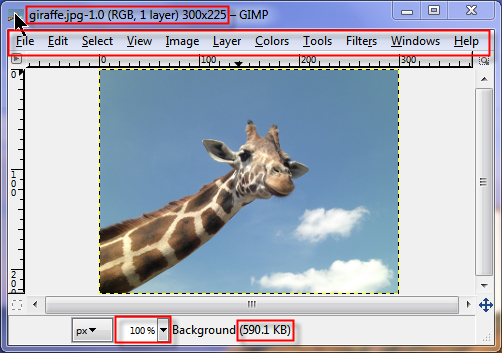
An open image file
Aside from displaying the image you're editing, the Image window also provides basic file information including: file name, file size, dimensions, and number of layers. There's also an option to adjust the zoom level, which refers to the view an image is scaled to. When images are first opened, GIMP automatically adjusts this view so the entire image is visible.
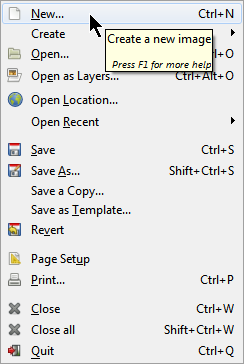
The File Menu
The File menu contains common file options such as creating a new image, Open, Close, Save, and Print. You can also open images as layers, for creating multi-layered images or animated GIFs.
The Toolbox
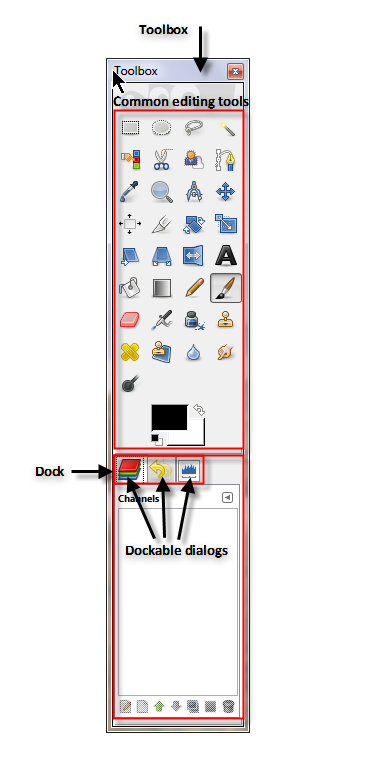
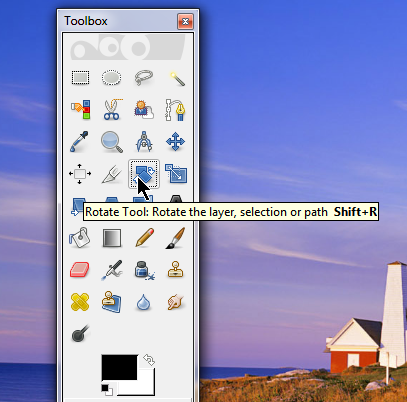
The Toolbox is an icon-based menu containing 33 common image editing tools. If you are unsure of what a particular tool does, hover the pointer over any tool icon and a short description appears.
To select a tool:
- Click once on a tool icon.
For certain tools, a prompt related to the action of that tool appears. For instance, the Rotate Tool displays options such as specific angle selection.
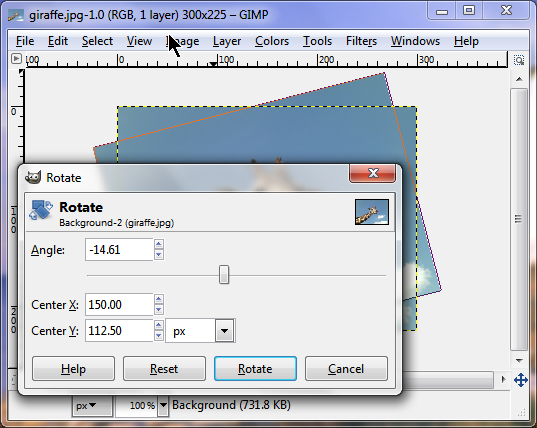
The Rotate tool prompt
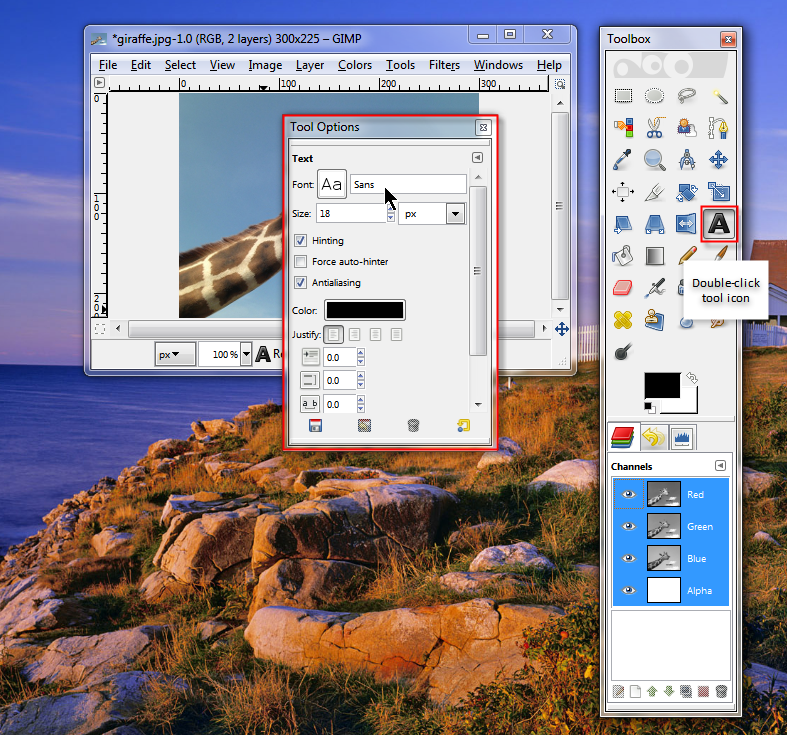
Each tool on the Toolbox also has its own Tool Options. For instance, the Text Tool contains options such as Font, Size, Color, and paragraph alignment.
To access Tool Options:
- Double-click a tool icon.
Using the Dock and Dockable Dialogs
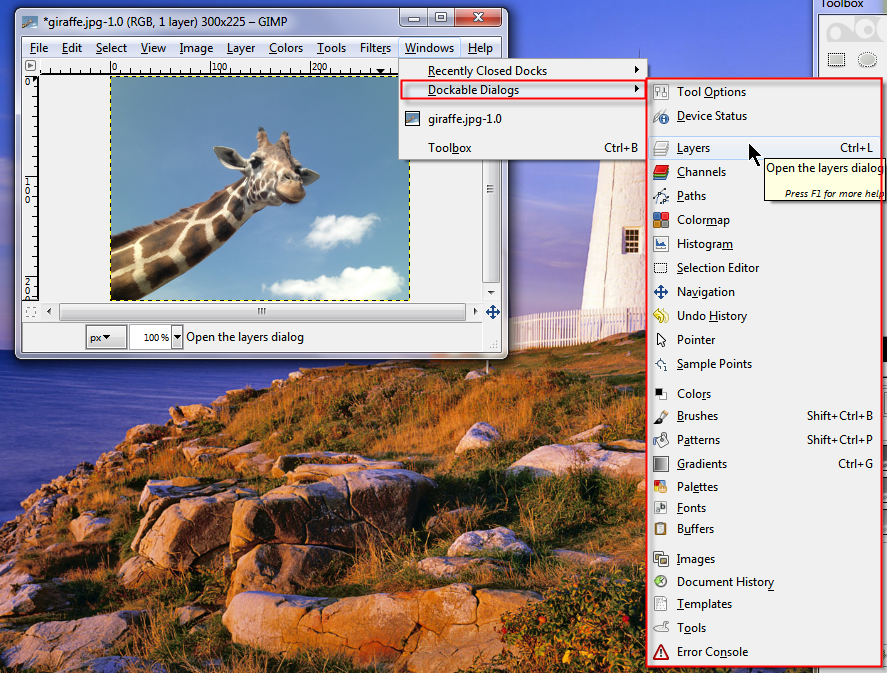
Dockable Dialogs are additional options that can be added to the Dock, depending on your needs. These options are listed within the Dockable Dialogs menu.
To access the Dockable Dialogs menu:
- On the Main menu, select Windows > Dockable Dialogs.
When a Dockable Dialog is selected, it first opens in an external window. This window can be added to the Dock using drag-and-drop.
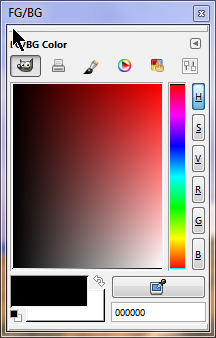
The Colors dialog window
To add a Dockable Dialog to the Dock:
1. On the Main Menu, select Windows > Dockable Dialogs.
2. Select your desired Dockable Dialog.
The Dockable Dialog opens as a window.
3. Hover the pointer over the inner dialog title.
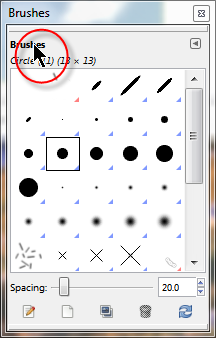
A Dockable Dialog window
4. As you click and hold the left mouse button, move the pointer to the Dock, then release the left mouse button.
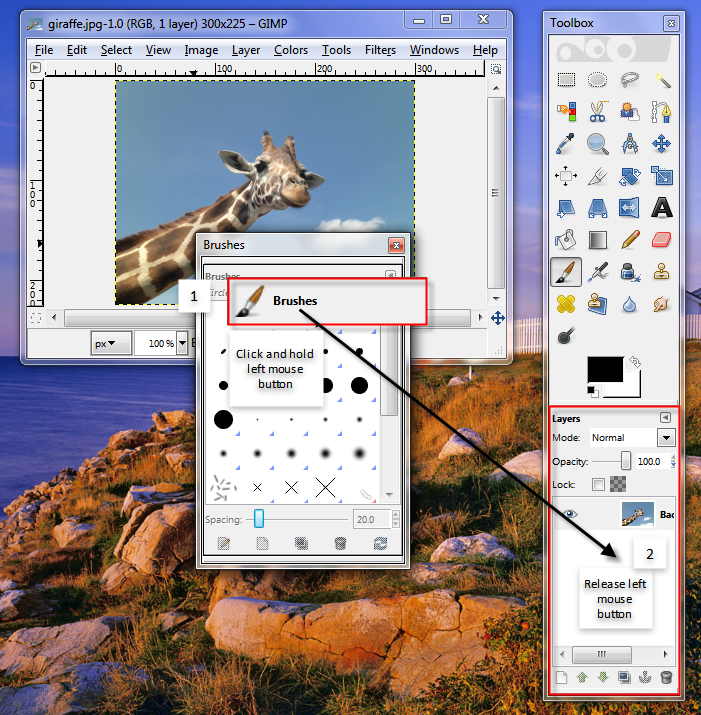
The Dockable Dialog is added to the Dock.

Each new Dockable Dialog appears as a tab on the Dock.