Training Your Robot
Imagine kids delighted at the opportunity to "program" and control each other, their parents or a teacher. They will use that delight to help them Invent a robot that draws polygons. In this chapter we will begin with an exercise completely outside the computer to learn geometry and build knowledge about how to program a robot. This will Inspire them to use their programed robots to create string art.
In this project we use:
Scripting, forward by, turn by, repeat
Optional: Pen Size, Pen Color,
Optional: Paint, Tiles: look like, Playfield's pen trail graphic
Quick Guides: Script Tiles -> Playfield Trail
The Project
Kids programming Kids (and parents)
The following activity can be done having kids program each other and/or having them program their parents or teacher. An example of how to do this can be found http://drtechniko.com/2012/04/09/how-to-train-your-robot/
Below is a sample worksheet.

Try this with the kids, having them program each other to:
- walk a square
- walk a rectangle
- go from one part of the room to another and pick up something
Notes and observations on how this worked can be found at http://mrstevesscience.blogspot.com/2012/05/how-to-train-your-robot.html which contains a video of Seymour Papert using this technique with kids.
From Programming each other to Programming Etoys
Once the kids have programmed each other, now we will try and transfer some of that knowledge to programming a Robot to constructing Polygons in Etoys. This project will begin with a pre-built template which should be downloaded at: http://etoysillinois.org/library?sl=2144. The project can be used in classrooms with English and Spanish speaking students.
Open the project in Etoys.
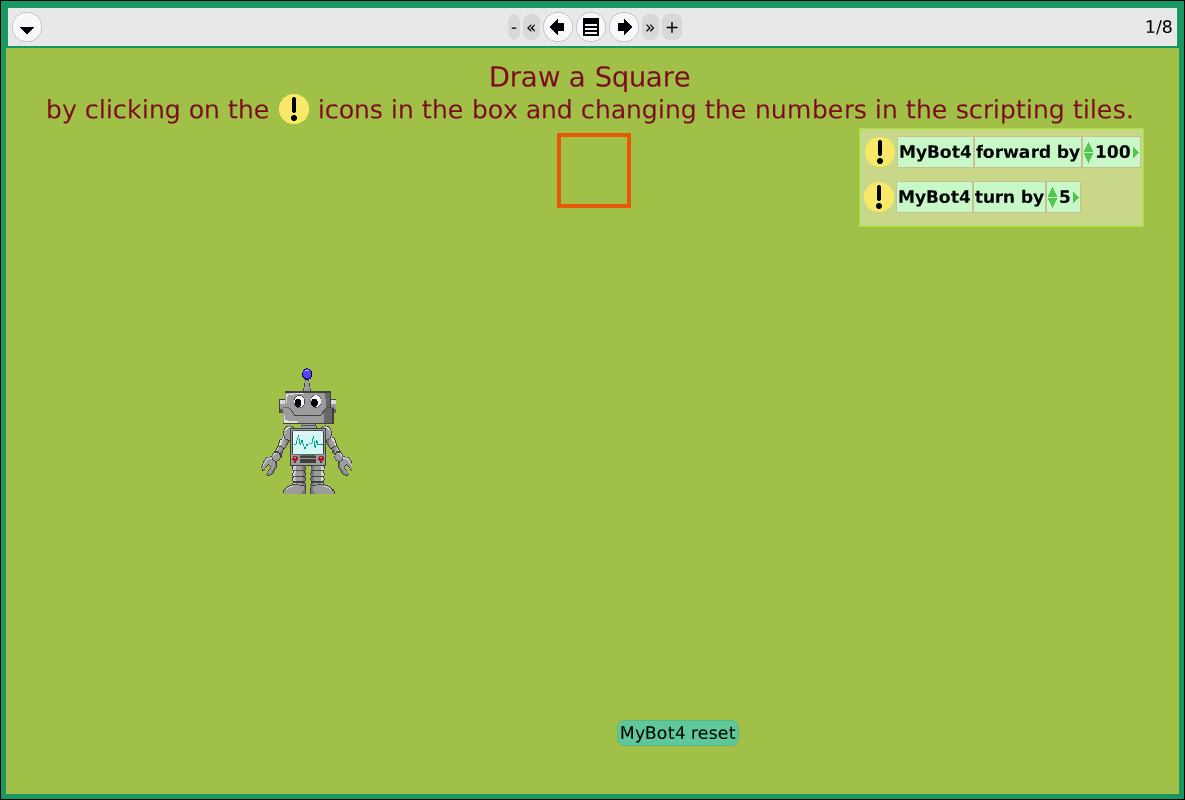
In this project kids are provided with just three scripting tiles with which they can create all the shapes:

On the first page the kids are asked to draw a square by:
- clicking on the
 icons and changing the numeric values in the forward by and turn by tiles
Kids can "reset" their drawings by clicking on the  at the bottom of each page.
On the rest of the pages we will ask them to draw the polygons, by creating scripts. To create the scripts they click on the scripting tiles in the box and drag them into the empty script on each page.
While they do this have them fill in a chart like the one below or the one in the project:

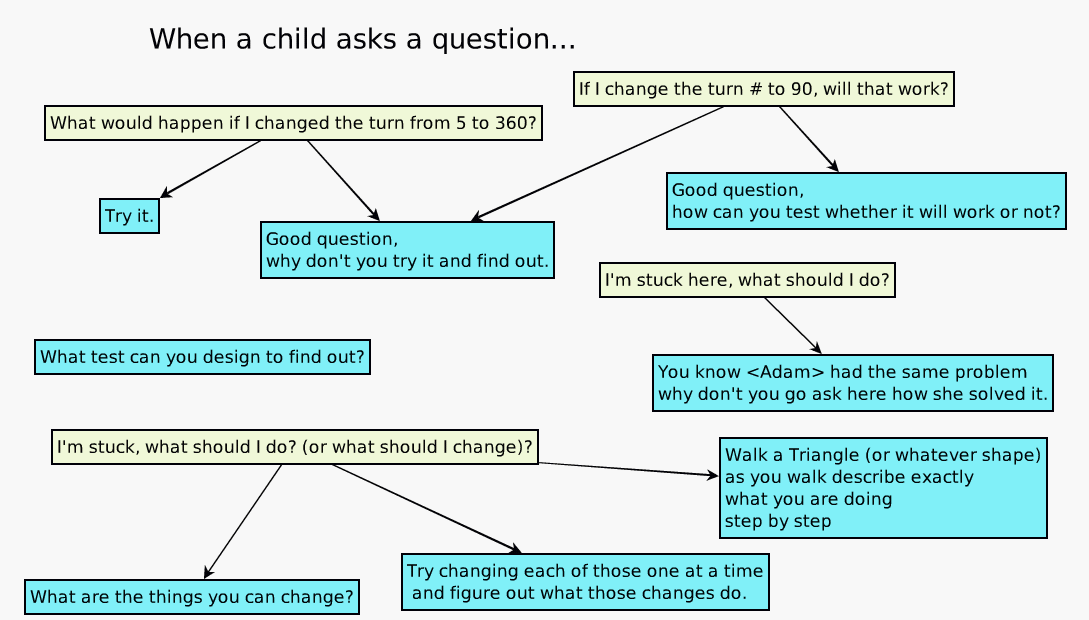
Some kids will be able to start quickly on their own and others will get stuck. The following are some tips to help kids when they get stuck.
Learning to Debug:
The goal is to get kids to "Just Do It" and start trying things on their own. They inevitably will get stuck and have to debug their programs. This is good, one of the skills we are teaching is debugging and persitistence. Below are some sample problems kids have run into and suggestions on how you can help them.
If their robot disspears off the screen (which will happen) have them click on the  button.
Have them explain their code to someone else. Often even with very experienced programmers, once they start explaining the problem to someone else they figure out the problem for themselves, then thank you for being brilliant and such a great help. Its up to you if you want to let them know they really solved it for themselves and they are the brilliant ones :)
Have them read their code out loud EXACTLY AS WRITTEN. We often get confused between what we intended the robot to do and exactly what we told it to do. To quote an old Chicago politician "Print what I meant, Not what I said!!!"
As they read the code aloud, walk through what the robot will do based on that specific instruction AS WRITTEN either in their minds eye, on a piece of paper with a pencil or with some other object like a toy car.
Ask them to step away from the computer and walk the shape. Then ask them to say out loud specifically what they are doing at each step using "forward by" and "turn". This can help them become more aware of their body knowledge and help them transfer that to their program.
Also ask them to try the following:
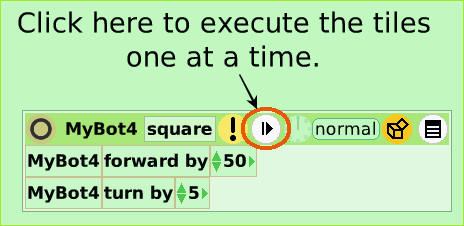
This will executes each tile in the script one at a time. It forces the user to "slow down" and look at the results of each step. One can use this in combination with reading the code out loud. One reads the line that is about to be executed, then click the step button.
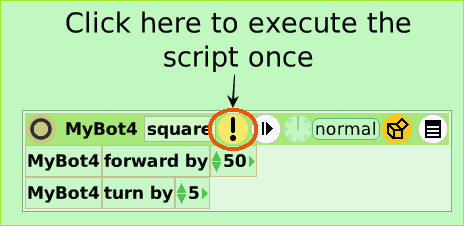 or
or 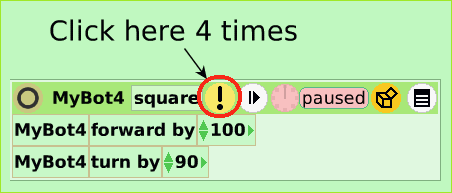
This will allow them to see what happens when the whole script runs.
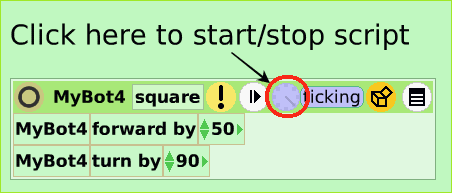
You may want to change the script speed, it can open new insights and help visualize what the script is doing.
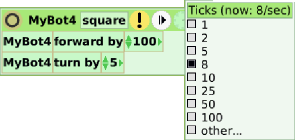
To change the speed (in # of ticks per second, or # of times the script runs each second) simply click on clock in the script and hold the mouse down:

A pop up will appear and you can select your speed.
Questions for reflection:
- Find one or more people who created a script to draw a square that did it differently from you?
- What was different?
- What was the same?
- Look at the scripts you used to create a Square and to create a Rectangle and identify:
- What is different?
- What is the same?
- For those things that are different, does that difference matter? How does it matter?
- Look at the chart you filled in (Shape, # Sides, # Vertices, Angle (aka turn by) and <# Sides> * <Angle>. What patterns do you see?
- Look at all your scripts and after identifying, what's different (that matters) can you create "One Script to Rule them all?" In other words can you create one script that creates all the shapes?
- Hint1: Use a variable
- Hint2: Look at the patterns you noticed in your completed chart.
- Look at the following:

- What's the same?
- What's different?
- Do the differences matter?
- Look at the following:

- What's the same?
- What's different?
- Does the differences matter? If so, how?
- Look at the following:

- What's the same?
- What's different?
- Does the differences matter? If so, how?
- Look at the following:

- What's the same?
- What's different?
- Does the differences matter? If so, how?
- Look at the following:

- What's the same?
- What's different?
- Does the differences matter? If so, how?
- Look at the following:

- What's the same?
- What's different?
- Does the differences matter? If so, how?
Inspire
Besides regular polygons, here are some shapes people have created using pen trails, forward, turn by, repeat and pen color:
Also see if you can create the 39 shapes below from Barry Newell's Turtle Confusion http://constructingmodernknowledge.com/tcbook.pdf. Make a poster of these shapes and hang them in your class.


