


Icecast Streaming (a/v)
Software name : VLC
Software version : 0.8.6
To stream audio or video to Icecast using VLC you need to first ensure you have the right module installed. If you are using Linux you will need to download the latest source code and install VLC with the shout module. To install this module in Linux you will need to configure VLC with the --enable--shout parameter.
Linux :: Check Shout Module is Installed
If you are using Linux you will need to double check the shout module is installed before you progress. To do this type the following into a terminal:
vlc -l | grep shout
If all is well you will see something like the following in the terminal window:
VLC media player 0.8.5 Janus
  access_output_shout   IceCAST output
  playlist              New winamp 5.2 shoutcast import
  shout                 Shoutcast radio listings
The important part of the above output is the access_output_shout IceCAST output. This means you have the right module available for streaming to an Icecast Server. If you don't have this module you are going to have to read up on how to install it. Note : It might be that the Shout libraries store the shout.h file in the wrong place, this is a bug in the latest versions of Shout. To work around this, you may need to re-compile VLC but before doing so edit the file shout.c file in the VLC sources. This file is located here:
modules/access_output
you will need to edit this line:
#include <shout/shout.h>
to this:
#include <shout.h>
Windows :: Check Shout Module is Installed
To check if the Shout Module is installed on Microsoft Windows you will need to open the Preferences window from the Settings menu:
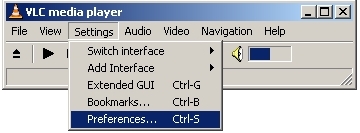
The preferences interface will open:
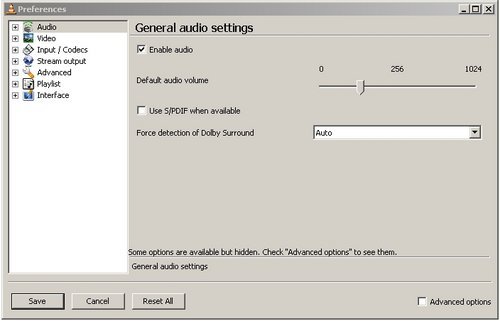
Now click on the tiny "+" next to Stream Output :
![]()
You will get a drop down menu:
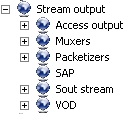
Click on the "+" next to Access output and with luck you will see something like this:
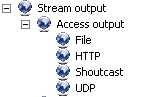
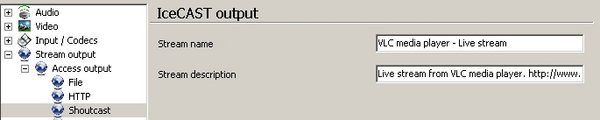
Notably, there will be an item labled Shoutcast. If you don't see this then the Shoutcast module is not installed. If it is not installed then try downloading the latest installer and install VLC again. If you do see it then you should be able to stream to Icecast. Clicking on the Shoutcast icon should show you something like this:
Streaming Server Requirements
We will look at streaming archived files to an Icecast Server. To do this you need access to an Icecast Server or someone needs to create you an account and give you the access details. You need to know the following details about the Icecast Server :
- Hostname or IP Number of the Icecast Server
- Port (default is 8000)
- Password
- Username (this may not be necessary depending on how Icecast is configured)
- Mountpoint (this may not be necessary depending on how Icecast is configured)
Choosing Audio File to Stream
You can stream audio or video with VLC to Icecast. However this has variable results depending on what operating system you are using. For now we will look at streaming an audio file. The first thing you need to do of course is open VLC. Now from the File menu choose Open File

This will open a file browser so you can browse (click the Browse button) through your harddisk and choose an audio file to stream.
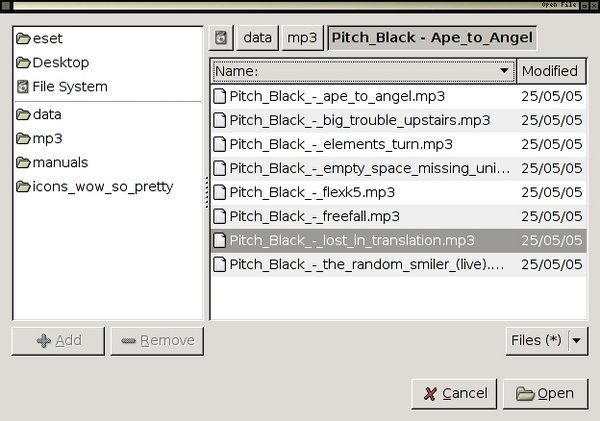
For the purpose of this excercise choose an MP3 audo file, and then press the Open button at the bottom right. When you have done this there should be the title and location of your chosen file displayed in the interface:
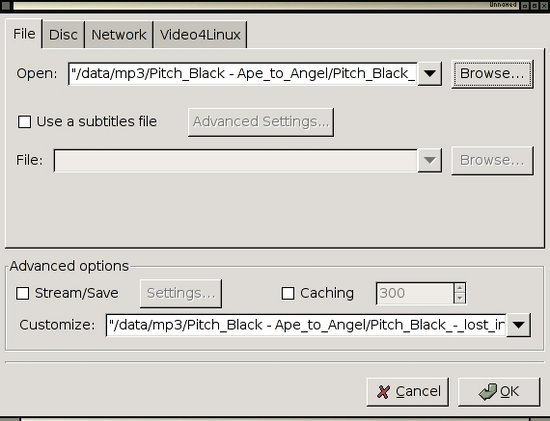
Stream Settings
Now click on the Stream/Save check box:
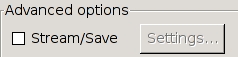
This should then make the Settings... button clickable:
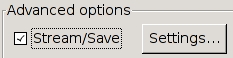
Now click the Settings... button and you should see somehting like this:
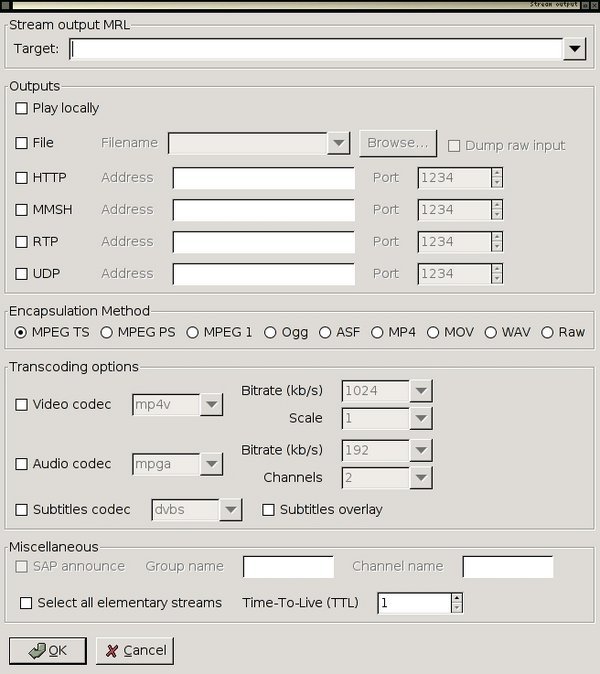
This is the configuration window for your stream. It might look complicated, and truth be told, it is! However we can go through this process quickly to configure and outgoing audio stream to an Icecast Server. The way that VLC works with outgoing streams is by creating what the good people at Videolan call an output chain. An output chain is a rather complicated way of refering to the the process of configuring VLC so that it streams. Unfortunately VLC doesn't (yet) incorporate a handy GUI (Graphical User Interface) for doing this. GUIs are much easier if you aren't used to configuring software using command line interfaces (CLI). We can get some of the way to configuring our stream settings through the interface but the rest will have to be typed into the Stream Output MRL at the top of the above dialog.
First of all, click on the HTTP check box in the Outputs section of the window:

When checked you will see two things happen, firstly the information to the right of the check box will allow you to input data:
![]()
The other thing you will see is that the Stream output MRL box will display some information:

The above information is what we need to tweak to make VLC stream and to do this you will need to alter the information in this text box using the Icecast Server details you should have.
Entering Server Information
In the above example the following information is shown in the Stream output MRL:
:sout=#duplicate{dst=std{access=http,mux=ts,dst=:1234}}
We need to alter this information to refect the details you have of your streaming server (Icecast). You shoudl have the following details:
- Hostname or IP Number of the Icecast Server
- Port (default is 8000)
- Password
- Username (this may not be necessary depending on how Icecast is configured)
- Mountpoint (this may not be necessary depending on how Icecast is configured)
These need to be incorporated in the Stream output MRL box as follows:
:sout=#duplicate{dst=std{access=shout,mux=ogg,dst=username:pass@hostname:port/mountpoint}}
Notice that the two following chains were also important:
access=shout
mux=ogg
For example, lets say I had the following details:
- Hostname : icey.me.net
- Port : 8000
- Password : floss
- Username : streamer
- Mountpoint : live
Then the Stream output MRL would read as follows:
:sout=#duplicate{dst=std{access=shout,mux=ogg,dst=streamer:floss@icy.me.net:8000/live}}

There are a couple of things to note here. First, with Icecast you don't always need a username to stream. If you are in this situation then use "source" in the text above where the password should be. For example, the text in the Stream output MRL would be something like:
:sout=#duplicate{dst=std{access=shout,mux=ogg,dst=source:floss@icy.me.net:8000/live}}
Also, if you haven't been given a mountpoint you can usually make one up but don't use any special characters in the text, and if you haven't been given a port then try the default 8000.
Start Streaming
All that is left to do is to press the OK button at the bottom of the window, you will be returned to the previous window:
Now you are almost ready to stream. Press OK again, and you should start streaming. VLC provides minimal feedback to let you know how things are going, but if all is ok, you should check your streaming server status page, or try and connect to your stream.
Streaming Video with VLC
The same process will work for streaming video to Icecast. However, at the time of writing the Linux version of VLC (8.5) does not seem to support this. However you can try it with the Microsoft Windows version. Just follow the same steps as above, except that you will choose a video file instad of an audio file. The out going live stream will be Ogg Theora and can be played in many players includign VLC, MPlayer, and even the latest RealPlayer.