Getting Started with Etherpad
When getting started with Etherpad you are likely to start in one of two ways. You may be the person who is initiating the writing. In this case you will want to chose an Etherpad service and create a new pad. Alternatively, you may be someone invited to contribute to an already existing pad.
How to get started
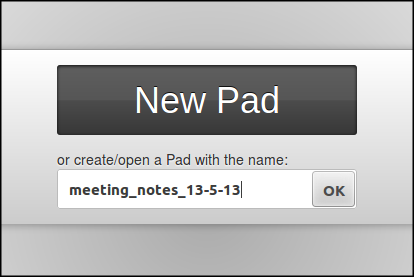
Create a pad
To create a pad, point your browser to a service which is running Etherpad. If you want to be independent then you may want to install Etherpad on your own server.
Some existing services at the time of writing are:
- http://beta.etherpad.org (use only for evaluation)
- https://pad.riseup.net
- http://notes.occupy.net/
Once you land on these pages there are different ways of creating a pad. Some servers will give you an automatically generated pad name. Others allow you to enter your own name.
To invite others to collaborate with you on this pad you can click on the </> Icon to show options for sharing the pad.

In this case copy the link to share the pad.
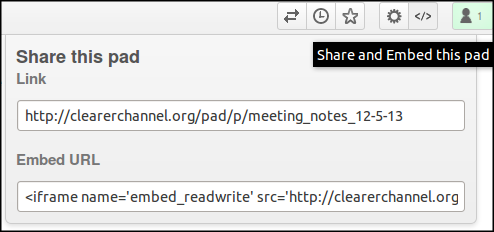
You can now send this link via email or and instant messaging service inviting other people to join you in the writing of the document you have just started.
Start work on an existing pad
To start work on an exiting pad you will normally be sent a link to the pad. This will normally happen via an email written by the person inviting you.
Often you will be able to click on the link being sent to you. If not you can copy it and paste it into the address bar of your web browser.
Single author writing in your pad
To start writing you can use the pad in the same way that you would a normal word processor or the writing window of an email editor.
If you have just created the pad yourself you will see some existing text already there. You can select this and delete it.

You can now type text into the editor.

You can format the text using the provided buttons on above the text box.
![]()
These are in order: Bold, Italic, Underline, Strikethough, Numbered list, Unordered list, Indent, Outdent, Undo and Redo. Some of these formatting styles are show below.
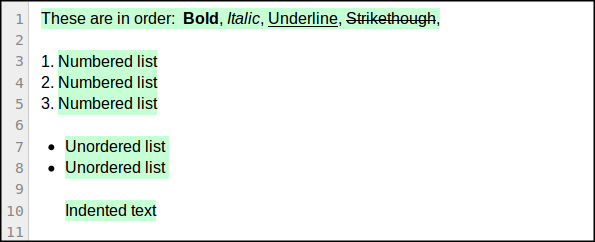
As you type you may notice that there is a background color behind what you type.This color is called an Authorship Color. If other people start writing to the pad their text will show up as a different color. If you are only writing by yourself then this may be distracting and you can choose to remove these Authorship Colors by clicking on the multicolored icon.
![]()
Multiple author writing in your pad
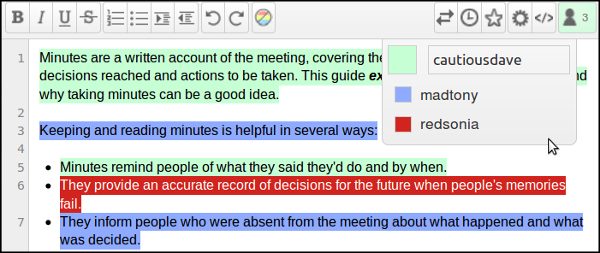
As other people join the pad and start to type their text will appear in other colors. This allows you to keep track of who has written what.
To make this easier, it is a good idea for you to link our name with your color. To do this click on the icon of the head and shoulders at the top right of your page.
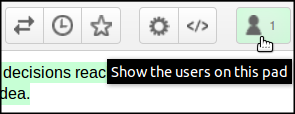
This will prompt you to enter your name.
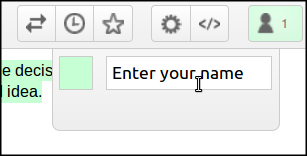
Type in a name or a nickname or pseudonym and press Enter.
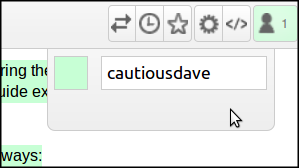
As more users start to edit the document they will appear in this list.This allows you to see who has written which text.
Interacting with other writers
One of the core reasons for using Etherpad is to be able to collaborate in real time with other writers remotely. Etherpad provides a Chat window which allows you to talk in real time with other writers.
To activate the chat on on a default installation, click on the chat icon .

If you type text in the small text field at the bottom this is now visible to the other people currently looking at the document.
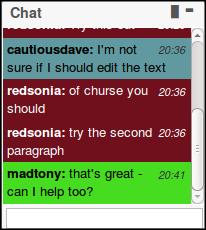
The chat tools is a great way of exchanging information about what you are writing or simply to greet others and make them feel welcome in the collaborative writing process.
It is possible to display chat more permanently. You can do this by clicking on the left of the two icons above the chat window.
![]()
Recording changes and revisions
One of the key features of Etherpad is that it keeps a record of all the changes that are made to the document.
To view these changes click on the icon that looks like a clock to show the time slider of the project.
![]()
There is a playing head slider which you can drag to the left to move between versions.The playing head starts at the right with the latest version of the pad.

Dragging this playing head back to version 0 should show the default message and the time when the pad was created.
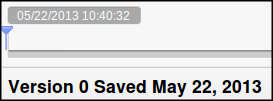
*When you drag the playing head you will see the text alter. This is a visual representation of the changes that have been made to the text.

It is possible to click on the play button to the right of this timeline screen to replay these changes at a speed where you can generally keep a track of what happened.
Practically, this is useful because you or a collaborator may have deleted some text by mistake which you might want to restore. It is also very interesting to see how your collaboration progresses. This is a great visualisation of collaborative creativity in action.
When you are finished you can click on the Return to the pad link.
Intentional Saved Revisions
While Etherpad saves all work and changes in small increments by default, you may want to set intentional versions or revisions. This is done by clicking on the star icon.
If you go to the Timeline view of a pad where these saved revisions have been used you will see the intentionally saved revisions as stars marked along the timeline.

You can skip back to one of the 'starred', intentional versions by double clicking on it.
Importing and exporting documents
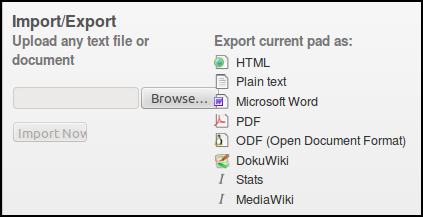
You may want to start a pad with a word processing document you have already created.When you have finished collaborating you may also want to export the document you have created.
It is possible to do this in many different formats. To start click on the Icon with two arrows facing opposite directions in the tool bar on the top right.
![]()
You can choose to export to a number of different file types. These include HTML, Plain text, Microsoft Word, PDF, ODF (Open Document Format), DokuWiki and MediaWiki.
