


Account Setup
There are two way to create new email accounts in Thunderbird. The first way is an automated process that guides you through the set up routine. The second is manual, where you enter all of the account information yourself. Let's take a look at both.
Automated Setup
The automated setup process runs the first time that you start Thunderbird. Remember that you can also run the setup at anytime by going to the File menu, pointing at New, and clicking Mail Account.
Here's how to work your way through the automated setup process:
- Make sure that your computer is connected to the Internet and then start Thunderbird.
- On the first setup screen, enter your name, your email address, your password. Your password is your current email password. If you want Thunderbird to remember your password (so you don't need to keep typing it every time you check your mail), click the Remember password checkbox.
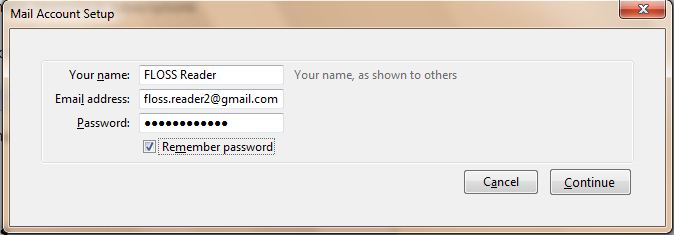
- Click the Continue button to go to the next step. Click the Cancel button to stop the set up process.
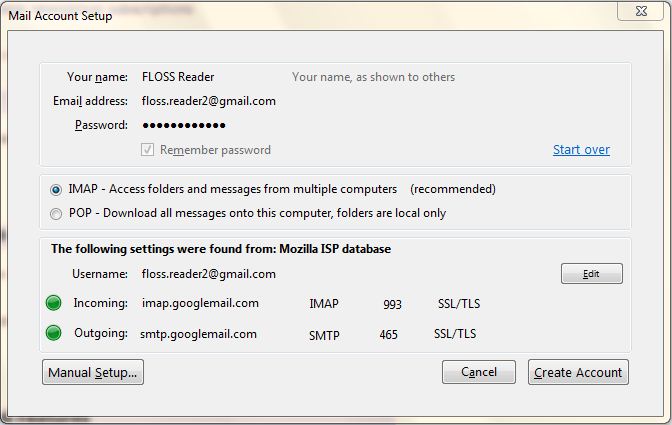
- Thunderbird tries to get your account settings by connecting to the database of Internet Service Providers (ISPs) that is maintained by Mozilla.
If Thunderbird finds the information for your email provider it automatically enters that information for you. Click the Create Account button to add the account. Click the Cancel button to stop the set up process.
- If Thunderbird cannot find information for your email provider, click the Manual config button in the Mail Account Setup window. For more information on what to do, read the Manual Set Up section below.
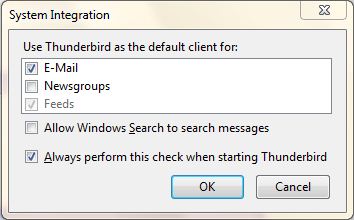
- Once your account is created, Thunderbird asks you if you want it to be the default application for email, newsgroups, or feeds. Make your choices by clicking the checkboxes.
If you use Microsoft Windows, you use the Windows Search feature to find messages. Do this by selecting the Allow Windows to search messages checkbox. Click the OK button to save the settings and the Cancel button to leave them unchanged.
Note: Thunderbird will create your account even if you click Cancel at this point.
- Your account has been created and you're ready to go!
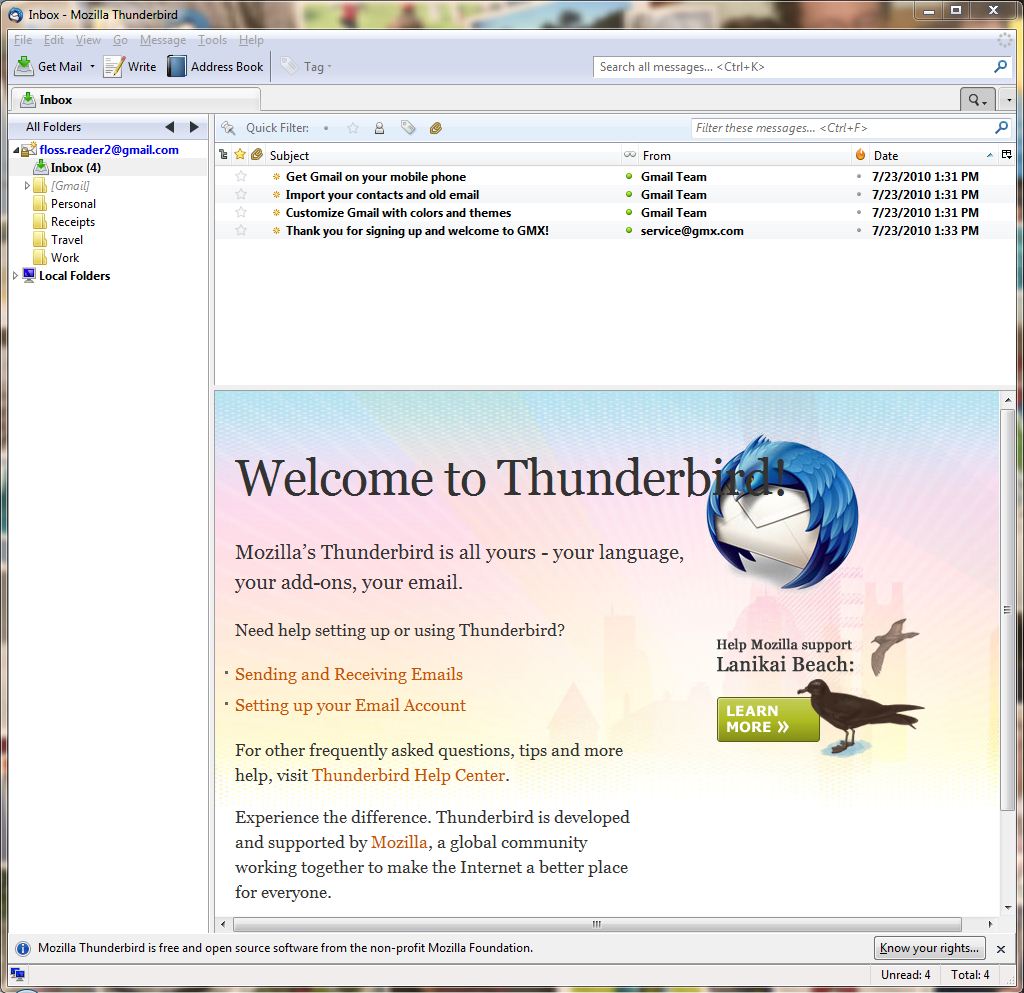
- Repeat this process for as many accounts as you want to add to Thunderbird.
Manual Set Up
If the automated set up process does not work or if the database of ISPs that Mozilla maintains doesn't contain information about your email provider, you can set up your account manually. Your email provider should supply you with the information that you'll to set up an account. You can usually find this information on your email provider's website, or by contacting their technical support department.
- Go to the Tools menu and click Account Settings to open the Account Settings screen.

- Go to Account Actions and click Add Mail Account.

- Thunderbird tries to use the automated process to create your account.
Enter your name, your email address, and email password and then click the Continue button.
- Thunderbird will attempt to use database of Internet Service Providers (ISPs) that is maintained by Mozilla to get the account settings. You can stop this process by clicking the Stop button.
At this point, click the Stop button to start creating the account manually:
- Click POP or IMAP in the Incoming row. You won't be able to change from POP to IMAP or IMAP to POP after you have clicked Manual Setup so please double check that you have selected POP or IMAP as appropriate!
- Click the Manual Config button.
- The Account Settings screen will open for your new account. The screen contains your account name, your name, and your email address.
- Click Server Settings to configure your account to receive email.
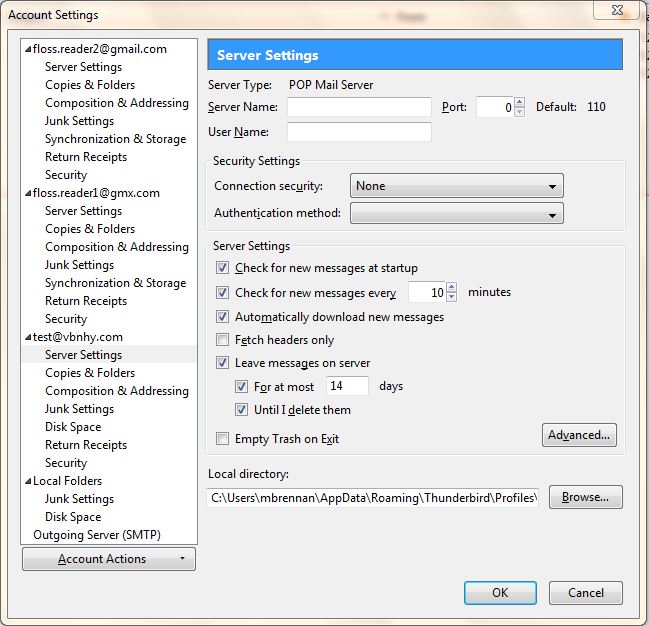
The IMAP and POP screens look slightly different than the Windows screens. For more information on IMAP and POP, read this short Gmail help article: https://mail.google.com/support/bin/static.py?page=ts.cs&ts=1668960
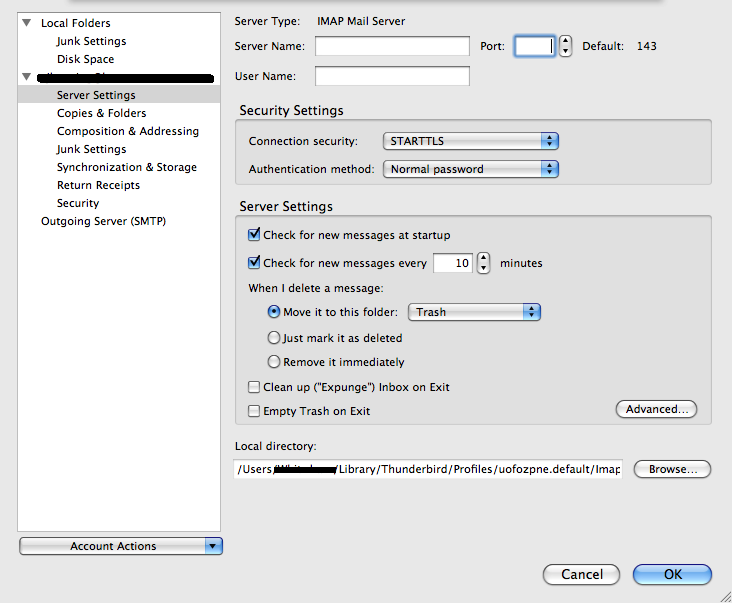
- Enter the following settings for your email provider:
- Server Name
- User Name
- Port
- Security Settings
- Click Outgoing Server (SMTP) to setup the account to send email.
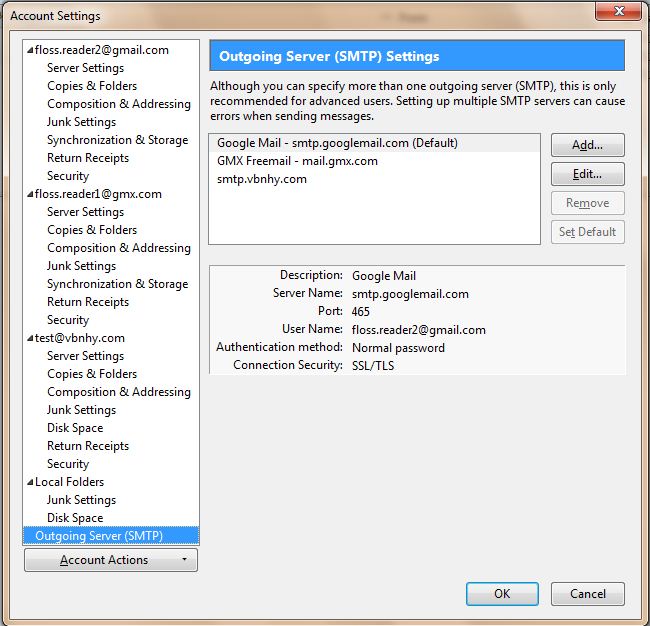
In Outgoing Server (SMTP) Settings click the Add button.
- Enter the settings for sending email that you got from your email provider.
Click the OK button to continue.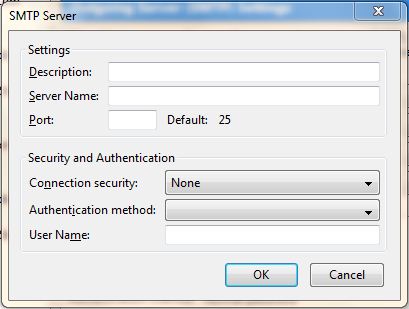
- To complete the set up process, click the OK button on the Account Settings screen.
- Thunderbird asks for your password the first time that you try to get or send email. When this happens you can have Thunderbird remember your email.
Remove an Account
Here's how to remove an email account from Thunderbird.
- Go to the account Manual Set Up screen.
- Select the account that you want to remove.
- Click Account Actions and select Remove Account from the list.
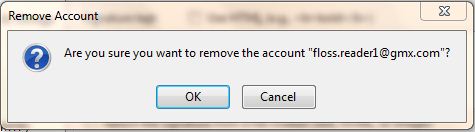
- Thunderbird confirms that you want to remove the account. Click the OK button to continue removing the account.
The account is removed from Thunderbird and is no longer in the Account Settings screen.