


Introduction to Multi-track editing
In this chapter we look at arranging clips across several tracks. This is called Multi-track editing. Further chapters on audio and video effects also use multi-track editing.
Understanding multiple tracks
Multi-track editing is used primarily for technical reasons. It is not possible to put two clips in the same place on the same track. If you want to add music along side your video you need to use more than one tracks. Multi-track editing is also used for organisational reasons. When working with many different types of media, for example, music, voice-overs and videos from different sources, it is easier to use a different track for each type of media.
Adding new tracks
It is likely that your editing software will give you several video tracks automatically. You can add more by using Project > Tracks > Insert Tracks or by right clicking on an existing track, near to the track name, and selecting Insert track.
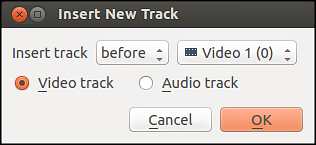
Normally Video Tracks are positioned above Audio tracks.
Which track is visible?
Normally, you will only see content from the top video track. If you have clips in track 1 and 2, you will only see the content of tack one. If track 1 is empty, however, then the content of track 2 has priority and will be visible instead. In the diagram below, the purple areas indicate which video clip will be visible during playback.
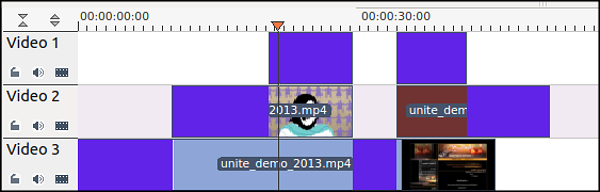
There are times when this is not true, for example, if you use certain Transitions. Also, this rule does not apply to sound: unless muted by using Audio Effects all sound will play together.
Transitions
Transitions allow us make the joins between clips:
- less-confusing - for example, when cutting between clips showing a similar location
- more subtle - where the change between clips could look jumpy
- narrational - for example. where you want to indicate the passing of time
While the method of applying transitions varies between different applications, the transitions themselves very standard. For example, the Dissolve Effect is widely used at all levels of video production, from home video to Hollywood.
Cutaways
If you have, for example, an interview with an activist about a recent demonstration and some footage of the demonstration too, you could intermix the interview video with footage of the demonstration. This will make your video more interesting to watch and help your audience empathise with the interviewee. It will also lend credibility to your narrative.
You can achieve this effect by preforming a series of Cutaways and Cutbacks. You would start with the interview footage and then cut away to the footage of the demonstration, then you would cut back to the interviewer again a little later.
Because you are using multiple tracks, the voice of the interviewee can continue along side/over the demonstration footage like a narration.
Hands On Task: Creating a cutaway and cutback
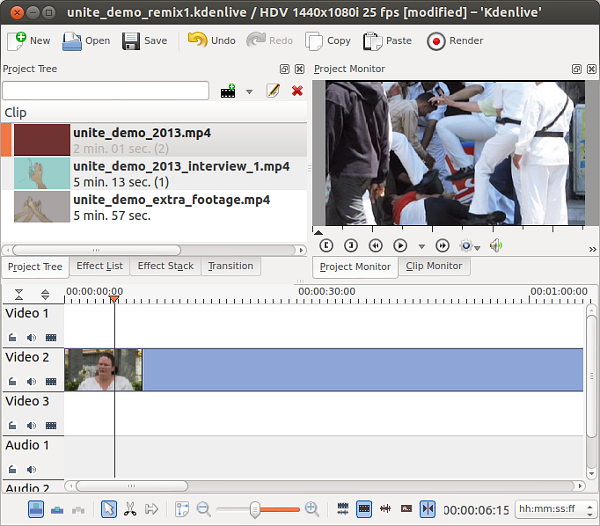
Start by dragging your interview clip into the second track in your Timeline. This clip will be visible for most of the video.
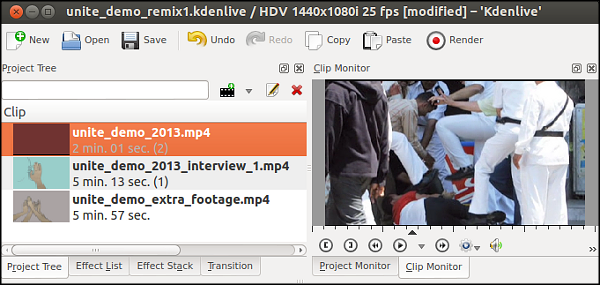
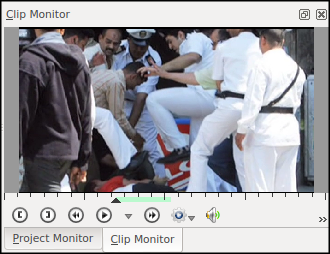
View the footage of your second clip, the demonstration, using the Clip Monitor. Identify a section to use for the cut away. This is the part that will be visible for only a short time.
Select an in and out point for your cut away clip using the bracket shaped Set zone start/end buttons (or the i and o short-cut keys).
Drag your new clip from the Clip Monitor window into the track in your Timeline above the track used for the interview, in this case Video 1. Use your mouse to move the clip into position above the part of the interview that you want to cut away from.
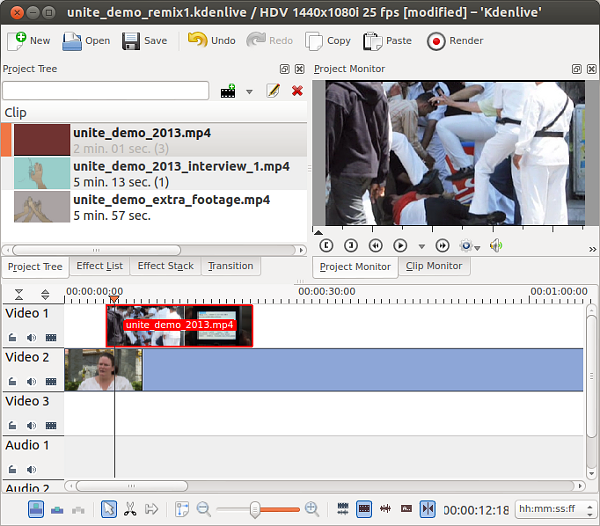
Watch the Timeline in your Project Monitor to see how it looks. Reposition the cut away with your mouse if necessary.
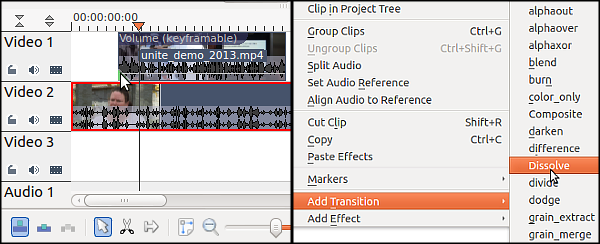
Hands On: Adding a transition to a cutaway
Try adding a Dissolve transition to the cutaway that you made in the first task. To do this in Kdenlive, either click the green arrow that appears when you hover over the bottom left hand corner of the top-most clip, or right click on top-most clip and select Add Transition > Dissolve
You will see a yellow box has now appeared at the edge of your clip. This box specifies the length of time that the dissolve will take, from the start, where you will see hardly any of your demonstration footage, to the finish, where you will no longer see the interview footage (only the demonstration).
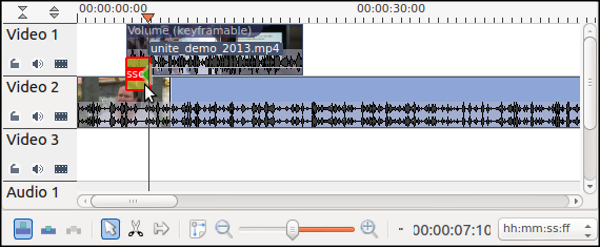
Preview your footage in your Project Monitor. If you need to adjust the length of the transition, do so by dragging the ends of yellow box to make it longer or shorter.

Next, add a second Dissolve, this time the end of the cut away in the same manner.

Notice that the reverse box is ticked in the Transitions Menu this time.
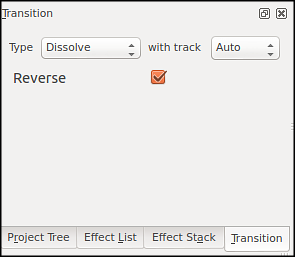
This means that the clip in track 1 is dissolving into the clip in track 2 - the opposite of the first dissolve. This usually works automatically, but not always: if your dissolve looks a little strange, try changing this option.
In this transition dialogue you can also change the type of transition and/or the track that you wish to transition into. You may need to change the target track if the clips are not positioned in adjacent layers.