


Working with a Single Video File
The most essential things you can do with video editing software are to: open a video file, extract part of it and render it into a new video file. This may be useful to share vital video evidence or an inspiring piece of footage where the original footage needs to be changed. Perhaps you only want to share a short part of it, and discard the rest, or perhaps you need to remove part of the video that could put your colleagues at risk. This chapter will explain how to achieve this and summarise the basics of working with a video file.
This chapter is designed to be fast and basic, so we will skip steps of preparation and good practice and avoid specialist video editing language. However, all steps described are explained in greater detail in other chapters, so if you get stuck try reading ahead.
Hands On: a high speed edit.
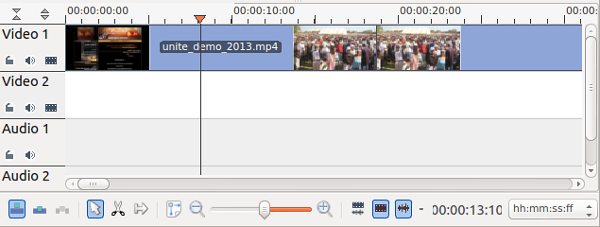
This task assumes you have already transferred your video file onto your computer and have installed a video editing programme (in this case we are using Kdenlive).Start Kdenlive in the normal way. Import your video file by clicking Project > Add Clip in the top menu.

Your video clip will then appear in the Project Tree section on the top left of the screen.
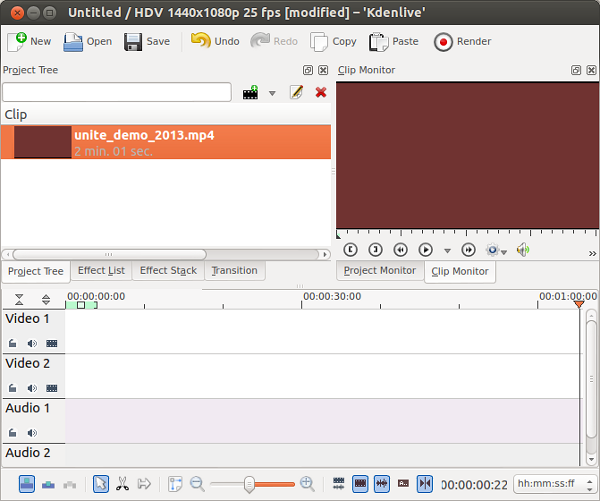
Once your clip is imported (long clips can take a while!) you need to drag it into the Timeline in the lower half of the editor window - use the first Track (Video 1).
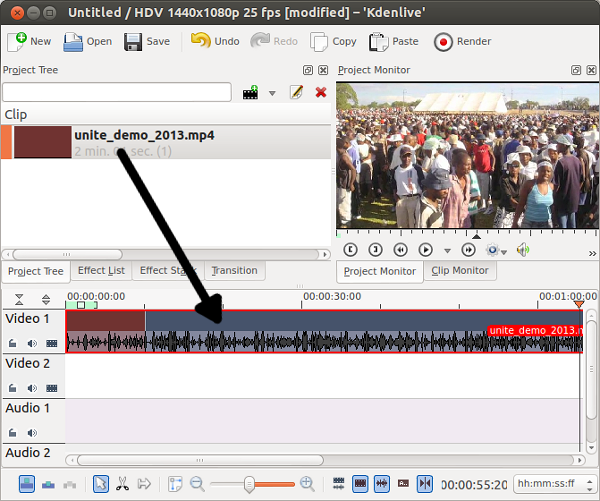
Once you have done this, use the Project Monitor window to play, forward and rewind your video. See that the position indicator on the Timeline moves along as your video plays: it can be helpful to use the position indicator to guide you when you cut or change a clip.
Shorten the clip
To simply remove the start (or end) of the clip, you can drag the clip to the desired length. Move your mouse to the start (or end) of the clip, see the green arrow appear, click and hold as you pull the clip edge towards the centre. Note that if you play your video then pause where you wish to make your change, you can use your position indicator to mark the point to which you need to drag the clip edge.
Remove a section from the middle
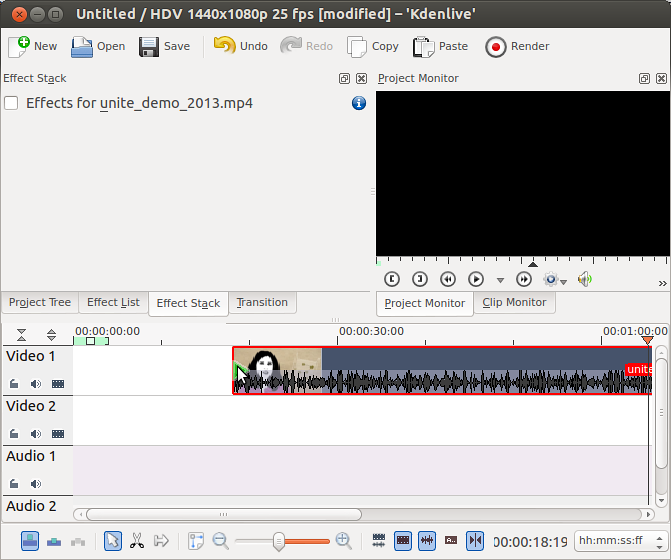
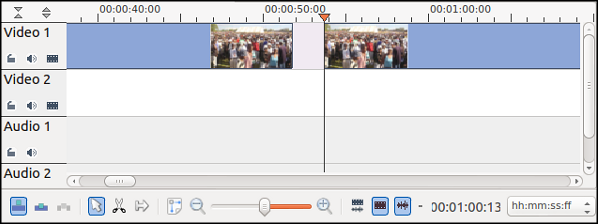
To remove a section from within the clip you need to cut it out using the Razor tool, which is located in the tools rack at the bottom of the editor window.

Select your razor tool from the tool rack and click on the place you want to cut, using your position indicator as a guide if you wish.

Next you need to mark the end of the area to remove. Press play till you have found the end point of the section that you wish to cut out, and use your Razor Tool to make another cut.
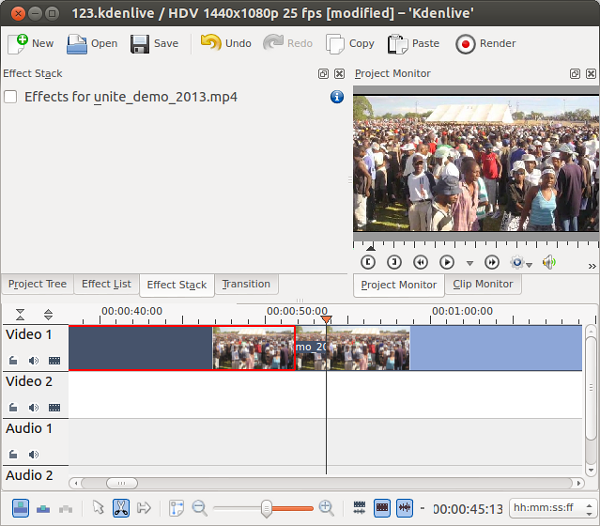 You have now isolated a section of the video and you can delete it. First, switch back to your selection tool in the toolbar:
 Then select the area of your clip that you wish to remove and hit delete on your keyboard. You will now see a blank space in your timeline.
Line them up
Next, drag and drop your shorter clip(s) so that they line up like one long clip. Make sure the first clip touches the very beginning of the timeline. You can watch the sequence in your Project Monitor to double check. The final step is rendering.
Export / Render your project
Now you are ready to make a video that can be played by a video player or uploaded to the Internet. First, click the large Render button.

Choose an Output file name and make a note of where it will be saved. Select the MPEG-4 Profile, and leave the other settings unchanged.
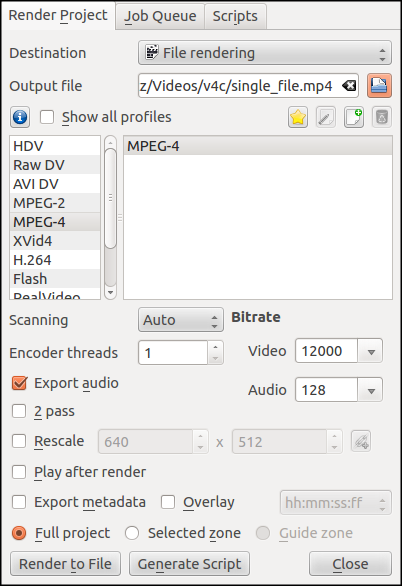
Click Render to File
Check and distribute
You have now made a new video! Take a look to make sure its okay. To do this, find the new file based on where you rendered it too, and play it using your media player.
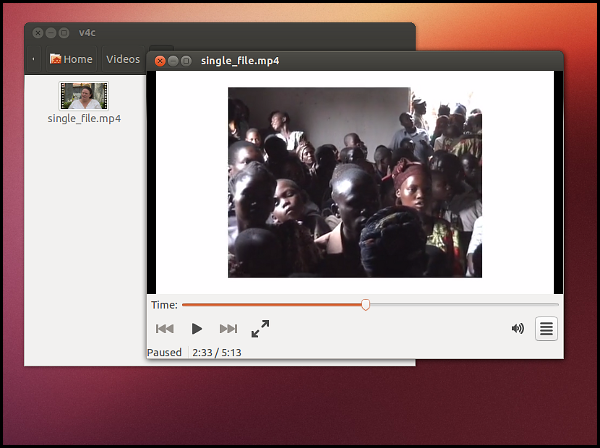
Once you have checked it, you can upload it or share it as desired.
Summary
This hands on task demonstrated a fast and simple edit. Once you have achieved this, however, you might want to slow things down a little and edit a more complex piece. You could add in interviews, additional footage and use tools which help you tell a story or create a certain mood. The rest of this book will tell you how.