Cropping an Image
Software name : GIMP
Software version : 2.2
Sometimes you might have an image that needs a little bit 'cut off' or trimming. This is called 'cropping' an image. The term comes from the photographic crafts. Photographers used to choose which part of an image would show when they exposed the image on photographic paper. They would do this using a number of techniques and some of them were quite tricky. Thankfully with digital images it is now all a whole lot easier.
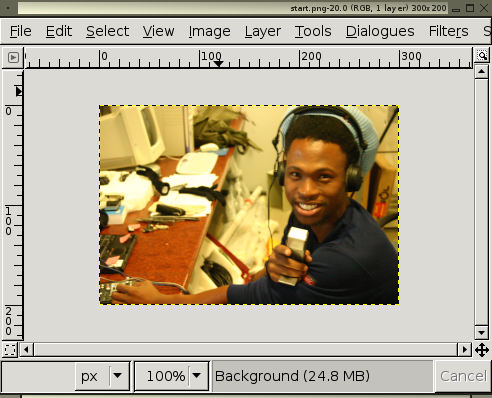
So, lets assume you have an image open in front of you. Mine looks like this:
Decide on your crop area
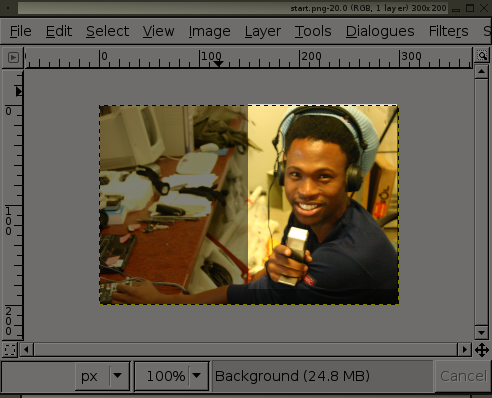
Lets say we want to have a close up of Ntsikelelo without all the messy desk to the right, in other words we want to cut out the greyed areas you see here:
Choose the crop tool
So, the first thing you want to do is look to the GIMP 'ToolBar':
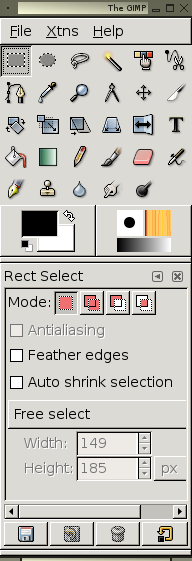
We want to focus on just one tool, not surprisingly called the 'cropping tool' :
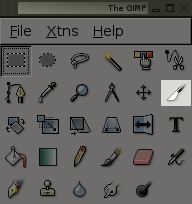
Click on this tool and you will see the mouse pointer change to look like the 'knife' icon displayed in the ToolBar.
Drag the crop tool
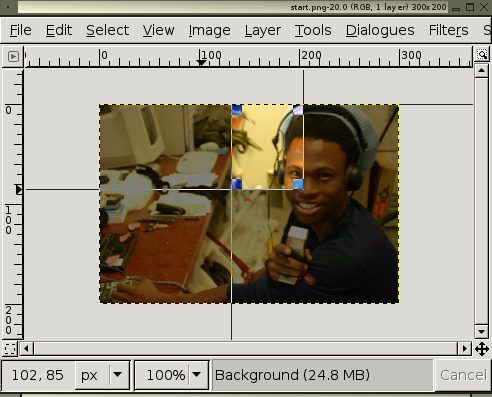
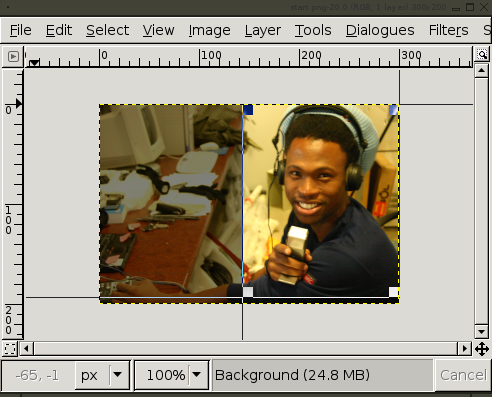
Now we can simply drag the cropping tool over the image. First click on the image where you wish the cut to start and drag it to where you wish it to stop. In the process you will see a box appear and move as you move the mouse:
The Crop Window
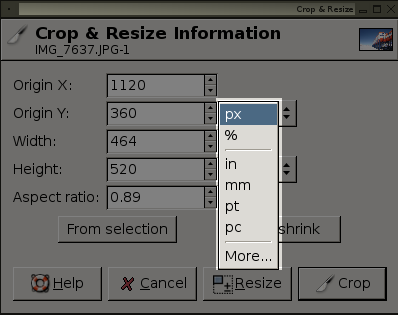
Now, in the process you would have seen this window pop up:
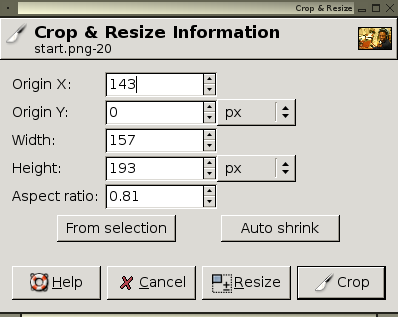
This window displays all the cropping information.
Origin X and Origin Y
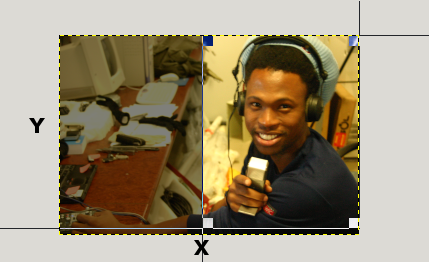
The crop window tells you where the crop points start on the X and Y axis. Origin X is the point on the X axis where the crop will start and Origin Y is the point on the Y axis where the crop will start :
Except that the details shown in the crop box aren't very intuitive. Essentially the number in the Origin Y relates to the crop point closest to the top and the Origin X relates to the point of the crop closest to the left of the image.
Height and Width
The Height and Width boxes tell you the height and width of the crop. This information isn't really that useful unless you need to cut the image to a specific size. Usually you judge the starting point and size of the crop by eye.
You will also see that in the above example there is a 'px' box:

This relates to the unit of measurement for the Height and Width. You can click on this box and see a variety of options :
These units are related as follows :
- px - pixels
- % - height and width will be displayed in a percentage of the original size
- in - inches
- mm - millimeters
- pt - points (in typography, a point is the smallest unit and is equivalent to 0.3527 mm )
- pc - pica (this a unit of measure in typography - there are 12 points in a pica, and a pica is 4.233 mm)
Aspect Ratio
Aspect Ratio relates to the ratio (mathematical comparison) of the height and width. Most digital cameras use the Aspect Ratio of 4:3. The first number (in this case '4') relates to the Width and the second number relates to the Height. In the case of a 4:3 Aspect Ratio the Height is 75% of the Width.
From Selection
This button doesn't do much unless you already have selected an area of the image before you start dragging the crop tool around. If you had already selected an area using one of the select tools:
If you had an area selected with one of these tools and then chose the Crop tool, and then clicked the crop tool on the image, and then clicked on 'From Selection' then the crop tool would choose the pre-selected area.
Auto shrink
If you use this tool GIMP will try and 'find the edges' of an object within the image or selected area. It doesn't always do such a good job.
Make the crop
Then you click 'crop' :
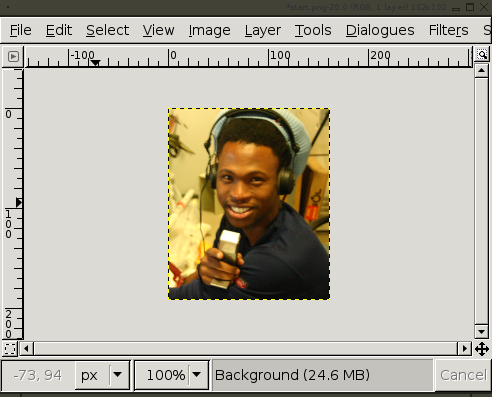
Now you will need to save the image otherwise the changes will not take effect next time you open the image.


