Website Anatomy
At the most basic level a website is nothing more than a set of files written in a specific way that can be interpreted (or parsed, in web lingo) by a web browser. In order for all browsers to interpret the files all web pages must be written in a consistent manner. This consistency of form is HTML, or Hypertext Mark-up Language. Because HTML is nothing more than a text file written in a specific format, all that is needed to write web pages is a text editor. Creating pages this way requires knowledge of the HTML format, and while HTML is not all that hard to learn, most people prefer a more visual way of designing pages. Applications such as NvU allow people to make functional websites by "writing" the HTML for you.
The design of NvU makes the experience of web page design more akin to using a word processor. While this makes learning the software easier for most, there are a few traps that lurk in the shadows of this kind of approach. The Hypertext part of HTML is what makes linking possible in web pages, and understanding how links work is crucial before successfully creating a website. I'll give you a brief introduction here, but I recommend further reading for more detail of how all this works.
Organise Your Files
The most important thing to do when setting up a site is to make sure that you are consistent in where you keep all your files for your site. Being diligent in good file management will save you countless hours as your sites grow and become more complex. Let's take a look at the anatomy of file structure of this tutorial. You can see this structure in NvU using the Site Manger on the left side of NvU window.

You should keep a separate folder for the images and styles associated with the site. As you'll soon see keeping things categorized in this way will make expansion and revision of the site relatively painless.
When setting up a site for the first time in NvU the best practice is to set up a folder on the hard drive of your computer that will hold all the files you'll need for your site. This folder should contain nothing but what you actually need to display your site. By keeping everything contained in a folder in this way it will make transferring your site to a server very easy. You can set this up without having to leave NvU.
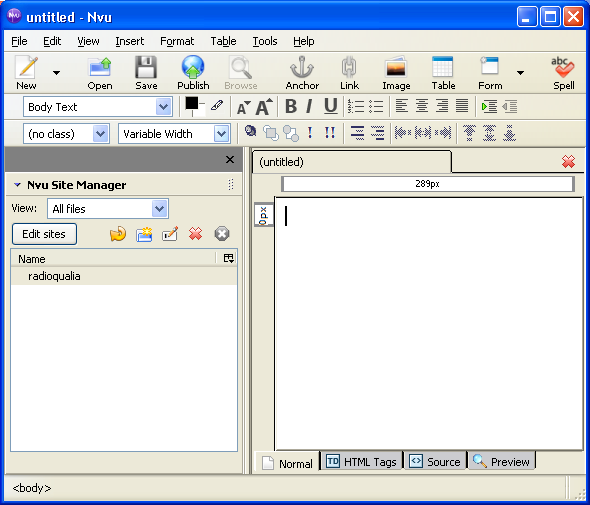
When you first open NvU you will be presented with a screen that looks like this:
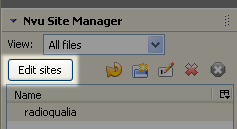
Click on the "Edit Sites" button in the site manger:
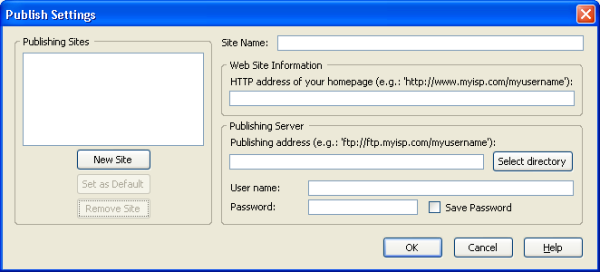
Another window will appear called publish settings.
Click on the button "Select Directory" in the Publishing Server section:

Create a new folder (also called a 'directory') and select it in the dialogue box that appears. I've called mine Tutorial_Site. Note the underscore in the directory name. As a general rule, spaces are a bad thing in the names of files and directories in websites. If you would like to have a space, use the underscore (_) character.
In the Publish Setting window add a name for the site in the Site Name section. You should also see the name of the directory you created in the Publishing Server section of the window. Don't worry about the rest of the boxes, those need to be filled in when it comes time to publish your site on the web. For the time being, all we are doing is setting up your site on your computer.
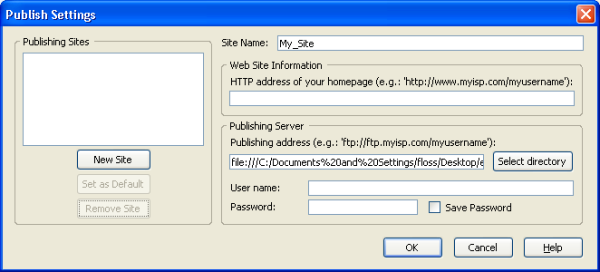
If it all looks good, click "OK".
You should now see the name of your site in the site manager. All the files that you create as you build your site (and nothing else) belong in this directory.

Now its time to make a directory that will hold all the images that will appear on the site. Click on the site name in the site manager so that it is highlighted and you will see the icons in the Site Manager become coloured. Click on the icon that looks like the folder.
![]()
A dialogue box will appear. Enter 'Images' as the directory name.

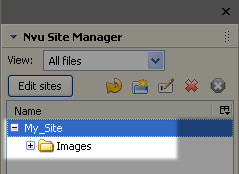
Click 'OK'. You should now see the 'Images' directory appear under the site name in the Site Manager pane. If it's not there, just click on the refresh icon next to the folder icon you clicked when adding the directory. It should look something like this:
Congratulations. You now have the basic directory structure for a successful website. It's now time to add a little content.


