


Using Inline Styles
You now have a choice on how to use styles in your site. The most basic way is to use inline styles. Which is to mean that you assign each element in the site it's own specific style as it differs from the default. This is how most people use a word processor. For example, selecting a bit of text that you want to be bold, and then clicking the "Bold" button. In this sense, NvU operates in much the same way. Looking at the example of our index.html page, let's change the colour of the background and the text. This is done from the NvU menu bar. Click on Format > Page Colours and Background. You will be presented with the following window:
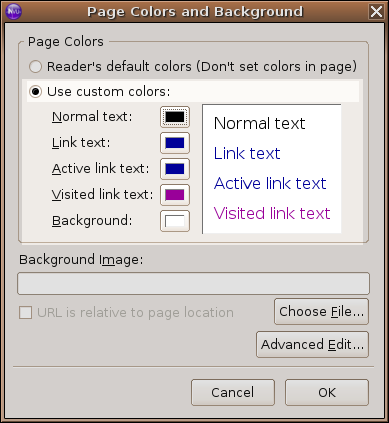
By clicking on the Use Custom colours button, you are able to set the defaults for all the text on the page. You'll notice three types of link colours:
Link is the colour of text which contains a link that has not been visited yet by the browser
Active defines the colour of link as it is clicked
Visited defines the colour of a link which has been previously visited by the browser
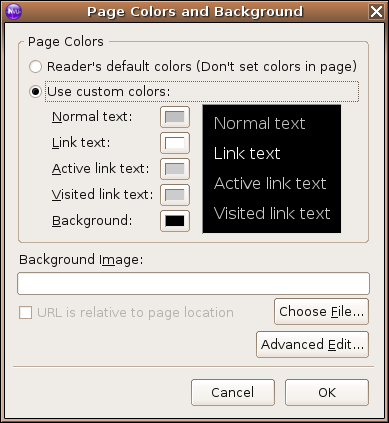
Go ahead and change the colors. (Just remember that if you choose text colour that is too similar to the backround colour, its going to be hard, if not impossible, to read it) Click OK, save the page and take a look at the page in your web browser. (If it looks the same, make sure to click on the refresh button in the browser to load the latest version of the page.
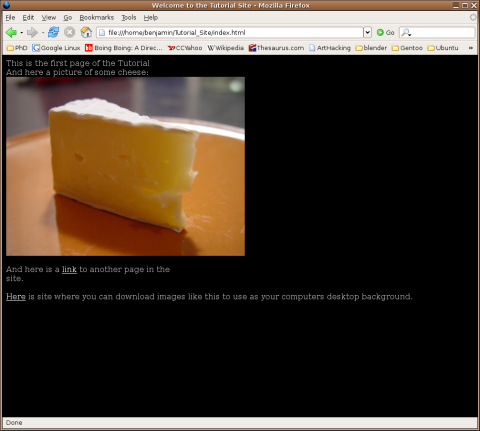
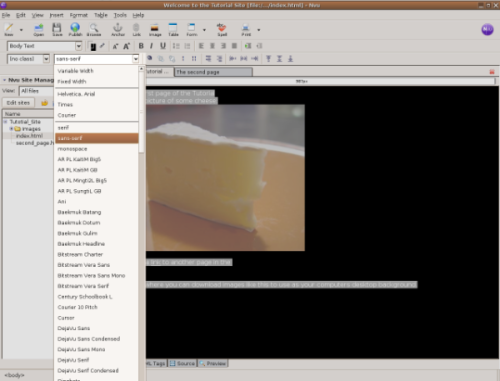
Now lets change the font of the text on the page.
First select all the text on the page by pressing ctrl+a. You should see all the text on the page highlighted:
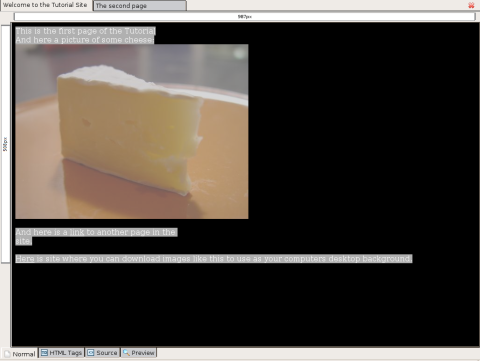
You can select the font you want to use either by clicking on Format > Font in the NvU menu bar, or by choosing the font in the drop down menu in the upper right hand corner of the NvU window.
Once again, if you save the page and load it into your browser you can see what it looks like. All changes (Text size, Bold, Italic, Underline) to text are made the same way.
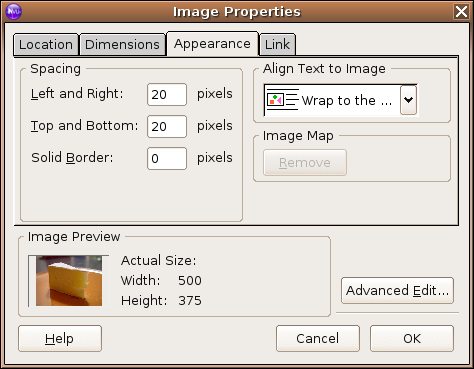
Time to change the position of the image on the screen and get the text to wrap around it. This is done by clicking on the image once to highlight it, and clicking on Format > Image and Link Properties from the NvU menu bar. (Double clicking on the image does the same thing.) Another pop up window demands your attention. Click on the Appearance tab, and you are presented with the following options:
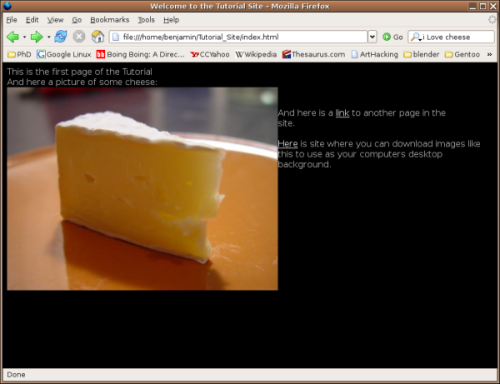
The pull down menu, "Align text to Image" gives you the option to have the text wrap around the image to the right or to the left. Selecting "Wrap to the right" will give you some thing that looks like this:
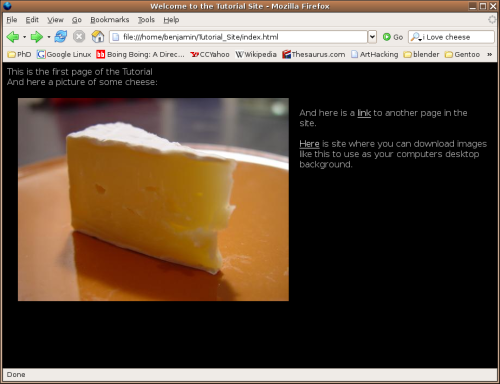
You'll notice the text next to the image is just touching the edge of the image. To add a little space between the image and the text, use the spacing options in the Image Properties window. Experiment with different numbers until you get something that you like. This is an example of what 20 pixel spacing looks like:
That's the basics of using styles to control the appearance of individual elements of a web page. It's fairly straightforward, but with a little planning, the use of style sheets can make your life even easier.