


Edit Media
To edit media that has been previously uploaded, click Edit/View Media in the Workshop navigation bar.

Use the filters or tag search (explained in the chapter Browse Media) to find the media item(s) you want to edit, and click on the text below the icon of the item to open the Edit interface.
For this example, the media type we are editing is an avatar, but most of the following information applies to all media types.
![]()
Here you can:
- change the name (note that this will change it on all stages where the media item has been assigned)
- change the voice of an avatar: select from the dropdown menu, and click Test Voice to hear what it sounds like
- assign the media item to stages, or unassign it: select the stage name and use the arrow buttons to move that name from one list to the other
- add tags: more than one tag can be added by separating them with a comma
- permanently remove an item from the server with the Delete Media button (if the item is assigned to stages, check the Delete even if in use box first).
Once you have made your changes, click Save Changes.
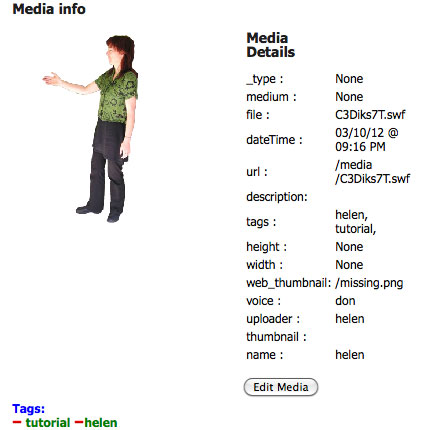
Display details
Click Display Details to see more information about this media item, including:
- the upload date and time (useful if you have uploaded multiple versions of a media item and want to delete all but the last, best, one; or if you are having a purge of your media and want to delete everything before a certain date)
- the filename and url of the media item (useful if for some reason you need to download the item from the server).
Click Edit Media to go back to the Edit interface for that media item.
Edit other media types
The edit interface is the same for all types of media, apart from one difference: avatars have the voice dropdown menu and Test Voice button, and audio items have a Test Audio button, which allows you to listen to the file.