


Creating a stream avatar
The easiest way to make your stream appear on an UpStage stage is to create a stream avatar. This avatar is created in the same way as a normal avatar, from the Add Media section of the Workshop interface:
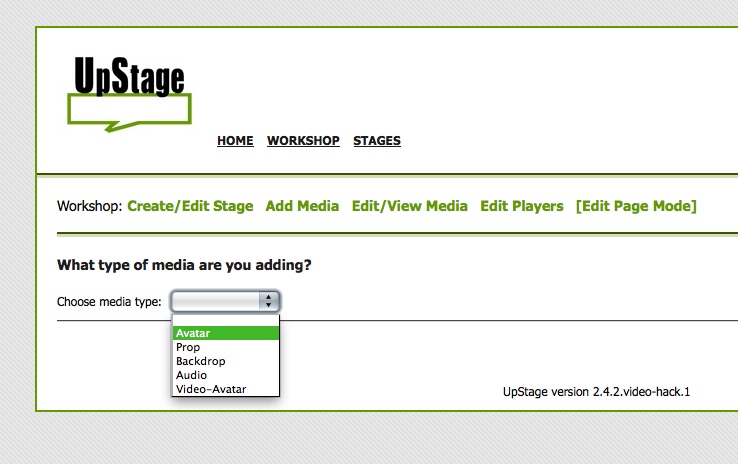
- Click Add Media.
- Select Avatar from the media type dropdown menu.
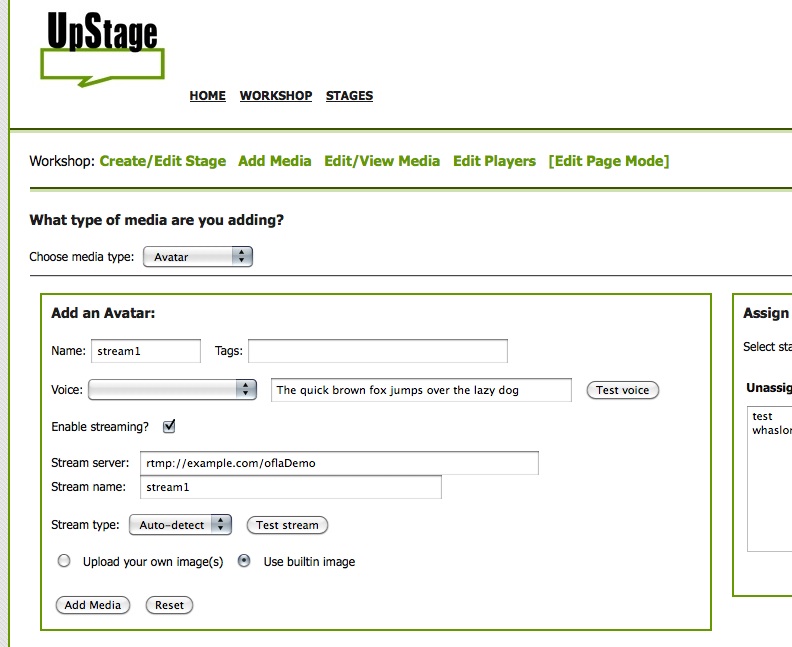
- Give the avatar a name, tags, and select a voice if you want.
- Check the "Enable streaming?" box.
- In the "Stream server" field, enter the rtmp address of the streaming server you will be using.
- In the "Stream name" field, give the stream a name.
- Assign the avatar to the appropriate stage(s).
- Click Add Media.
You must have the exact same stream server and stream name information entered in whichever streaming application you use.
Stream as part of a graphic avatar
It is possible to have an avatar that is both a static or animated graphic AND a stream. To do this, once you have entered the stream information as described above:
- Select the radio button "Upload your own image(s)".
- Select the appropriate number of frames.
- Browse to the image(s) on your hard drive and select.
- Assign the avatar to the appropriate stage(s).
- Click Add Media.
Note that this means the stream will be visible behind every frame of the avatar, unless you are not actually streaming anything.
![]()
Now go to your stage and start your stream in order to see your stream avatar; remember that you must assign the avatar to a stage before you can see it!