Get a WordPress.com blog
If you do not wish to host your own blog, or do not have that option for one reason or another, you can still run a WordPress blog by signing up for a free account with the makers of WordPress themselves. Although a blog set up at WordPress.com will not be as customisable as one that you host elsewhere, you will not have to spend time or money setting it up, getting it working or dealing with maintenance in the future.
Get a Wordpress Account
- Go to the WordPress.com sign up page :
http://www.wordpress.com/signup/ - Scoll down and click the fascinating terms of service. Read the information and then click your browser's back button to return to the sign up page.
- Choose a Username for yourself. It will be required to sign in to your blog. Note: It does not have to be the same as your blog name.
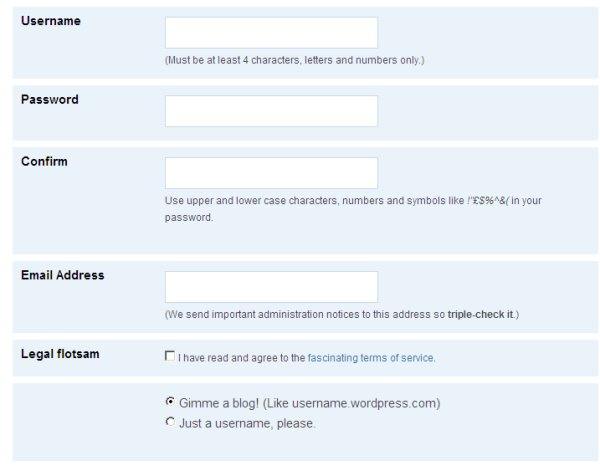
- Choose a password and enter it in both the Password and Confirm fields.
Note: If the status bar that displays underneath the password field as you type does not say "Good" or "Strong", then you will not be able to proceed until you have provided a stronger password. - Enter a valid email address that you can access.
- Check the Legal Flotsam checkbox.
- To have your blog named the same as your Username, select Gimme a blog! (Like username.wordpress.com).
- Press Next.
Note: If your Username is taken, or your password isn't strong enough, you will be prompted to change those before continuing.
Choose a Domain Name
On the next page you can set the subdomain of your blog. Note: You will not be able to change this once it is set, so chose carefully.
A subdomain is a 'child' of a regular domain. In this example, the domain name is wordpress.com, and our subdomain is "flossmanuals". Therefore, our web address, or URL, is http://flossmanuals.wordpress.com.

You can also give your blog it's title. You can change the title in the future if you need to. You should also set the language now using the drop-down menu.
And finally, press Signup.

If all goes well at this point (your subdomain will have to be unique, or you will be asked to change it) you should see saying "Your account is now active!".
Log In to Your New Blog
Once you've received your activation email, you need to log in. There are couple of ways of doing this. The first is to go to the main wordpress page and fill in your username and password and click Log In on the top bar of the screen, as shown below.

The other way is to browse to the domain you chose.

Find the Meta section in the sidebar and then click the Login link.
Then enter your login details and click Log In.
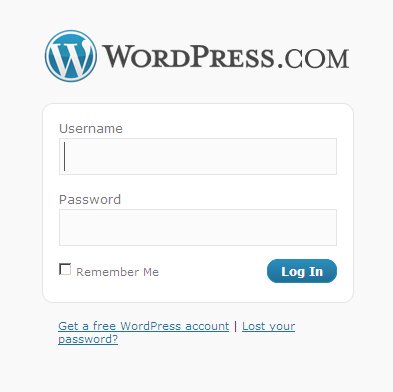
You should now be logged in to your new blog. You should see what is called your 'Dashboard'. This is the control panel where you can add new content to your blog and change the settings.
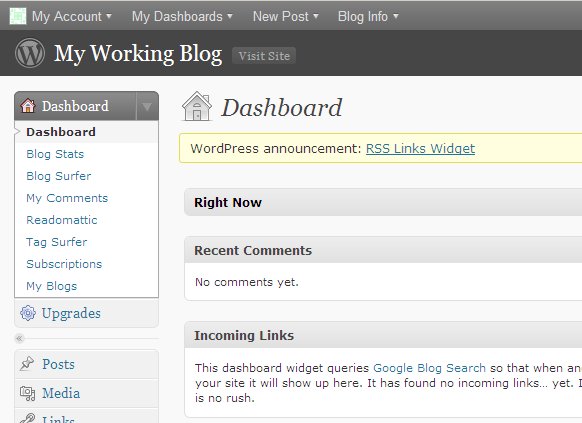
You can think of the Dashboard as the back end of your blog, compared to the front end which is what everyone else gets to see. Learning to understand your Dashboard, and how changes there affect your site is the key to getting the hang of using Wordpress.
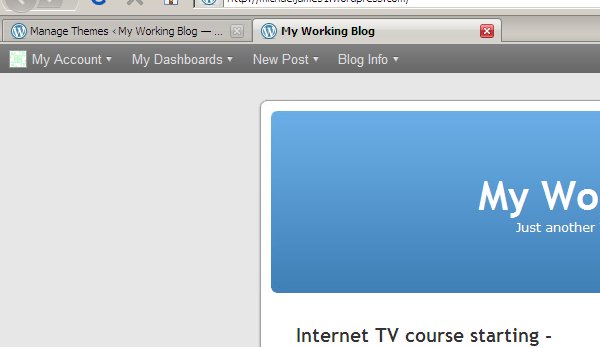
Why not try opening a new tab in your Internet browser so you can see both 'Your Site', the public part of your blog, and your dashboard at the same time. This will make it easier when you are working on your blog to see the changes.
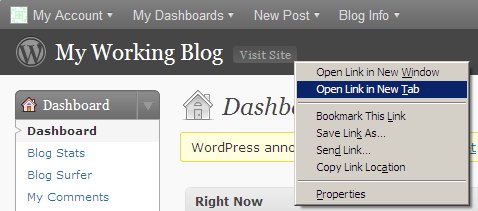
When you have done this, click on the new tab to see the 'Front end' of your blog. It will be available at the URL in the address bar of your browser. eg. http://yourblog.wordpress.com
You'll get to learn more about your Dashboard and how to use it if you look at the tasks in the other chapters of this manual.


