Adding titles and credits
If you want to add titles or credits to your video you'll need the 'dvtitler' plugin installed. For more information see:
http://dvtitler.sourceforge.net
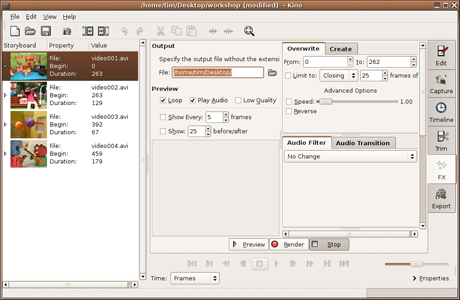
Click on the FX tab and a 2-column window opens.
The first column has Output and Preview settings that have self-explanatory options to select from. The video preview will play in this column once effects are added.
The second column has a selection of audio and video filters that can be applied to your movie. Before looking at specific effects let's look briefly at the difference between the Overwrite and Create options.
Overwrite and Create modes
An important point to note is the difference between the choices to Overwrite and to Create. Overwrite writes the titles on top of the video. Create adds titles onto a background of your choice.

A typical title may be a centrally aligned text that fades in and out on top of the footage. To create this, select the first clip in the sequence and choose Overwrite mode. In order to set the duration of the title sequence, first check the 'Limit to' box and select the 'Opening' option. Enter 45 frames in the selection area. This is equivalent to about 2 seconds of video.
Next click on the Video filter tab and from the dropdown menu select 'DV Titler'
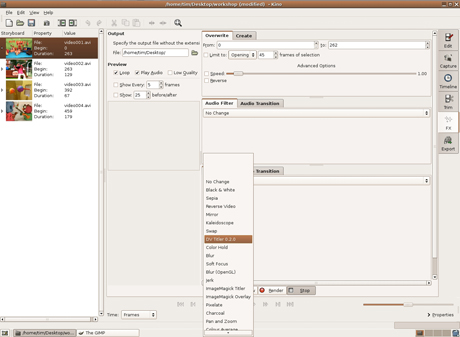
Text options
The DV Titler input area is displayed.
Type in your title, in this example I use 'Our Gran's Joint'.
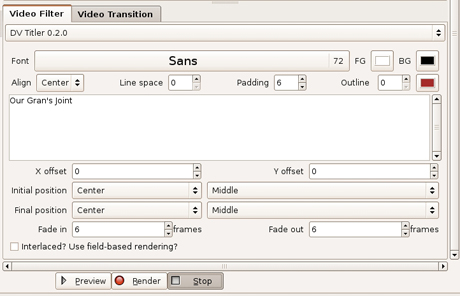
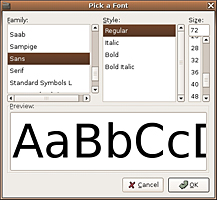
From the options click the font box and select Sans (default font) and choose size 72.
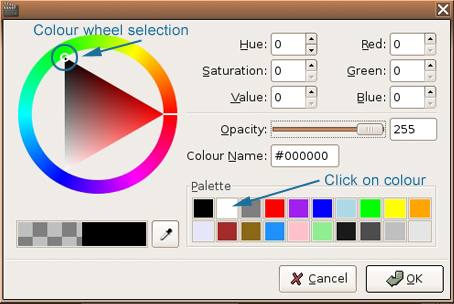
Set the FG (text colour) to white and the BG (background) to black.
Set Align to Center, as this will keep the text centrally aligned if it expands to more than one line. Next set Padding to 6 – this extends the background colour of the text box and makes the text more prominent on the selected clip.
Set both text positions to Center (In order to animate the text, select different positions for the Initial position and the Final position.)
Set the Fade in and Fade out frames to 6.
Click on the Preview button to view the title as it will appear in the video. This screenshot shows the titles as they fade in.

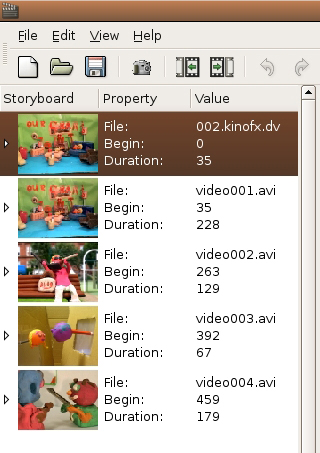
When you're happy with the result click the Render button and a new clip appears in the Storyboard window. It's named as a kinofx.dv file.
Create mode
We'll look at the other way of creating titles, having them scroll on black. This method is often employed for the credit sequences. Select the Create mode option. In the first options box choose Fixed Colour and type in the number of frames you wish.

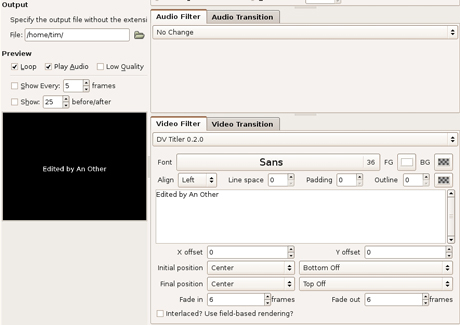
In the DV Titler options set the font size to 36, the foreground colour to white. The background can be left as the chequered design (this indicates that it will be transparent). Set the Align, Initial position and the Final Position all to Center.
If you wish the credits to scroll then select Initial position to Bottom Off, and the Final Position to Top off. Now add a 6 frame Fade in and out and type in your credits.
Preview the Credits and then render.
The new clip drops into the Storyboard. Place the credits to the end of the clip sequence.
Black Video
It's good practice to put in a section of black video at the start and at the end of the video if the movie is being run back to DV tape. Here's how to create it:
- Select the Create tab.
- Enter the Frames number you want. Choose 250 for 10 seconds of video.
- Choose Fixed Colour & select the colour Black.
- Select the 'Before current edit frame' radio button.
- Select the video Transition 'No Change'
- Render. A new black video clip is placed in the Storyboard.
- Drag it to the front of the sequence.
- Copy the clip (Edit > Copy)
- Drag the copy to the end of the clip.
- Save your work.


