Screen Size and Bitrate
Software name : Avidemux
Software version : 2.4.1
The screen size and bitrate you use really depends on what you want to do with the video file you are creating. There are some simple things to keep in mind:
The higher the bitrate the larger the file size of your video (how much space on your computer it takes up). This means that if you use a very high bitrate then it will be slower to download - this may or may not make a difference to you. You may want to try and imagine what kind of internet connection your audience may have. If they have fast connections then the final file size isn't as important. The final choice is yours and it usually means balancing a compromise of quality vs download time.
The screen size (height and width) of the movie will also affect file size. Additionally of course, the height and width affect the playback experience for the viewer. The larger you make the height and width‚ the easier it is to watch, but the bigger the file size. The compromise you strike is also one of judgement.
If you want a high quality Internet TV file for people that have a good quality connection to the internet, or to upload to a video sharing site then you could use the following settings
- 1200 kp/s bittrate
- 640 (width) x 480 (height) size for 4:3 aspect ratio (or 640 x 352 for 16:9 )
If you are creating a file for people who have a much slower connection then you may want to choose the following settings
- 300 kp/s bittrate
- 320 (width) x 240 (height) size for 4:3 aspect ratio (or 320 x 176 for 16:9 )
The decision is yours as to the most appropriate height and width, bitrate, and resulting file size. Let's assume you have made that decision and look at how to change the bitrate and height/width using figures for our high quality video file option.
Changing Bitrate
Click on the Configure button on the left of the Avidemux interface after you have chosen the video codec that you are going to use. For the example we are using the MPEG-4 Xvid codec.
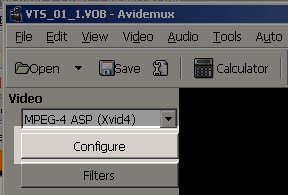
You will see a pop up window appear
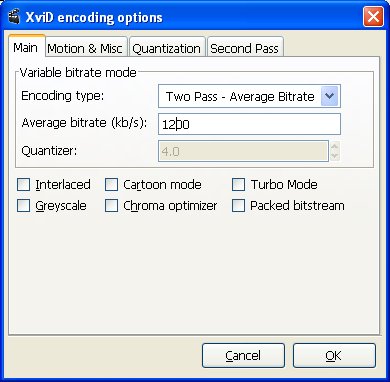
Make sure the 'Encoding mode' is set to Two Pass - Average bitrate from the drop-down menu. Change the setting in the text box ('Dual pass, avg bitrate') to 1200. Then click on 'OK'.
Change Screen Size
Now click on Video and choose Filters:
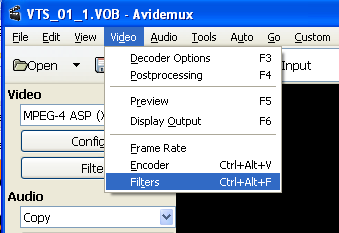
Choose the transform tab on the left if this is not already selected (this should be the default view).
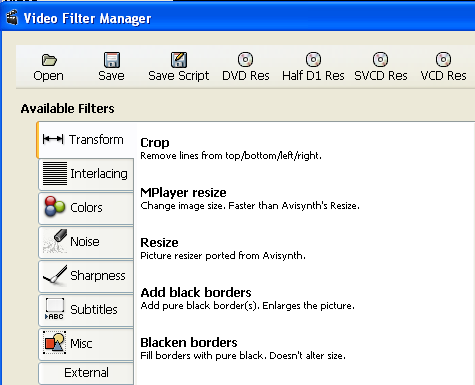
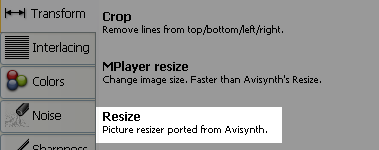
Then double click on Resize.
A pop up box will appear.
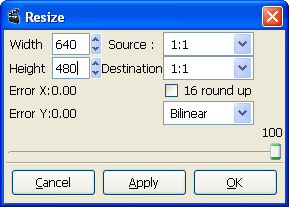
In this example we are working with a video that has a 4:3 aspect ratio. The original size is 720 (wide) by 576 (high). We are going to reduce the size to 640 (wide) and 480 (high).
Now select the correct aspect ratio from Source and Destination options. In this case it is 4:3.
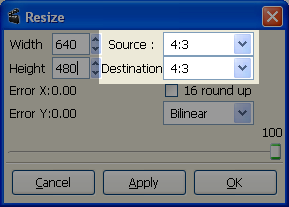
Then Click on OK
Click 'Close' to return to the main screen.
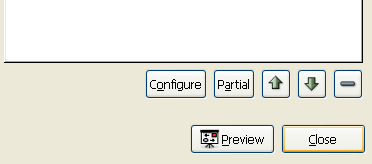
When you save the file the video will be resized.
More on Aspect Ratio
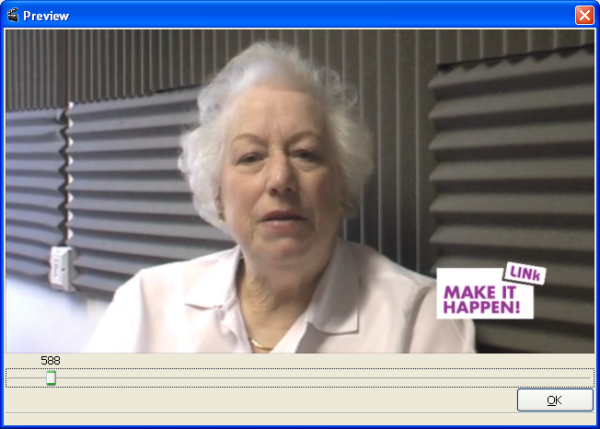
If you are not sure about the aspect ratio of the video you are working with then have a look at the next image.
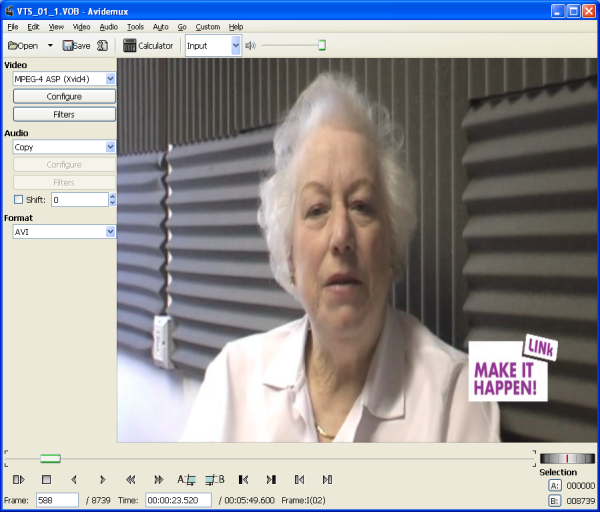
Here we can see a Video that should be displayed as 16:9, displayed as 4:3 aspect ratio. This was because the video was shot on a widescreen setting, and made into a DVD. When Avidemux opened up the DVD file it hasn't changed the shape of the image.
It's up to us to change the Image shape to be the correct aspect ratio. Repeat the steps shown above for resizing the Video and choose the following settings.
Width: 640
Height: 352
Source: 16:9
Destination: 16:9
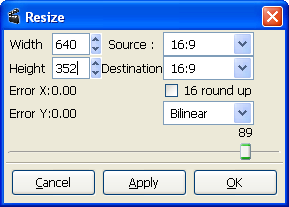
Click OK.
You can then preview this to see if the image appears to the right shape.
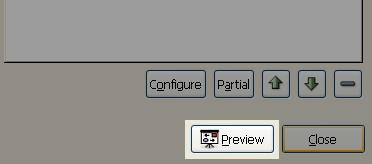
In this case we can see that the image is the right shape when we click on Preview.
