


Proxy Settings and FoxyProxy
A proxy server allows you to reach a Web site or other Internet location even when direct access is blocked in your country or by your ISP. There are many different kinds of proxies, including:
- Web proxies, which only require that you know the proxy Web site's address. A Web proxy URL may look like http://www.example.com/cgi-bin/nph-proxy.cgi
- HTTP proxies, which require that you modify your Browser settings. HTTP proxies only work for Web content. You may get the information about a HTTP proxy in the format "proxy.example.com:3128" or "192.168.0.1:8080".
- SOCKS proxies, which also require that you modify your Browser settings. SOCKS proxies work for many different Internet applications, including e-mail and instant messaging tools. The SOCKS proxy information looks just like HTTP proxy information.
You can use a Web proxy directly without any configuration by typing in the URL. The HTTP and SOCKS proxies, however, have to be configured in your Web browser.
Default Firefox proxy configuration
In Firefox 4 (Linux), you enter the configuration screen by clicking on the Firefox menu at the top left on your screen and then selecting Options. In the pop-up window, select the icon labeled Advanced and then choose the Network tab. You should see this window:
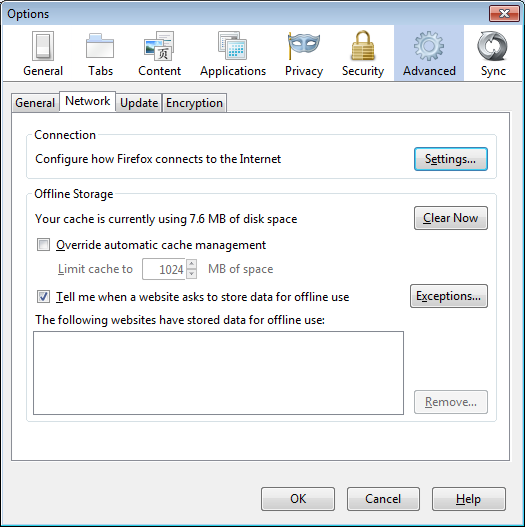
Select Settings, click on "Manual proxy configuration" and enter the information of the proxy server you want to use. Please remember that HTTP proxies and SOCKS proxies work differently and have to be entered in the corresponding fields. If there is a colon (:) in your proxy information, that is the separator between the proxy address and the port number. Your screen should look like this:
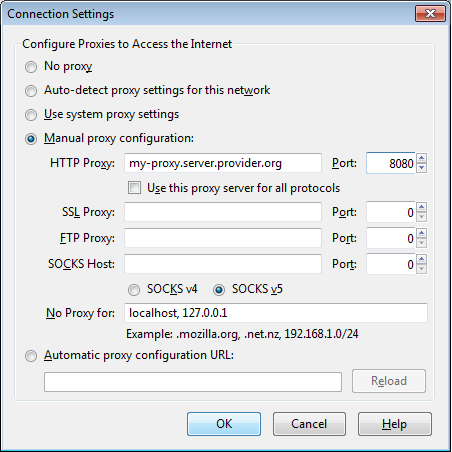
After you click OK, your configuration will be saved and your Web browser will automatically connect through that proxy on all future connections. If you get an error message such as, "The proxy server is refusing connections" or "Unable to find the proxy server", there is a problem with your proxy configuration. In that case, repeat the steps above and select "No proxy" in the last screen to deactivate the proxy.
FoxyProxy
FoxyProxy is a freeware add-on for the Firefox Web browser which makes it easy to manage many different proxy servers and change between them. For details about FoxyProxy, visit http://getfoxyproxy.org/.
Installation
In Firefox 4 (Linux), click on the Firefox menu at the top left on your screen and then select Add-ons. In the pop-up window, type the name of the add-on you want to install (in this case "FoxyProxy") in the search box on the top right and click Enter. In the search results, you will see two different versions of FoxyProxy: Standard and Basic. For a full comparison of the two free editions, visit http://getfoxyproxy.org/downloads.html#editions, but the Basic edition is sufficient for basic circumvention needs. After deciding which edition you want, click Install.
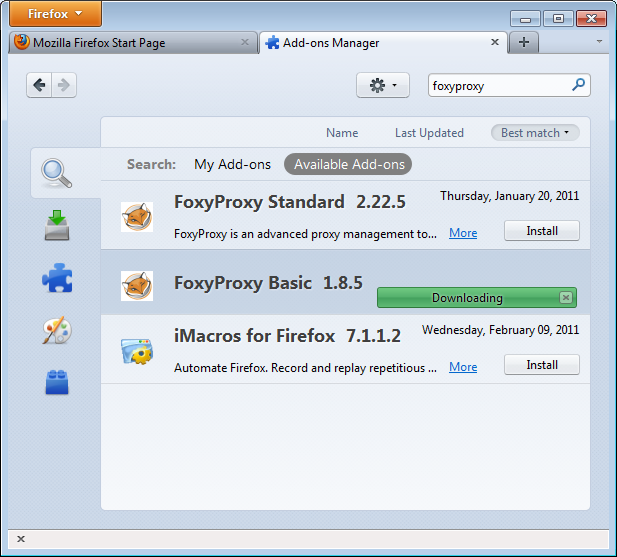
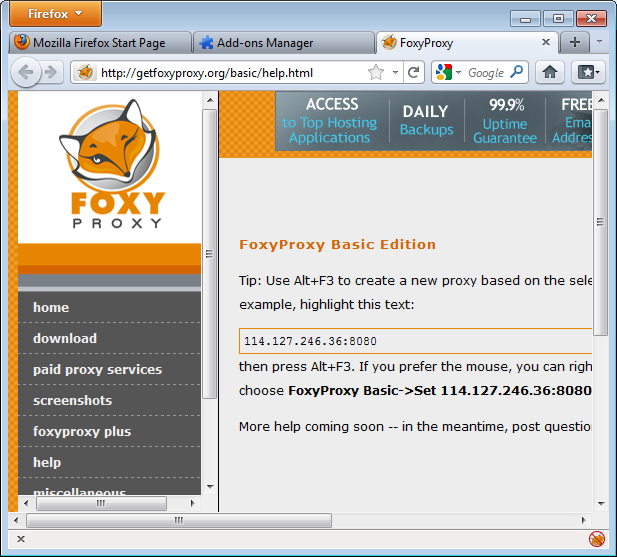
After installation, Firefox should restart and open the Help site of FoxyProxy. You should see the FoxyProxy icon at the bottom right.
Configuration
For FoxyProxy to do its job, it needs to know what proxy settings to use. Open the configuration window by clicking the icon at the bottom right of the Firefox window. The configuration window looks like this:
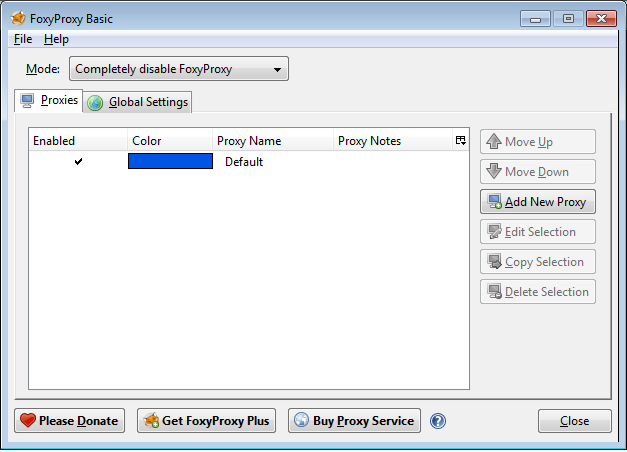
Click on "Add New Proxy". In the following window, enter the proxy details in a similar way to the default Firefox proxy configuration:
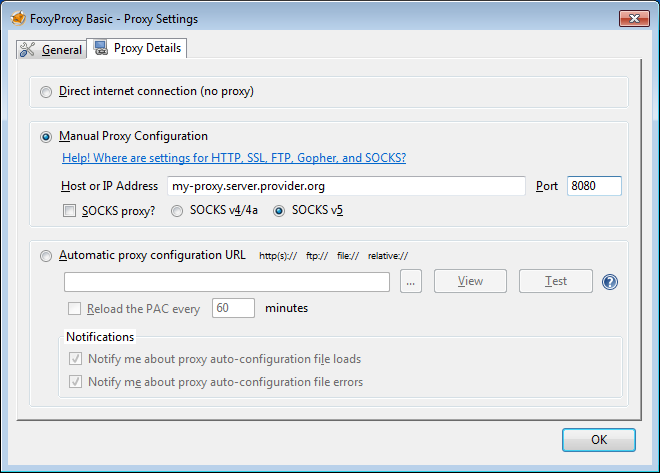
Select "Manual Proxy Configuration", enter the host or IP address and the port of your proxy in the appropriate fields. Check "SOCKS proxy?" if applicable, then click OK. You can add more proxies by repeating the steps above.
Usage
You can switch among your proxies (or choose not to use a proxy) by right-clicking on the fox icon on the bottom right of your Firefox window:
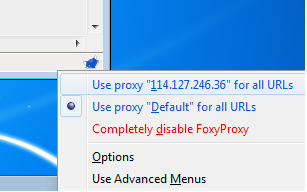
To select a proxy server, simply left-click on the proxy you want to use.