


VPN on Ubuntu
If you use Ubuntu as your operating system, you can connect to a VPN by using the built-in NetworkManager feature and the free OpenVPN client.
OpenVPN allows you to connect to VPN networks using a variety of authentication methods. For our example, we'll learn how to connect to a VPN server using AirVPN, a free VPN service. The configuration process for OpenVPN on Ubuntu is the same, regardless of which VPN service you use.
Installing OpenVPN for NetworkManager
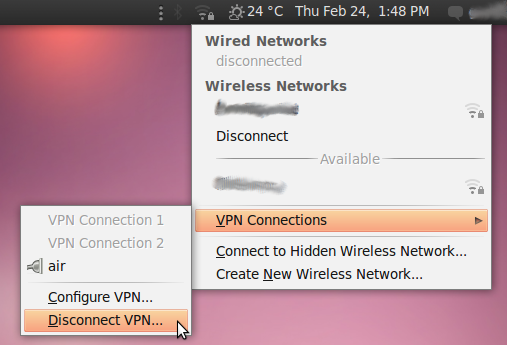
NetworkManager, a network utility that will let you open or close your VPN connection, is included with Ubuntu by default – you can find it in the notification area of your screen, right next to your system clock.
Next, find an OpenVPN extension that will work with NetworkManager, from the Ubuntu Software Center.
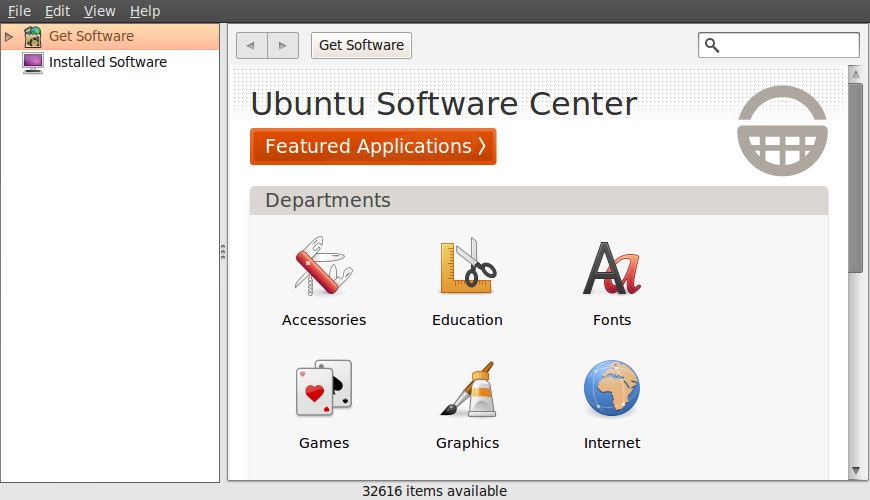
- Open the Ubuntu Software Center from the Applications menu located at the top left of your screen

- The Ubuntu Software Center lets you search, install and remove software on your computer. Click on the search box at the top right of the window.
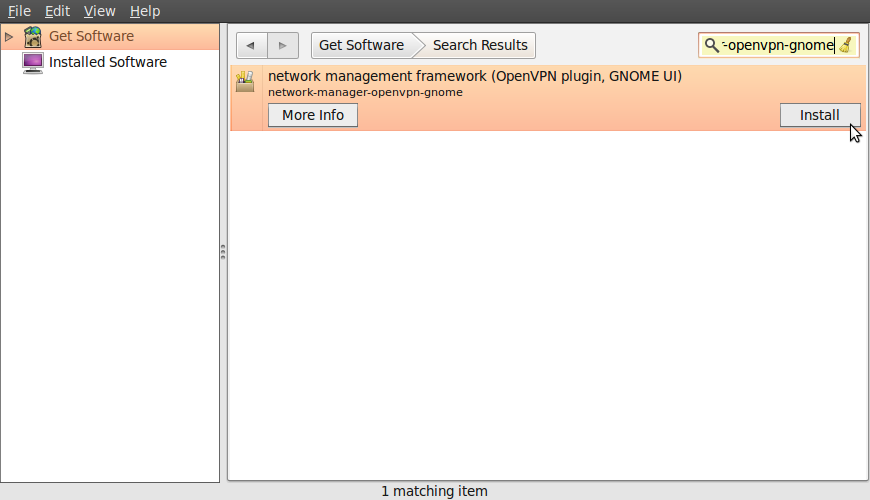
- In the search box, type in "network-manager-openvpn-gnome" (the extension for NetworkManager that will enable OpenVPN). This package includes all the files you need to establish a VPN connection successfully, including the OpenVPN client. Click on Install.
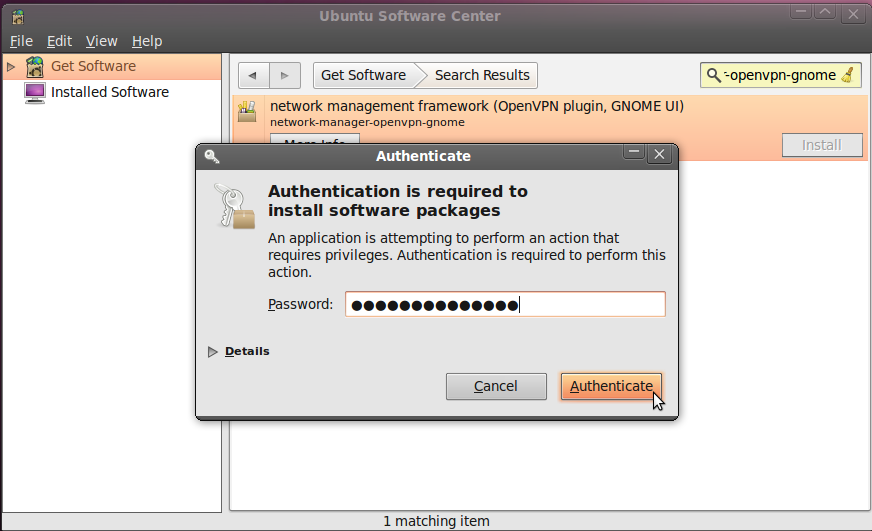
- Ubuntu may ask you for additional permissions to install the program. If that is the case, type in your password and click Authenticate. Once the package is installed, you can close the Software Center window.
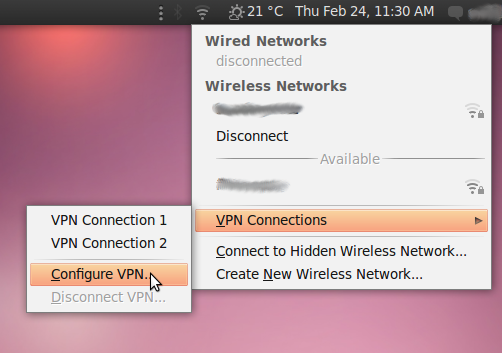
- To check if the OpenVPN client is correctly installed, click on the NetworkManager (the icon at the left of your system clock) and select VPN Connections > Configure VPN.

- Click Add under the VPN tab.
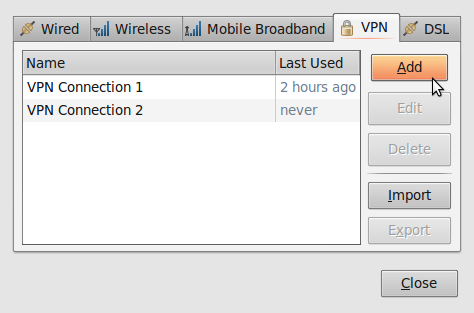
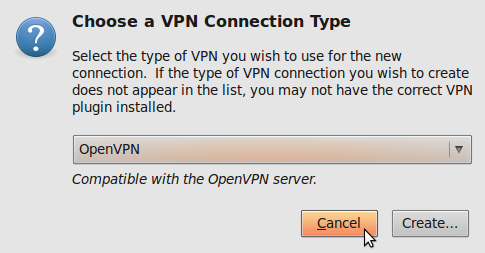
- If you see an OpenVPN option this means that you have installed the OpenVPN client in Ubuntu correctly. Click on cancel and close the NetworkManager.
Registering an AirVPN account
AirVPN (http://www.airvpn.org) is a free service, but you will need to register at their Web site to download the configuration files for your VPN connection.
- Go to https://airvpn.org/?option=com_user&view=register and register for a free account. Make sure you pick a strong password, as this will also be the password for your VPN access. (For tips on strong passwords, see the chapter on "Threats and Threat Assessment" in this book.)
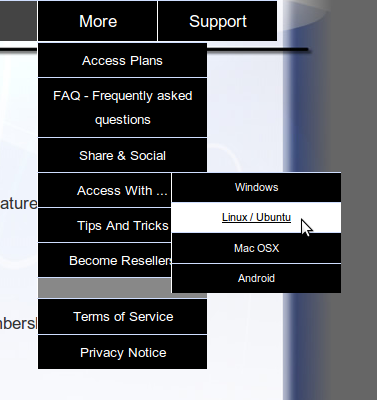
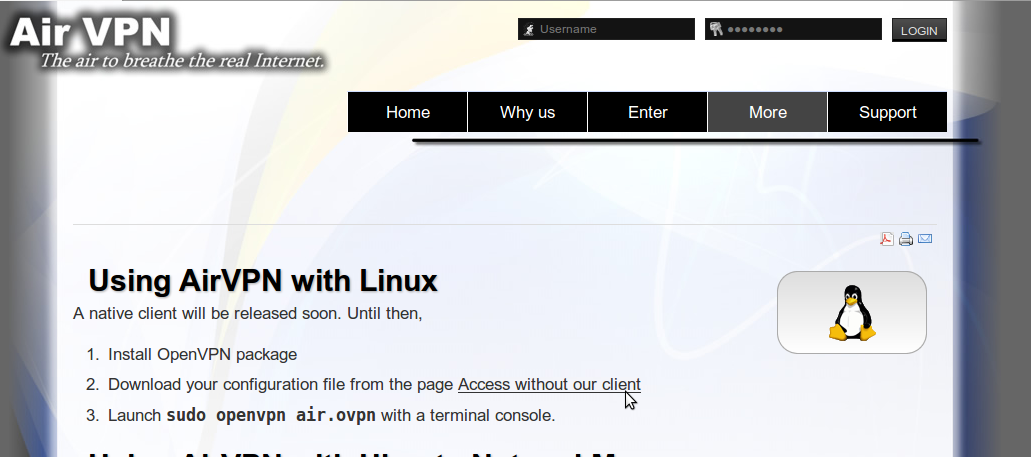
- On AirVPN's site navigation menu, select More > Access with... > Linux/Ubuntu.
- Click on "Access without our client". You will be prompted for the same username and password you used when you registered.
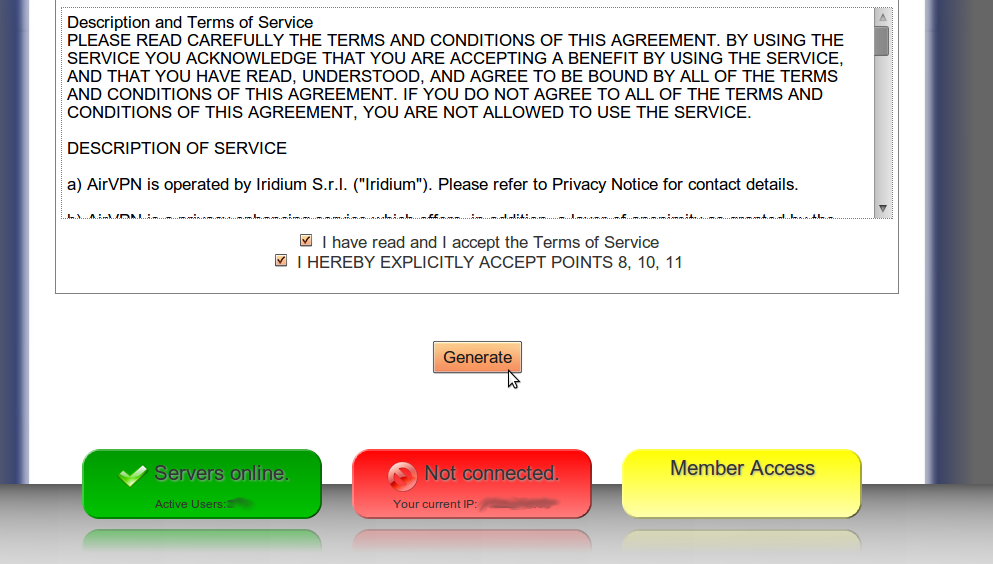
- Select the VPN Mode you would like to configure in NetworkManager (for our example we used "Free - TCP - 53") and leave the rest of the options as they are. Make sure you have checked the Terms of Service agreement at the bottom of the page, and then click Generate.
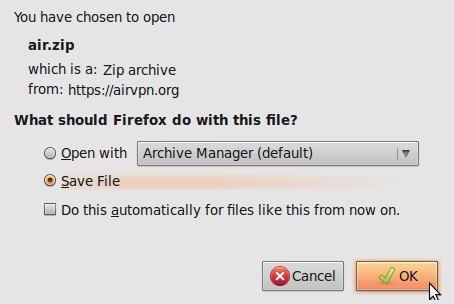
- A pop-up window will let you know that the file air.zip is ready for downloading. This contains the configuration files and credentials you need to connect to the VPN. Click OK.
Configuring AirVPN on NetworkManager
Now that you have your configuration files and credentials, you can configure NetworkManager to connect to the AirVPN service.
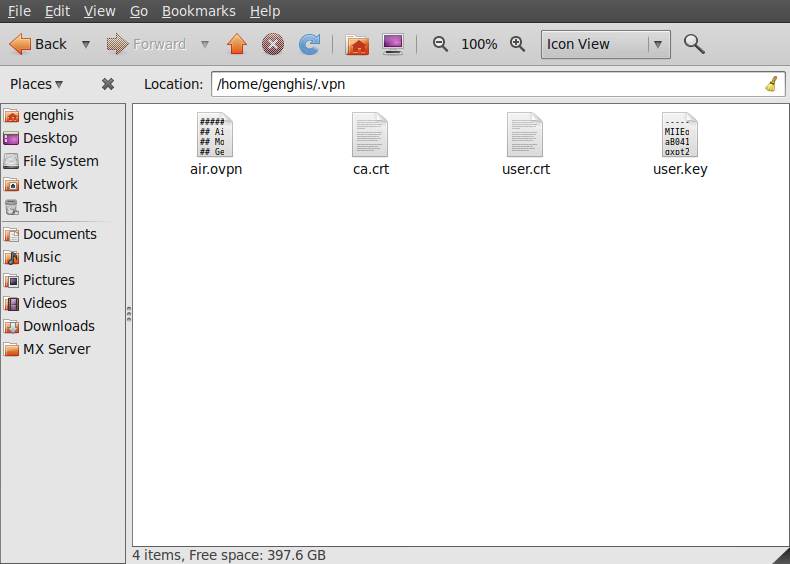
- Unzip the file you have downloaded to a folder on your hard drive (e.g.: "/home/[yourusername]/.vpn"). You should now have four files. The file "air.ovpn" is the configuration file that you need to import into NetworkManager.
- To import the configuration file, open NetworkManager and go to VPN Connections > Configure VPN.
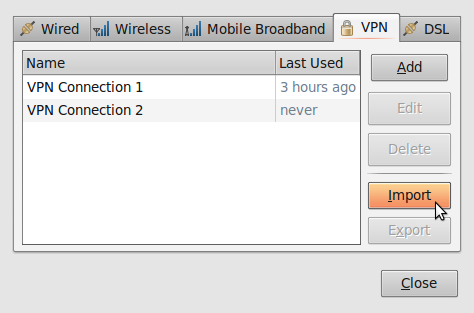
- Under the VPN tab, click Import.
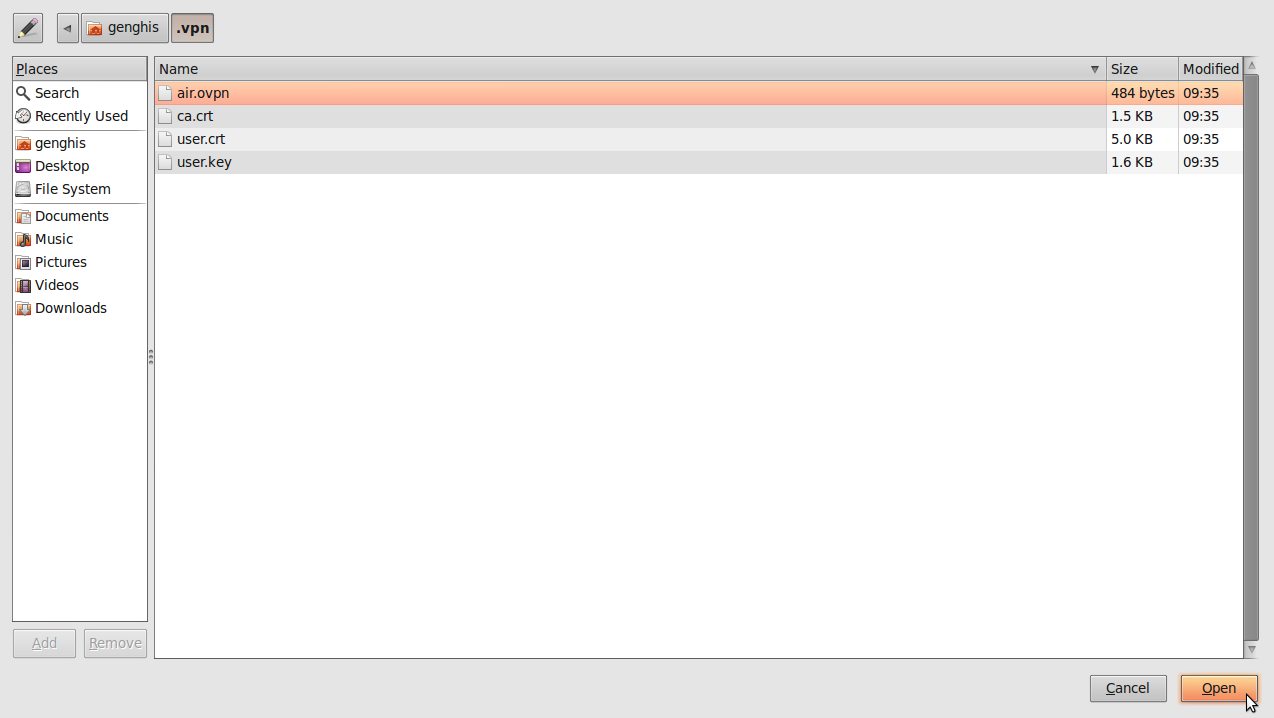
- Locate the file air.ovpn that you have just unzipped. Click Open.
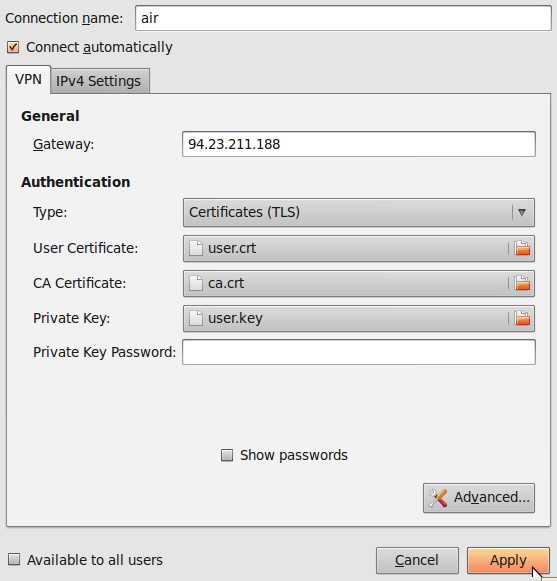
- A new window will open. Leave everything as it is and click Apply.
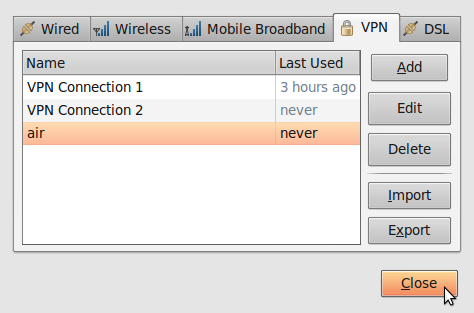
- Congratulations! Your VPN connection is ready to be used and should appear on the list of connections under the VPN tab. You can now close NetworkManager.
Using your new VPN connection
Now that you configured NetworkManager to connect to a VPN service using the OpenVPN client, you can use your new VPN connection to circumvent Internet censorship. To get started, follow these steps:
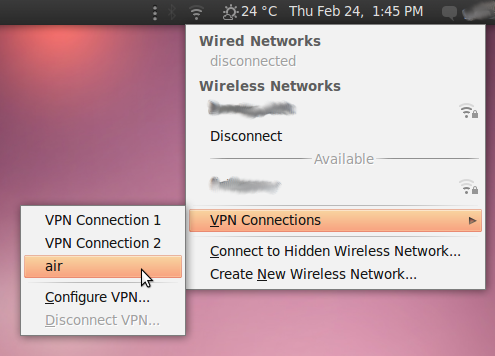
- In the NetworkManager menu, select your new connection from VPN Connections.
- Wait for the VPN connection to be established. When connected, a small padlock should appear right next to your NetworkManager icon, indicating that you are now using a secure connection. Move your cursor over the icon to confirm that the VPN connection is active.

- You can also check the status of your connection by visiting http://www.ipchicken.com. This free IP-checker should confirm that you are using a airvpn.org server.

- To disconnect from your VPN, select VPN Connections > Disconnect VPN in the NetworkManager menu. You are now using your normal (filtered) connection again.