


Domains and DNS
If you have identified, suspect or were told that the main censorship technique on your network is based on DNS filtering and spoofing, you should consider these techniques.
Using alternative Domain Servers or Names
Simply speaking, a DNS server translates a human-friendly Internet address such as google.com into the IP address, such as 72.14.207.19, that identifies the specific server or servers on the Internet associated with that name. This service is most often accessed through DNS servers maintained by your Internet Service Provider (ISP). Simple DNS blocking is implemented by giving an incorrect or invalid response to a DNS request, in order to prevent users from locating the servers they're looking for. This method is very easy to implement on the censor side, so it is widely used. Keep in mind that often there are several censorship methods are combined, so DNS blocking may not be the only problem.
You can potentially bypass this type of blocking in two ways: by changing your computer's DNS settings to use alternative DNS servers, or by editing your hosts file.
Alternative DNS Servers
You can bypass the DNS servers of your local ISP, using third-party servers to let your computer find the addresses of domains that may be blocked by the ISP's DNS servers. There are a number of free, internationally available DNS services that you can try. OpenDNS (https://www.opendns.com) provides one such service and also maintains guides on how to change the DNS server that your computer uses (https://www.opendns.com/smb/start/computer). There is also an updated list of available DNS servers from around the world at http://www.dnsserverlist.org.
Here is a list of publicly-available DNS services, via the Internet Censorship Wiki at http://en.cship.org/wiki/DNS. (Some of these services may themselves block a limited number of sites; consult the providers' sites to learn more about their policies.)| Address | Provider |
| 8.8.8.8 |
Google |
| 8.8.4.4 |
|
| 208.67.222.222 |
OpenDNS |
| 208.67.220.220 |
OpenDNS |
| 216.146.35.35 |
DynDNS |
| 216.146.36.36 |
DynDNS |
| 74.50.55.161 |
Visizone |
| 74.50.55.162 |
Visizone |
| 198.153.192.1 |
NortonDNS |
| 198.153.194.1 |
NortonDNS |
| 156.154.70.1 |
DNS Advantage |
| 156.154.71.1 |
DNS Advantage |
| 205.210.42.205 |
DNSResolvers |
| 64.68.200.200 |
DNSResolvers |
| 4.2.2.2 |
Level 3 |
| 141.1.1.1 | Cable & Wireless |
Once you've chosen a DNS server to use, you need to enter your selection into your operating system's DNS settings.
Change your DNS settings in Windows
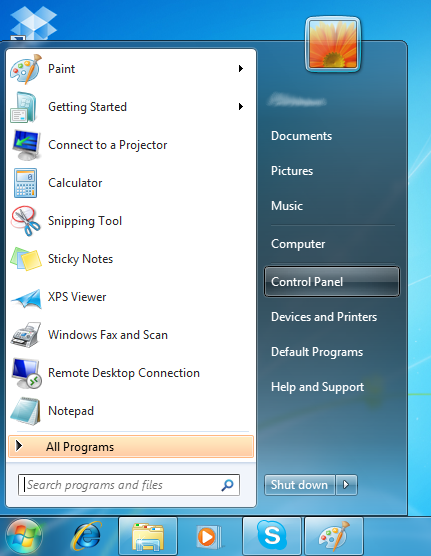
- Open your control panel under the Start menu.
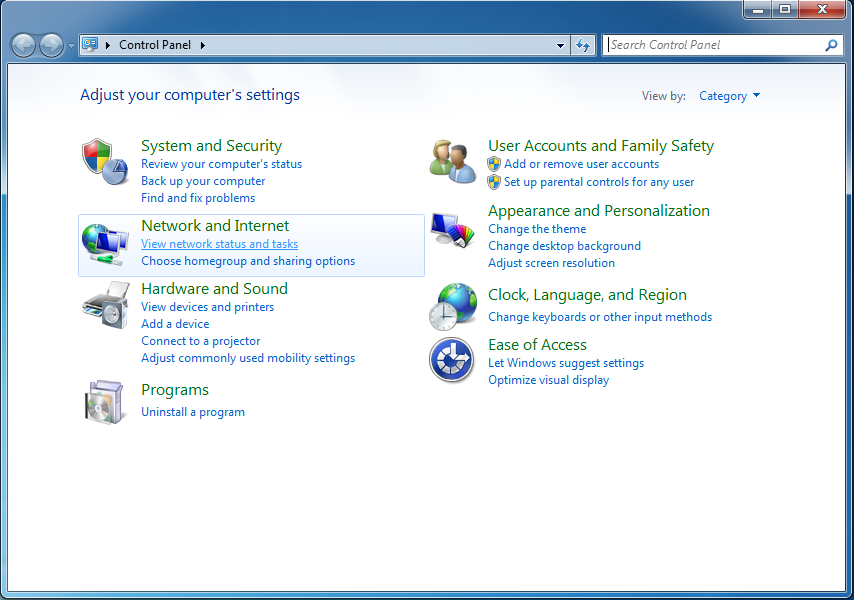
- Under Network and Internet, click on "View network status and stats".
- Click on your wireless connection at the right side of the window.
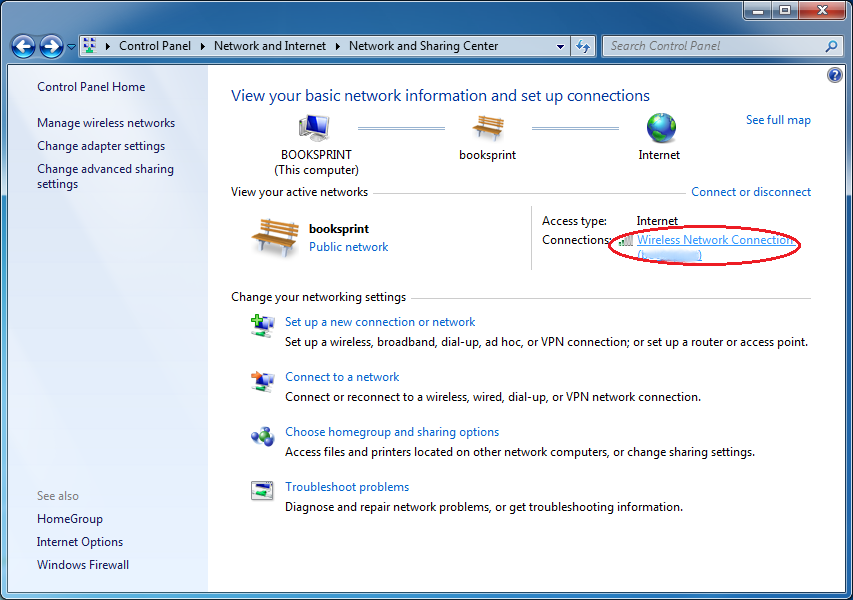
- The Wireless Network Connection Status window will open. Click on Properties.
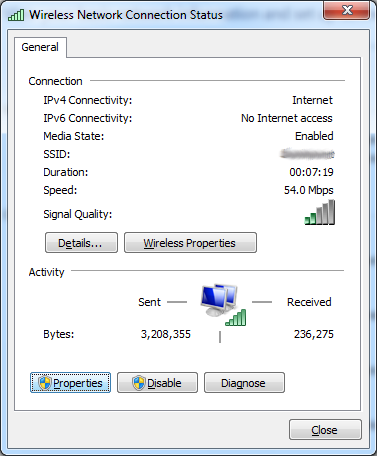
- In the Wireless Network Connection Properties window select Internet Protocol Version 4 (TCP/IPv4), and click on Properties.
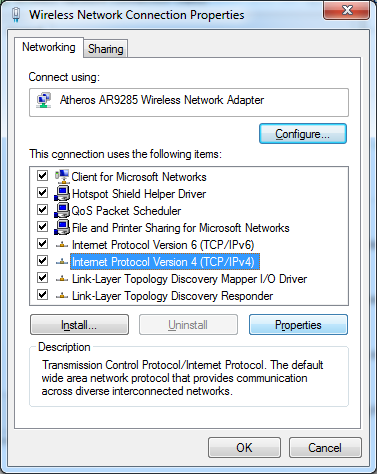
- You should now be in the Internet Protocol Version 4 (TCP/IPv4) Properties window, where you are going to specify your alternate DNS address (for example: Google Public DNS)
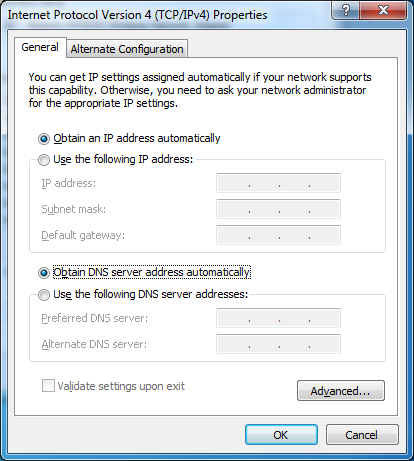
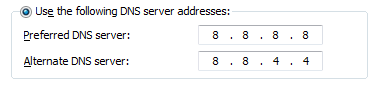
- At the bottom of the window, click on "Use the following DNS server addresses" and complete the fields with your preferred and alternate DNS server IP information. When you are done, click OK. By default the first DNS server will be used. The alternate DNS server can be from another company.
Change your DNS settings in Ubuntu
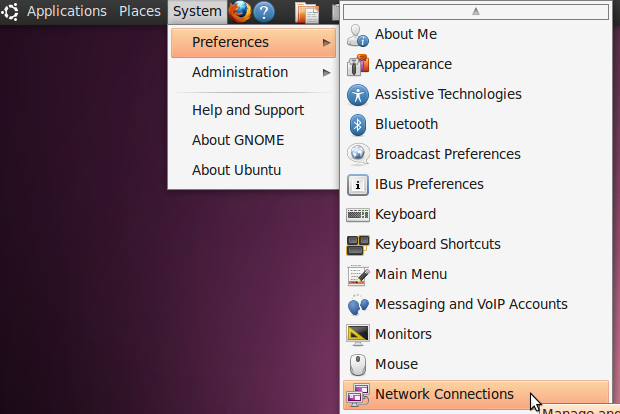
- In the System menu go to Preferences > Network Connections.
- Select the connection for which you want to configure Google Public DNS. If you want to change the settings for an Ethernet connection (cable), select the Wired tab, then select your network interface in the list. If you want to change the settings for a wireless connection instead, select the Wireless tab, then select the appropriate wireless network.
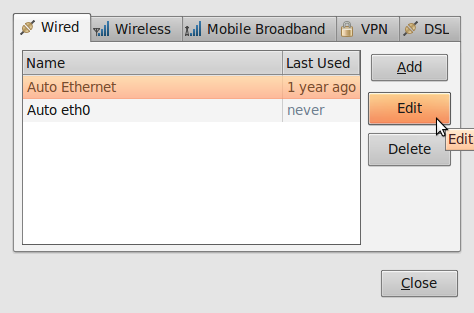
- Click Edit, and in the window that appears, select the IPv4 Settings tab
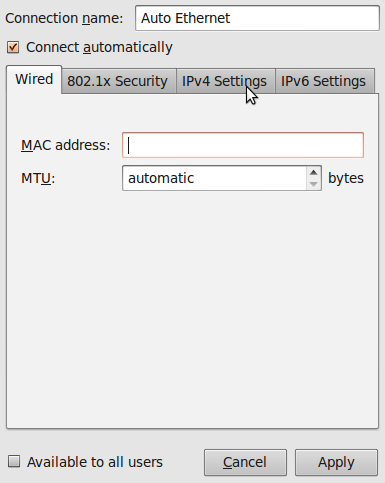
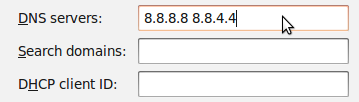
- If the selected method is Automatic (DHCP), open the dropdown menu and select "Automatic (DHCP) addresses only" instead. If the method is set to something else, do not change it.
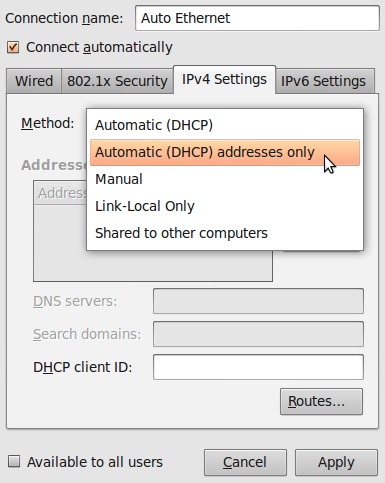
- In the DNS servers field, enter your alternate DNS IP information, separated by a space. For example, if you want to add Google DNS write: 8.8.8.8 8.8.4.4
- Click Apply to save the changes. If you are prompted for a password or confirmation, type the password or confirm that you want to make the changes.

- Repeat steps 1-6 for every network connection you want to modify.
Edit your hosts file
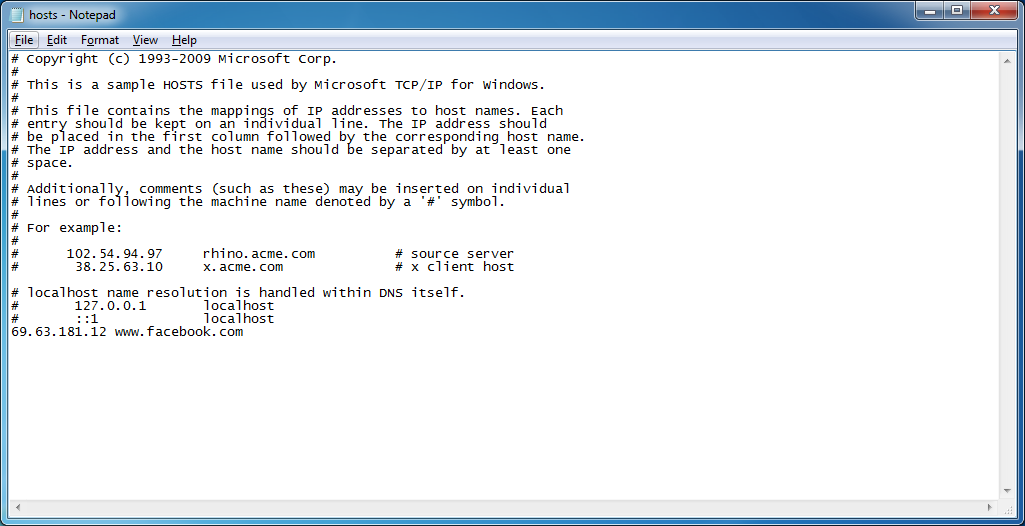
If you know the IP address of one particular web site or other Internet service that is blocked by your ISP's DNS servers, you can list this site in your own computer's hosts file, which is a local list of name-to-IP address equivalents that your computer will use before checking external DNS servers. The hosts file is a text file with an extremely simple format; its contents look like:
208.80.152.134 secure.wikimedia.org
where each line contains an IP address, then a space, and then a name. You can add any number of sites to your hosts file (but note that if you use the wrong address for a site, it could prevent you from accessing that site by name until you fix it or remove it from the list).
If you can't find a site's IP address because of your ISP's DNS blocking, there are hundreds of services that will help you do an uncensored DNS lookup. For example, you could use any of the tools at http://www.dnsstuff.com/tools.
You could also consider using the tools at http://www.traceroute.org, which are sophisticated network diagnostic tools provided by various ISPs. They were originally intended for diagnosing accidental network outages rather than intentional censorship, but they can be useful for diagnosing censorship too. These tools also include the ability to look up the IP address of a particular server.
Edit your hosts file in Windows Vista / 7
You will need to use a simple text editor, such as Notepad, to edit your hosts file. In Windows Vista and 7, your hosts file is usually located at C:\Windows\system32\drivers\etc\hosts.
- Click on the Start button.
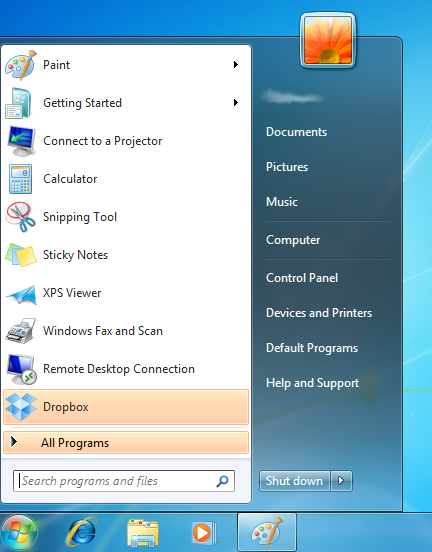
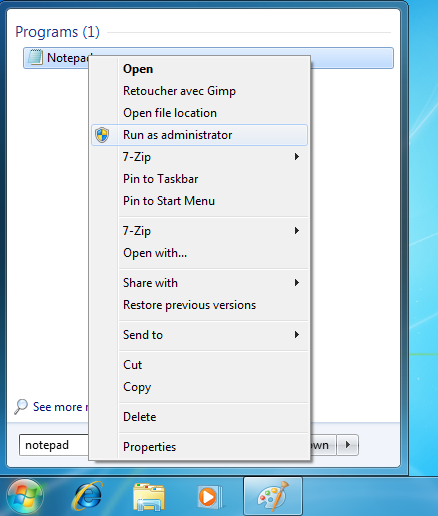
- Type "notepad" at the search box.

- Once you found the program, right-click on it and select "Run as administrator"
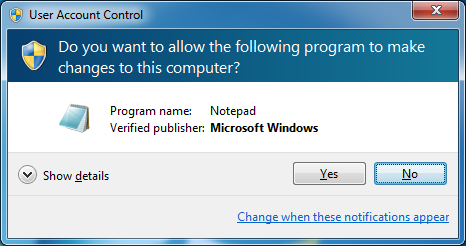
- Windows will ask for your permission to make changes to files. Click Yes.
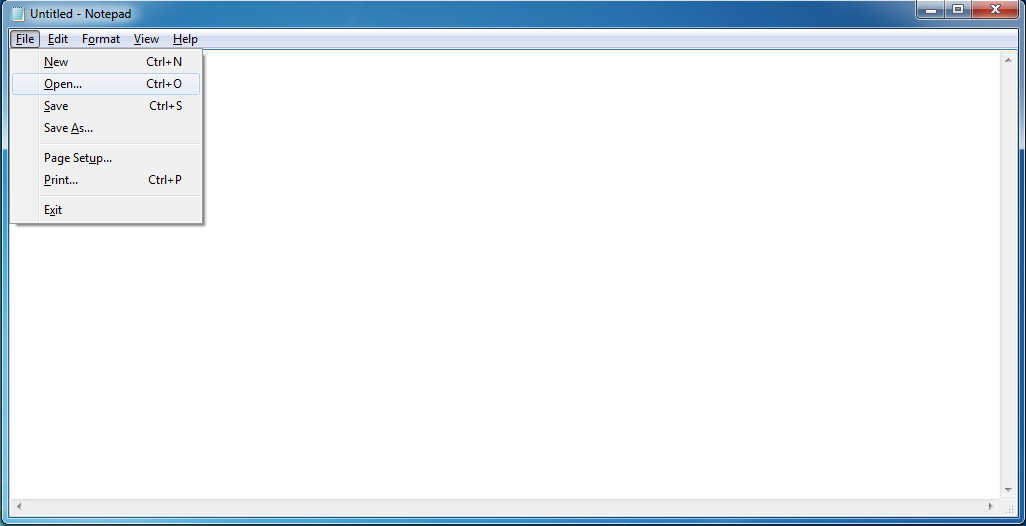
- Under the File menu, select Open.
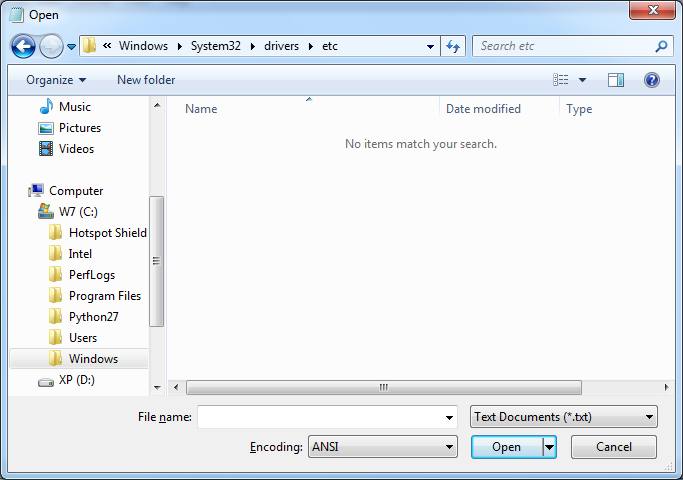
- Browse to C:\Windows\System32\Drivers\etc\. You may notice that the folder seems initially empty.
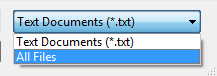
- At the bottom right of the open dialog, select All Files.
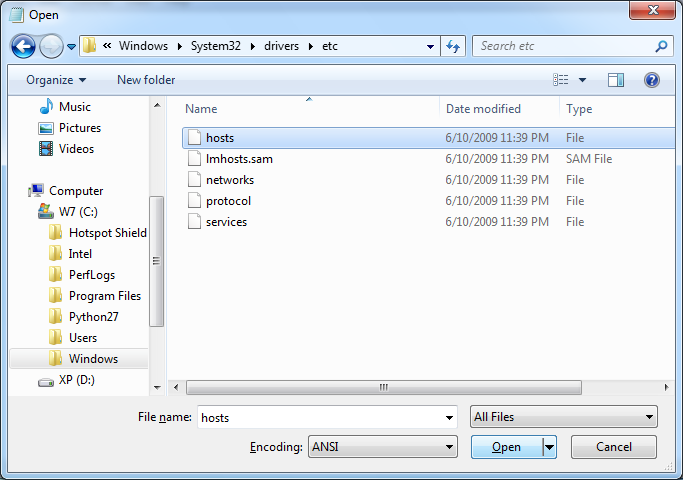
- Select the file "hosts" and click Open.
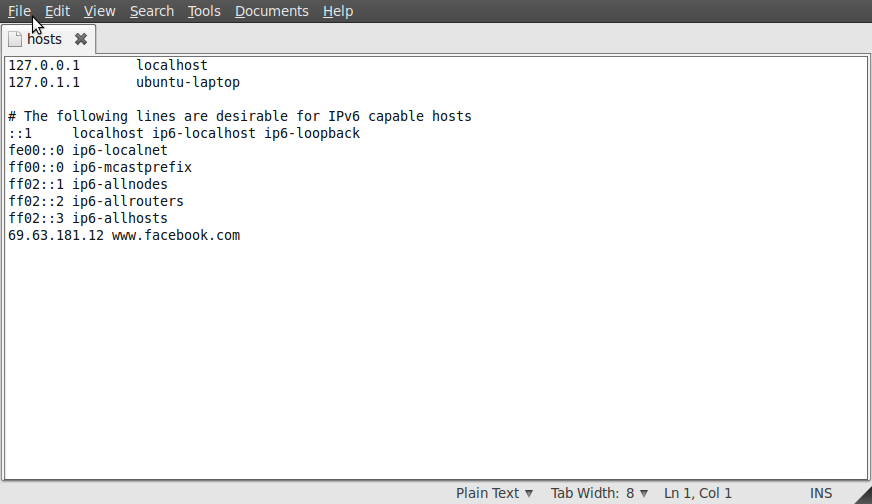
- Add for example the line "69.63.181.12 www.facebook.com" at the end of the file and save it by pressing Ctrl+S or by selecting File > Save from the menu.
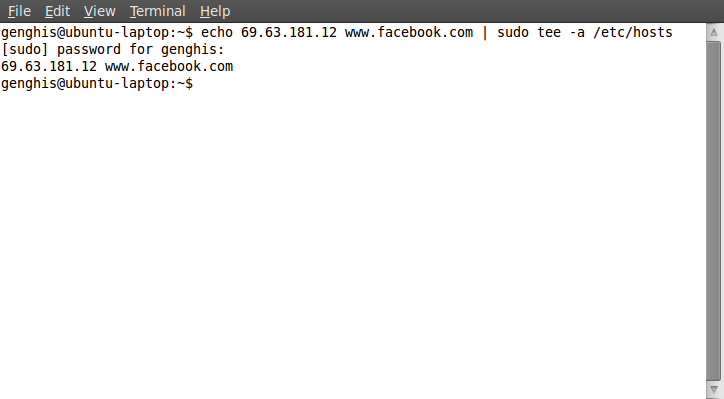
Edit your hosts file in Ubuntu
In Ubuntu, your hosts file is located in /etc/hosts. To edit it, you will need to have some knowledge of the command line. Please refer to the chapter "The Command Line" in this book for a brief tutorial on this feature.
- Open the terminal by going to Accessories > Terminal under your Applications menu.

- Use the following command line to automatically add a line to your hosts file:
echo 69.63.181.12 www.facebook.com | sudo tee -a /etc/hosts
- You may be prompted for your password in order to modify the file. Once authorized, the command will append "69.63.181.12 www.facebook.com" to the the last line of the hosts file.
- Optional: if you feel more comfortable working in a graphical interface, open the terminal and use the following command line to launch a text editor:
sudo gedit /etc/hosts
- You may be prompted for your password in order to modify the file. Once the window has opened, simply add the line "69.63.181.12 www.facebook.com" at the end of the file, and save it by pressing Ctrl+S or selecting File > Save from the menu.