


Noscript and Adblock
While no tool can protect you completely against all threats to your online privacy and security, the Firefox extensions described in this chapter can significantly reduce your exposure to the most common ones, and increase your chances of remaining anonymous.
AdBlock Plus
Adblock Plus (http://www.adblockplus.org) scans Web pages for advertisements and other content that may try to track you, and then blocks it. To keep current with the latest threats, AdBlock Plus relies on blacklists maintained by volunteers.
Getting started with AdBlock Plus
Once you have Firefox installed:
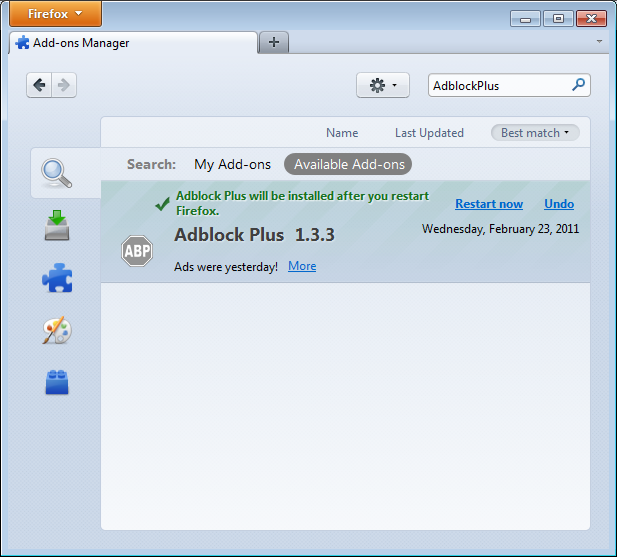
- Download the latest version of AdBlock Plus from http://adblockplus.org/en/installation#release or search for the plugin with Firefox's Add-ons Manager ("Firefox" > "Add-ons").
- Confirm that your want AdBlock Plus by clicking "Install Now".
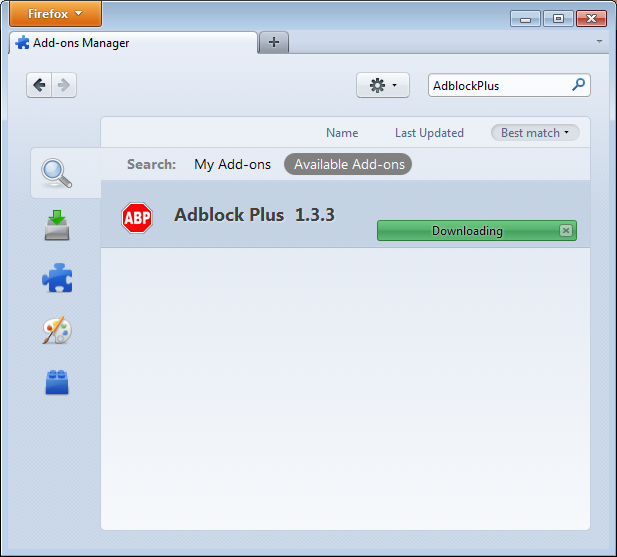
- After AdBlock Plus has been installed, Firefox will ask to restart.
Choosing a filter subscription
Adblock Plus by itself doesn't do anything. It can see each element that a Web site attempts to load, but it doesn't know which ones should be blocked. This is what AdBlock's filters are for. After restarting Firefox, you will be asked to choose a filter subscription (free).

Which filter subscription should you choose? Adblock Plus offers a few in its dropdown menu and you may wish to learn about the strengths of each. A good filter to start protecting your privacy is EasyList (also available at http://easylist.adblockplus.org/en).
As tempting as it may seem, don't add as many subscriptions as you can get, since some may overlap, resulting in unexpected outcomes. EasyList (mainly targeted at English-language sites) works well with other EasyList extensions (such as region-specific lists like RuAdList or thematic lists like EasyPrivacy). But it collides with Fanboy's List (another list with main focus on English-language sites).
You can always change your filter subscriptions at any time within preferences (press Ctrl+Shift+E). Once you've made your changes, click OK.
Creating personalized filters
AdBlock Plus also lets you create your own filters, if you are so inclined. To add a filter, start with Adblock Plus preferences (Ctrl+Shift+E) and click on "Add Filter" at the bottom left corner of the window. Personalized filters may not replace the benefits of well-maintained blacklists like EasyList, but they're very useful for blocking specific content that isn't covered in the public lists. For example, if you wanted to prevent interaction with Facebook from other Web sites, you could add the following filter:
||facebook.*$domain=~facebook.com|~127.0.0.1
The first part (||facebook.*) will initially block everything coming from Facebook's domain. The second part ($domain=~facebook.com|~127.0.0.1) is an exception that tells the filter to allow Facebook requests only when you are in Facebook or if the Facebook requests come from 127.0.0.1 (your own computer) in order to keep certain features of Facebook working.
A guide on how to create your own Adblock Plus filters can be found at http://adblockplus.org/en/filters.
Enabling and disabling AdBlock Plus for specific elements or Web sites
You can see the elements identified by AdBlock Plus by clicking on the ABP icon ![]() in your browser (usually next to the search bar) and selecting "Open blockable items", or by pressing Ctrl+Shit+V. A window at the bottom of your browser will let you enable or disable each element on a case-by-case basis. Alternatively, you can disable AdBlock Plus for a specific domain or page by clicking on the ABP icon and ticking the option "Disable on [domain name]" or "Disable on this page only".
in your browser (usually next to the search bar) and selecting "Open blockable items", or by pressing Ctrl+Shit+V. A window at the bottom of your browser will let you enable or disable each element on a case-by-case basis. Alternatively, you can disable AdBlock Plus for a specific domain or page by clicking on the ABP icon and ticking the option "Disable on [domain name]" or "Disable on this page only".
NoScript
The NoScript extension takes browser protection further by globally blocking all JavaScript, Java and other executable content that could load from a Web site and run on your computer. To tell NoScript to ignore specific sites, you need to add them to a whitelist. This may sound tedious, but NoScript does a good job in protecting Internet users from several threats such as cross-site scripting (when attackers place malicious code from one site in another site) and clickjacking (when clicking on an innocuous object on a page reveals confidential information or allows the attacker to take control of your computer). To get NoScript, visit http://addons.mozilla.org or http://noscript.net/getit.
The same method by which NoScript protects you can alter the appearance and functionality of good Web pages, too. Luckily, you can adjust how NoScript treats individual pages or Web sites manually – it is up to you to find the right balance between convenience and security.
Getting started with NoScript
- Go to the NoScript download section at http://noscript.net/getit. Click on the green "INSTALL" button.
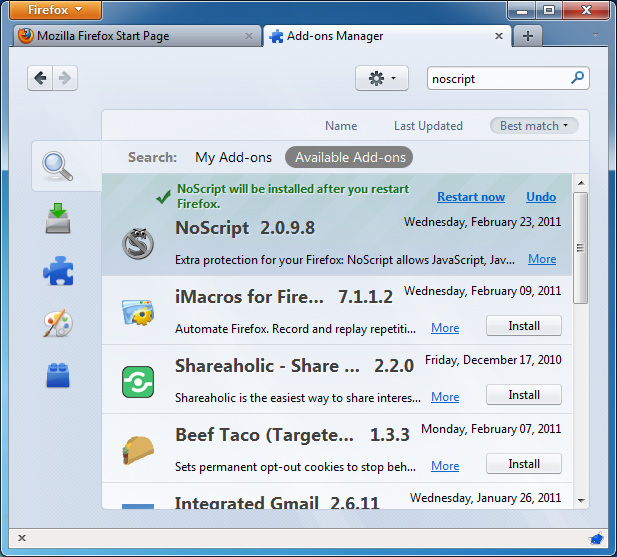
- Confirm that you want NoScript by clicking "Install Now".
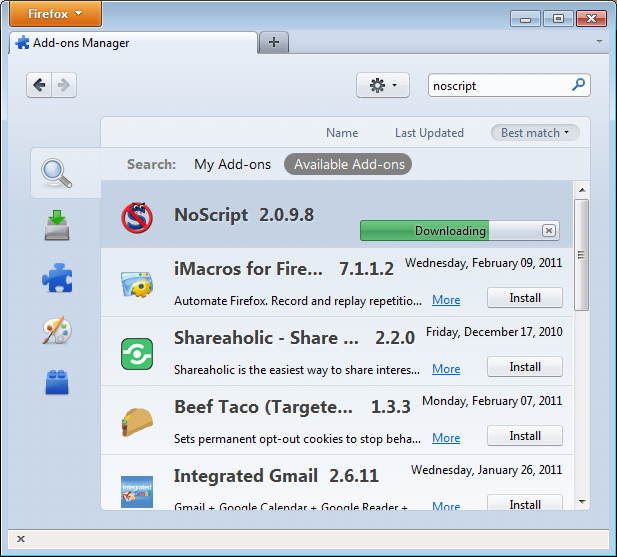
- Restart your browser when asked.
NoScript notifications and adding Web sites to your whitelist
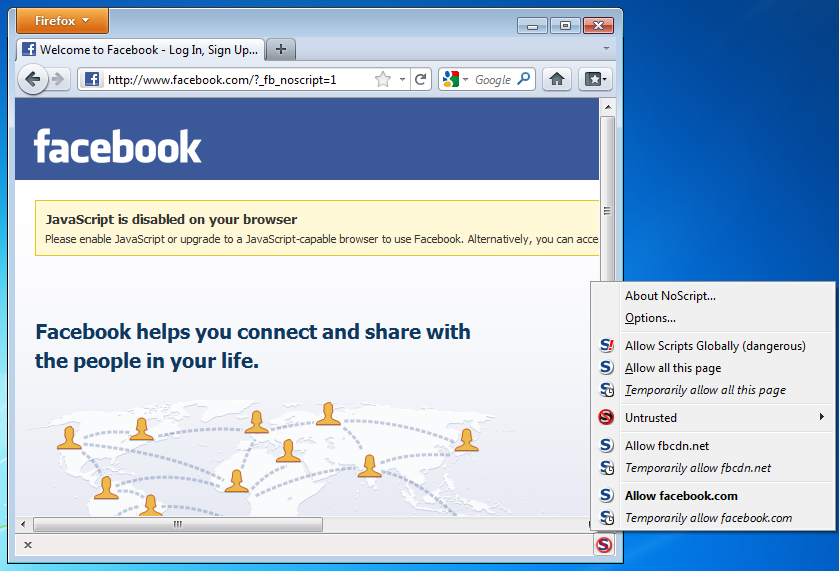
Once restarted, your browser will have a NoScript icon at the bottom right corner, where the status bar is, indicating what level of permission the current Web site has to execute content on your PC.
 Full protection: scripts are blocked for the current site and its subframes. Even if some of the script sources imported by the page are in your whitelist, code won't run (the hosting documents are not enabled).
 Very restricted: the main site is still forbidden, but some pieces (such as frames) are allowed. In this case, some code may be running, but the page is unlikely to work correctly because its main script source is still blocked.
 Limited permissions: scripts are allowed for the main document, but other active elements, or script sources imported by the page, are not allowed. This happens when there are multiple frames on a page or script elements that link to code hosted on other platforms.
 Mostly trusted: all the script sources for the page are allowed, but some embedded content (such as frames) are blocked.
 Selective protection: scripts are allowed for some URLs. All the others are marked as untrusted.
 All scripts are allowed for the current site.
 Scripts are allowed globally, however content marked as untrusted will not be loaded.
To add a site that you trust to your whitelist, click on the NoScript icon and select:
- "Allow [domain name]" to allow all scripts that are hosted under a specific domain name, or
- "Allow all this page" to allow complete script execution - including third party scripts that may be hosted elsewhere, but are imported by the main Web site.
(You can also use the "Temporarily allow" options to allow content loading only for the current browsing session. This is useful for people who intend to visit a site just once, and who want to keep their whitelist at a manageable size.)
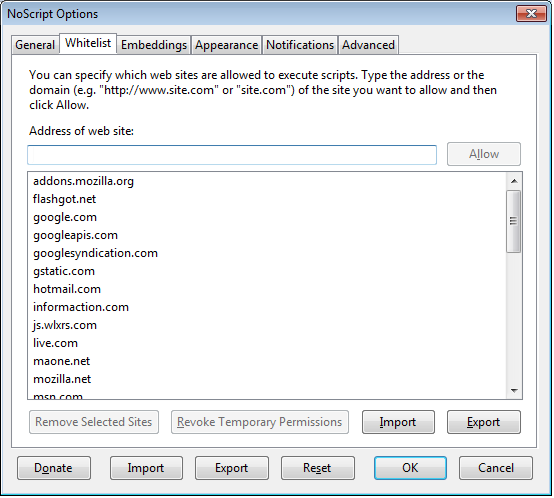
Alternatively, you can add domain names directly to the whitelist by clicking on the NoScript button, selecting Options and then clicking on the Whitelist tab.
Marking content as untrusted
If you want to permanently prevent scripts from loading on a particular Web site, you can mark it as untrusted: just click the NoScript icon, open the "Untrusted" menu and select "Mark [domain name] as Untrusted". NoScript will remember your choice, even if the "Allow Scripts Globally" option is enabled.