


Adding Images to posts
There are several ways of adding images to posts. The two most common are to upload an image file from your computer or to link to an image that is already on the Internet by finding it's web address (URL).
The advantage of linking directly to an image that is already on the Internet is that you don't have to spend the time to upload it to your blog. There is a possible disadvantage however, and that is that the image you link externally to may disappear. So to be safe you may want to download that image and upload it your own blog. You get loads of free space when you sign up for Worpress account so space isn't an issue.
Getting ready to add an image
When you are in your post you should place the cursor where you want your image to appear. This is usually easier if you write the text first.

Then you should click on the ![]() icon.
icon.

A dialogue box will appear. This gives you the choice to add your image in a few ways.
Uploading from your Computer
If you want to upload an image from your computer then you should click on Select File
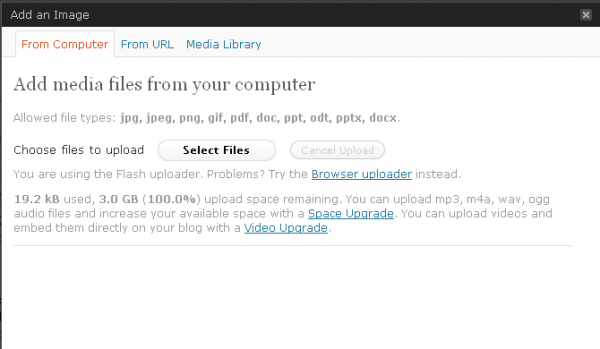
and find the image on your computer.

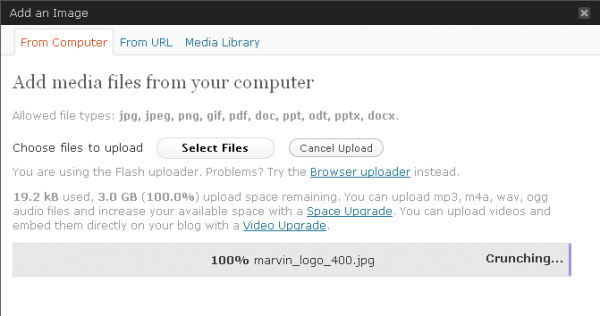
You'll see an upload bar while you file is uploading.
When your file has uploaded you'll get some options which control how it is inserted into the page.
For my image I want to align the image to the left so that the text I've written wraps around it. Also I want to put in a caption and description to help the viewers know what it is about.
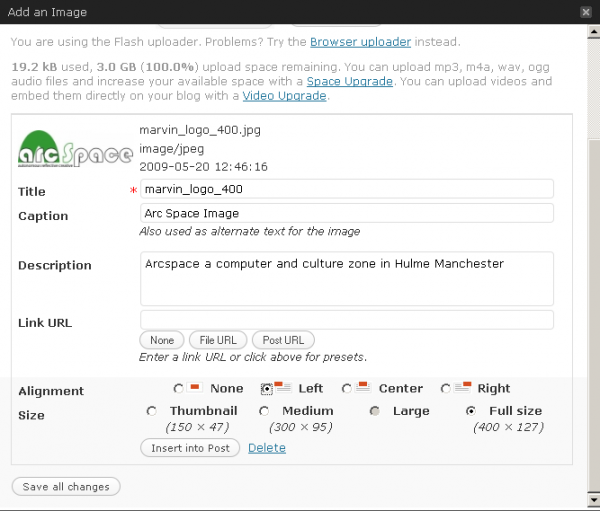
When this is filled in you need to click on to the Insert into Post button at the bottom of the options. Don't forget to do this or it all gets a bit tricky and you might have to start again.
You should now see you image in your post about the right place you wanted it, or at least where you had the cursor flashing when you started the process.

One thing that you might want to change is the spacing around your image. In my example it all look ok as the image is white. But in your example it may look a bit cramped.
If this is the case then we can add some spacing around the image. We'll need to alter the Advanced Settings of the image. To do this you should click on the image in your post. Remember we are still in the edit mode. If you have published your post and are looking at the final result you'll need to edit again.
When you click on the post then you'll see two options appear.

The first is a image of a landscape, this allows you to change the settings of the image. The second is a red circle which is use to delete the image if you no longer want it to appear in your post.
Click on the image of the landscape. You'll see a dialogue box similar to when you first inserted in the image into the post. There is a new tab which says advanced settings. Click on that.

To give a bit of spacing around the image you should enter some details in to the boxes - Vertical Space (leaving a margin on the top and bottom of the image) and Horizontal Space (which leaves a space to the left and right of the image).

When you have entered a number ( I suggest around 10 as a good margin), they you should click on the update button at the bottom of the box.

Check the result when you publish your post. You should see a margin around your image.
Adding Images from the Internet
To add images that are elsewhere on the Internet you should click on the From URL tab.

You'll need to fill out the form that then appears on the screen and to do this you'll need to know the URL of the image that you are trying to insert into your post. There a number of ways of doing this but the easiest one is to find the Image on an internet page and to do a right click on your mouse, and select Copy Image Location- this saves the image web address (URL) to the computer's memory. You can then return to the following form and paste in the URL to the top box.

When you have filled out the form with the details that are right for your image then make sure to click Insert into Post