


Decorate your Tree: Another Way to Animate
Exercise your aesthetic sense. Imagine decorating a tree and even designing your own animated decorations. You can start by picking existing ornaments to decorate a tree. Next Invent your own animated ornaments. Finally, Inspire your friends to create their own ornaments. Look at others' scripts and work together to improve your ornaments and create new ones.
In this project we use:
text, book, flap, object catalog, test, color, border color, color sees color, forward by, turn by, arithmetic, random, animation, paint tool
Project
Begin by downloading the project from http://etoysillinois.org/library?sl=2140. The project can be used in classrooms with English, Spanish and German speaking students. If you are teaching a foreign language, you can use this project because you can easily change between languages. Click the flag near the middle of the navigation bar at the top for a drop down menu to change languages.
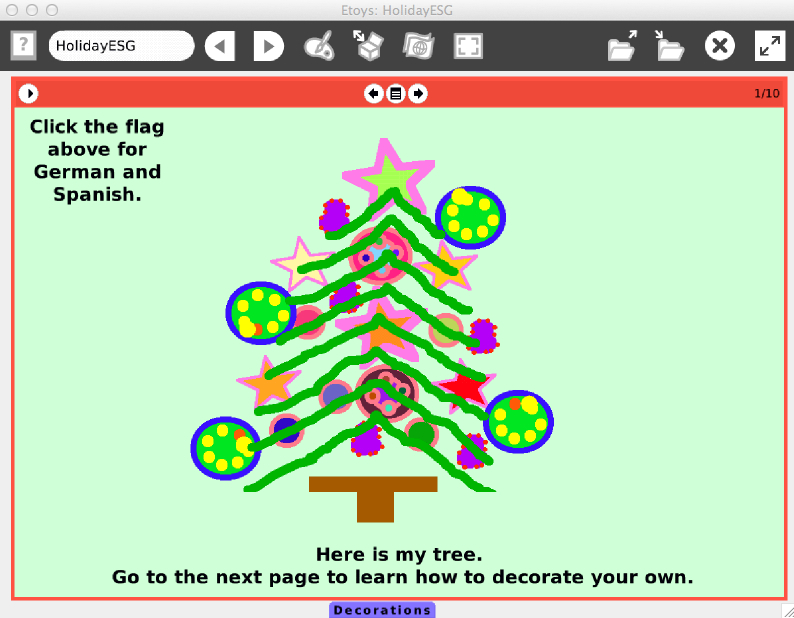
Learners should look at the already decorated tree on the first page and imagine how they would decorate their tree. Send them to the next page to learn how to decorate your own. The existing ornaments are in the Decorations flap at the bottom of the project. Click on the flap to open it. Click on an ornament and it will stick to the cursor. Drag the ornament to the desired position and click to let it go. New ornaments can be drawn using the Paint Tools.
If the newly created ornaments are dropped into the open Decorations flap, then duplicates can be dragged out as needed. A flap is closed by clicking the flap. To re-size the Decoration bin, drag the flap up or down. It's time to imagine and decorate the tree on page 4 - or draw your own tree on page 5 to decorate.
As an aside, your students might want to create their own flaps - it's fun. Drag an Object Catalog out of the Supplies.
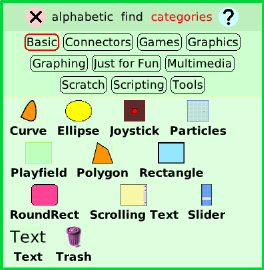
The Object Catalog has a lot of fun things to explore in addition to creating flaps. Each of the buttons, like Basic outlined in red above, gets you to a different category of objects. To find the flap object, click the Scripting button.
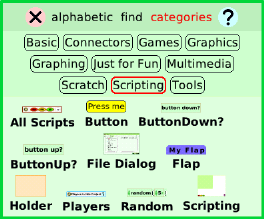
Drag the Flap object out onto the world and it will attach to the bottom edge. You can put things into this flap and close it up to get them out of the way, but they won't be duplicated. To change the flap's property, get the flap's Halo and select the white Menu button. There are many options, like cling to edge (to move the flap to the right, left or top), change tab wording (to rename the flap tab), and make the flap a parts bin. Selecting this box means that any object (including an object with scripts) put into the flap will be duplicated when you drag it out. Note that you can also get a Flap from the Supplies bin.
Now it's time to invent animated ornaments. To create ornaments that flash, go to pages 6 and 7 for an overview. Start with a Circle, Curve, Ellipse, Polygon, Curve, Rectangle, RoundRect, Star or Triangle object from the Graphics category of the Object Catalog. The objects mentioned above all have a "color" category with red, green and blue tiles that tell how much of each color is in the object. By making the values of red, green and blue random the round ornament color flashes. Create a script for your object and go to the "color" category in the viewer. Drag out a tile for each color and the border. Be sure the red box surrounds the color and the number at the right. In a similar fashion, drag out a tile for the border color from the "fill & border" category. Your Script Editor should be similar to the image below.
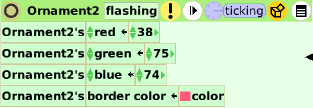
To make the red tiles value random, click on the gold box icon second from the right at the top of the Script Editor and drag a random tile on top of the number value in the red tile. Change the number in the random function to see the effect. Do the same for the green and blue tiles.
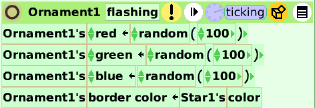
If you make the border color the color of the flashing star, the border flashes. You can get a tile for the star's color from its viewer or it's halo to drop on the border color tile's color value. Look under Halo Handles and Script Tiles in Help to reinforce and learn more.
More Inspiration
Go to page 8 to see another way to animate your ornament. The tiles used have been covered previously. Have your students work in groups to figure out how this script works. From their thinking and discussions, they should be able to inspire one another to create better ways to animate their ornaments.
Then on page 9, students are led to another way to animate. have them continue discussions about the new way and inspire each other. Pages 10 and 11 are blank for students to work on their inspirations. They can add more pages as needed.