


Syncing Calendars and Contacts
If you have a laptop at home, a desktop at work, and have a mobile device like a smartphone or a tablet then it can be hard work keeping all of your calendars and contacts up to date. ownCloud has a good way of doing this so one no longer has to resort to using Google calendars and Google contacts to manage your personal information system.
ownCloud uses the web standards CalDAV and CardDAV to achieve being always up-to-date. They are open standards and are used by many applications to send and receive information to keep everything synchronized.
A quick search on the web will reveal a lot of different CalDAV and CardDAV personal information managers to choose from. We will cover the popular email client Thunderbird as it is cross platform and works with both CalDAV and CardDAV. We will also look at a couple of apps available for Android devices.
Synchronizing calendars with CalDAV
Install the latest version of Thunderbird from http://www.mozilla.org/thunderbird/
Then install the latest version of Lightning and the Sogo Connector plugin for Thunderbird from this address http://www.sogo.nu/english/downloads/frontends.html. These plugins will give you the ability to add a remote calendar and address book to Thunderbird. You may need to restart Thunderbird to see your calendar.
Activate your Thunderbird calendar by selecting Events and Tasks > Calendar Book.
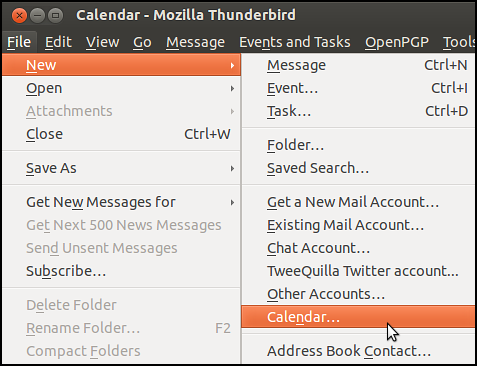
Now select File > New > Calendar.
Select On the Network.
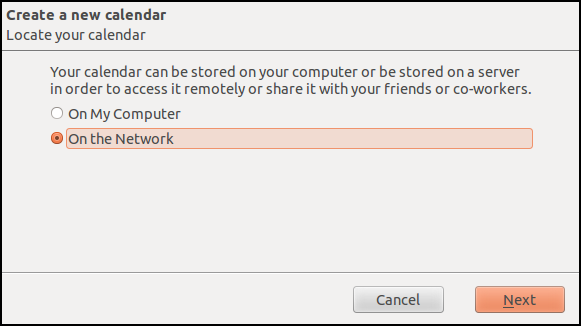
Then enter the CalDAV Link URL of the chosen calendar from ownCloud.
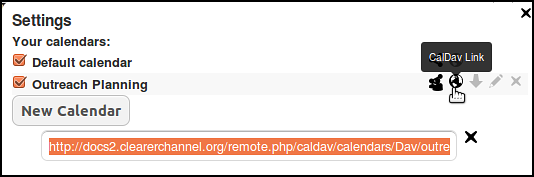
Click the globe in your calendar settings to get the right link.
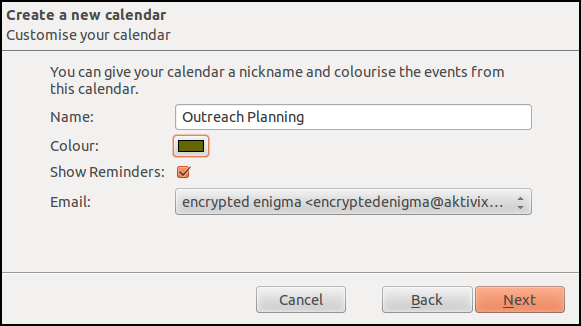
Give the calendar a name and choose a color.
Then link it with your email.
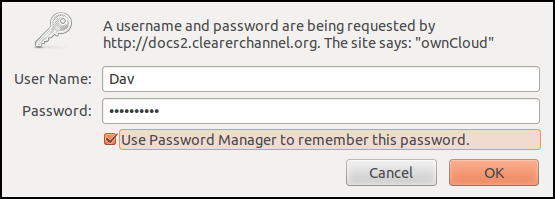
Insert the User Name and Password that you use for ownCloud and click OK.
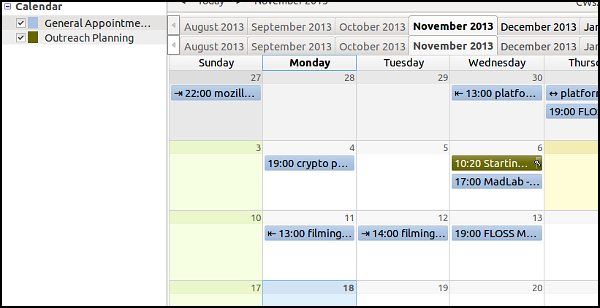
You should now be able to read and write to your calendar from inside Thunderbird. You can repeat this process with other remote calendars.
Synchronising contacts with CardDAV
The following is a guide to the process of using an Address Book in the cross platform Thunderbird email client. A similar approach should work for other CardDAV enabled applications.
Install Thunderbird and Sogo Connector plugin as detailed in the section above.Activate your Thunderbird address book by selecting Tools > Address Book.
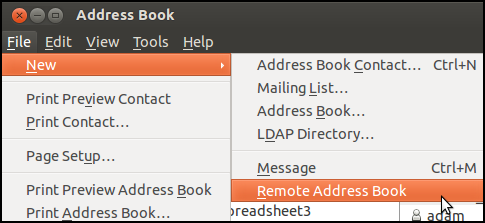
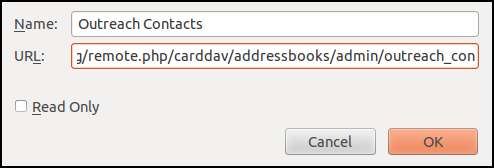
Now select File > New > Remote Addressbook.
Name: Enter a name for your address book.
URL: Add the relevant CardDAV URL from your ownCloud Contacts area.
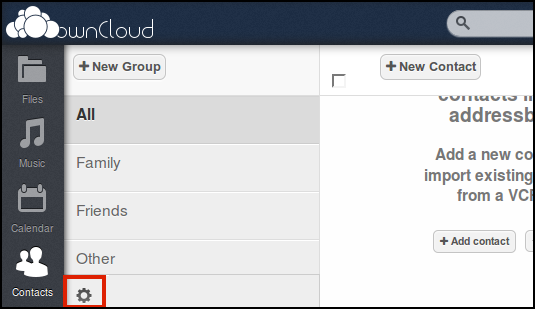
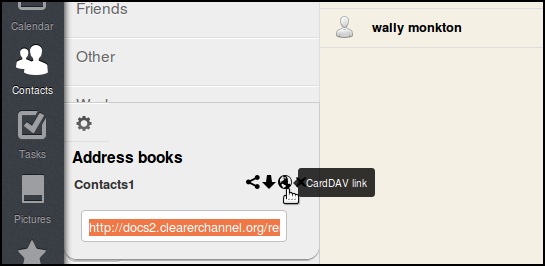
To find the URL, click on the settings cog in the bottom left of your contacts area.
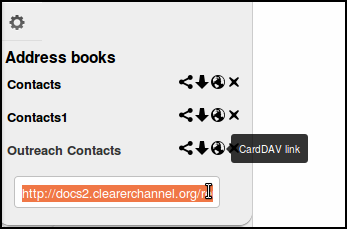
Each address book has it's own CardDAV link indicated by the globe icon.
Back in Thunderbird, synchronize with the remote address book by right clicking select Synchronize.
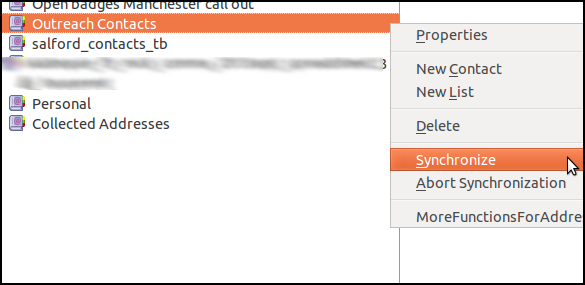
You’ll see your local address book fill with the contacts in ownCloud. Similarly, adding or editing your contacts in Thunderbird will trigger a sync with the ownCloud server.
Note: Be careful when arranging your contacts. Moving a contact from from a remote 'OwnCloud address book' to a local address book removes the contact from the OwnCloud server, (thus deleting it from all the other synchronized installations). Take care and be sure to copy not move if you don't want this to happen.
Connecting contacts and calendar to mobile devices
There are instructions for connecting iCal and contacts of Apple devices to ownCloud in the official ownCloud documentation.
Contacts and syncing on Android devices
There are several apps available to sync your Android device contacts with those on a CardDAV compatible service like ownCloud. We have documented one called CardDAV sync beta free which we have tested and concluded that it works well.
Search and install the app in your usual way.


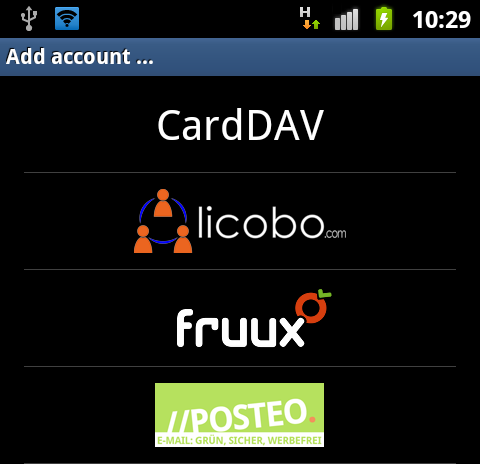
Select CardDAV from the options presented.
Enter your user details and the URL of the CardDAV address book that you want to connect to.
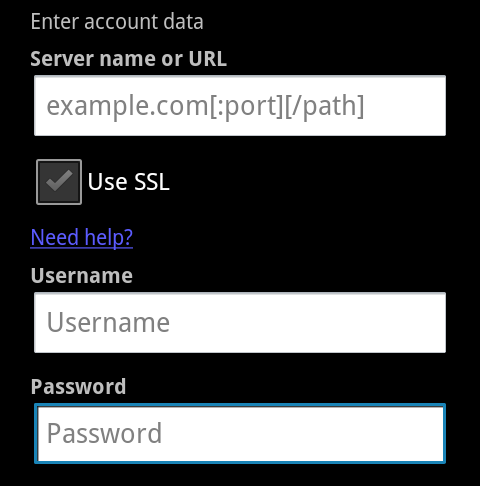
If you have SSL/https enabled on your server keep the tick in the Use SSL. If not take the tick out. See the chapter on security for the reasons why using SSL increases the security of ownCloud.
If you are entering a normal URL you can find it in the settings of your ownCloud Contact Settings. Look for the CardDAV link.
Make sure to enter the link details exactly. A typo will result in an error. Then click on Next.
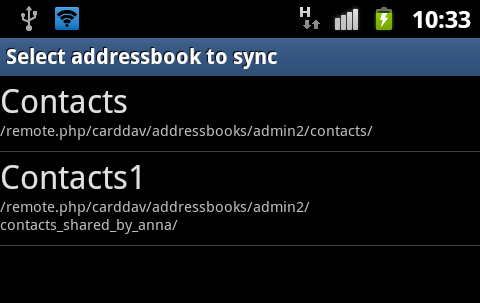
You should be presented with the name of your default address book. If you have added, or have other address books shared with you they should also appear in your list to choose from. You can only choose one now, however you can repeat the process with other address books.
You can then give another name to the address book if needed.
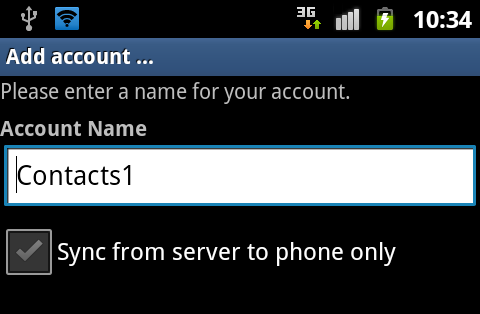
You are given the option to Sync from server to phone only. If you un-tick this then changes that you make on your devices will by synced back up to the server.
When using contacts in Android or via the ownCloud server you may find it slightly clumsy. This area is still quite experimental and changes are being made to make it more user-friendly.
You may want to choose a more mature system like the Thunderbird email client to be the interface where you manage your contacts. Changes you make there will be updated to your server and to any android clients that you have synced.
Calendars and syncing on Android devices
Android does not support CalDAV by default, so we need to install an app to allow our devices to do this.
Searching for CalDAV in the Google Play store will give you a number of choices.
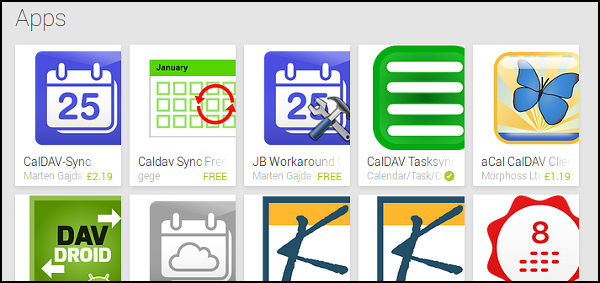
The first two results are called CalDAV Sync and CalDAV Sync Free. These have been shown to be effective by people using ownCloud.
We recommend that you install them and repeat a similar process to that listed above for syncing Contacts in Android and Calendars in Thunderbird.