


Syncing Files in ownCloud
At the core of services like ownCloud and DropBox is the ability to store, share and synchronize files between different computers, mobile devices and the web.
We have covered sharing and file versioning in other parts of the guide but it would be a good idea to explore what syncing files really involves and how ownCloud approaches it.
A real benefit of syncing is that the web service seamlessly integrates into each device. For example on a desktop you can use your ownCloud instance without opening a browser. The folder is then integrated into the local file system.
What is syncing?
 Syncing or sychronizing is the process of making sure that different repositories of information contain the same data.
There are different ways of syncing your data. For calendar and contact information the process is different than the process for files. Please see other chapters dealing with contact and calendar syncing.
The ownCloud system operates by having the web server act as the main repository for data. When a computer or device (client) connects with the server it updates its own list of the data that remains the same and the data that has changed.
This is more efficient than downloading all the files every time you log into ownCloud. The client only gets and sends the files that have been changed. This speeds up the process of scanning through a lot of files and analyzing which files need to be updated and in which direction.
Tech Note: If you are interested in the technology behind the syncing in ownCloud there is more information here. In short, the library 'csync' is used in combination with WebDAV technology.
Tools to sync your files in ownCloud
For the syncing of files there two main options
- WebDAV folder sharing using the default File Manager / Finder application
- Clients – applications which connect to the ownCloud server to allow synching
WebDAV is a well established protocol for sharing files via the internet. It can be set up in a simple way to act like a network drive on your computer or device.
However, although it may be simple theoretically, in practice you may run into complications and limitations. Try setting up WebDAV to connect and sync to your ownCloud server using the instructions on this page.
If this easy way of syncing doesn't work in the way you want or if you need more functionality, you can try using a sync 'client'.
There are several clients which can be used with ownCloud but this guide will focus on the use of the ownCloud client. This is covered in another chapter of this guide.
Synchronization of files via WebDav
Setting up WebDAV in Nautilus (GNOME)
Nautilus is a popular file manager for Linux based operating systems. If you are using a major distribution of Linux is it likely to be your default file manager.
Connecting to an ownCloud server from your file manager has several advantages. It is quick, easy and will probably fit into your normal way of working with files.
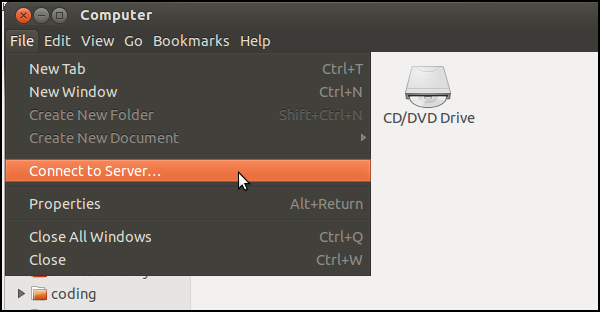
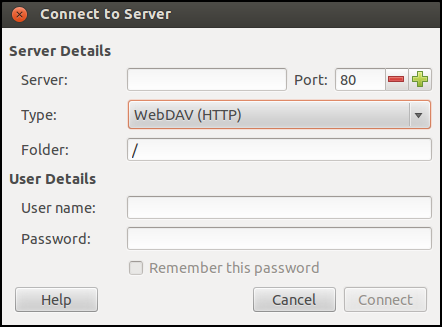
To star the process, start Nautilus and Select File > Connect to server.
You will normally choose WebDAV (HTTP).
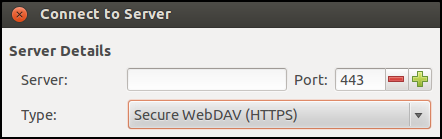
You can also choose Secure WebDAV if your server has that option (via using SSL / https).
The URL that you have to enter into the Server: box is the same as the URL you use to log in via the web, but with /remote.php/webdav added to the end.
For example: youraddress.com/owncloud/remote.php/webdav
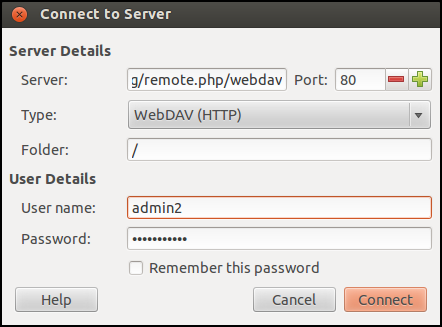
You should now see your ownCloud server as a connection in the sidebar of your file browser.
This may appear in a different way depending on your settings in Nautilus.

Any new folders you create or files that you add to this directory will be transferred to your ownCloud server.
Setting up WebDAV in Mac OSX
In the Finder choose Go > Connect to Server, type the address of the server in the Server Address field and click Connect.
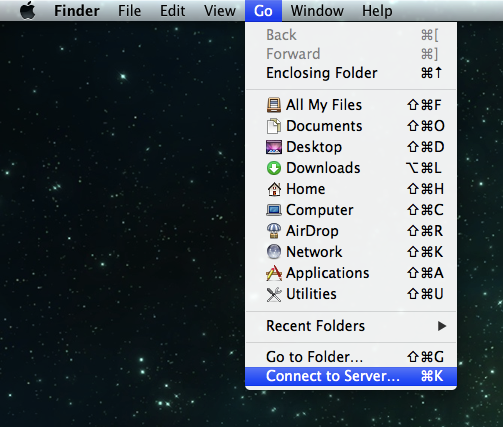
The URL that you have to use to connect to the ownCloud installation in Finder is:
http://youraddress.com/owncloud/remote.php/webdav
Note: Finder in Mac should only be used if the ownCloud server runs on Apache with mod_php enabled. If not, please use the ownCloud client.
Setting up WebDAV in Windows
Using Windows Explorer right-click on Computer and select Map network drive.
Choose a local network drive to which you wish to map ownCloud. Finally, enter the address to your ownCloud instance, followed by /remote.php/webdav, e.g.
https://youraddress.com/owncloud/remote.php/webdav
For an SSL protected server. Check Reconnect at logon to make this mapping permanent each time you restart your computer. If you wish to connect as another user, check Connect using different credentials.
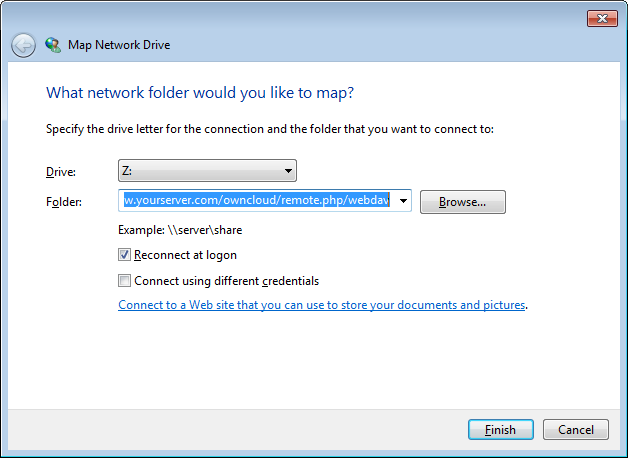
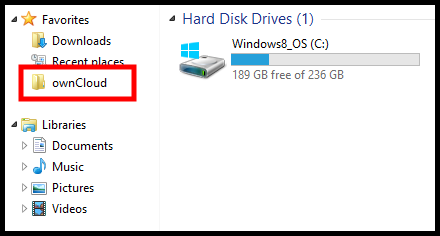
After pressing Finish, Windows Explorer will map the network drive and your ownCloud instance should be available.
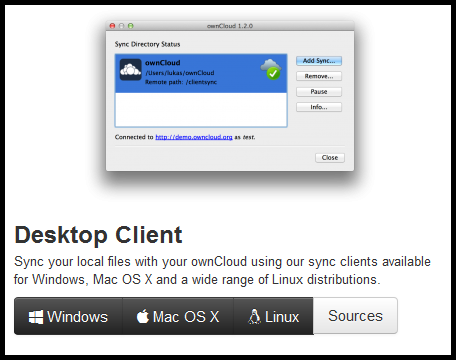
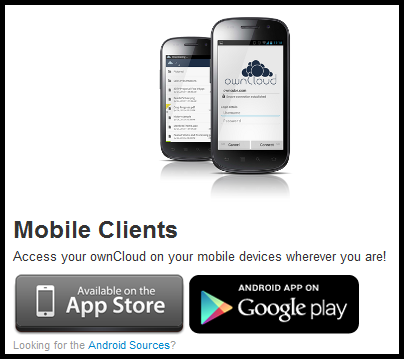
To summarize, there are two ways of syncing local devices with the remote ownCloud server. Either you use the system's file manager and connect to the the WebDAV URL or you download and install the ownCloud client. There are clients for both desktop computers and mobile devices.