


Using Tasks and Bookmarks Apps
This chapter documents a couple of the most popular apps for ownCloud. It assumes that you know how to activate apps.
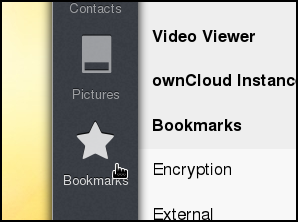
The bookmarks app
Activate your bookmarks app and then click on the Bookmarks button in your navigation bar.
Drag the Read It Later button, displayed in the bookmarks window, to the bookmark area of your browser. (You may need to configure your browser to show this if it isn't present already.) Your browser should indicate when you are in the correct place (in the example below, a small yellow arrow and a separator line appeared).
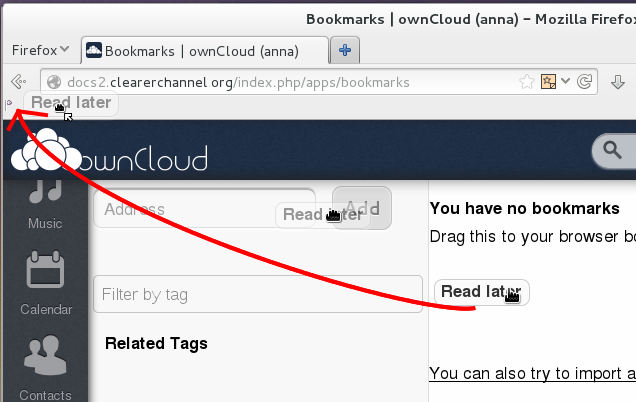
The button should stay/stick in your browser and will be there all the time.
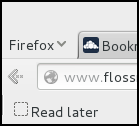
When you are browsing the web and you find a page that is important, perhaps a site you use as a reference tool, news center or simply something fun you might want to share or see again sometime, you can click the Read Later button.
This will bring up a dialogue window to help you categorize and save the bookmark to your ownCloud instance.
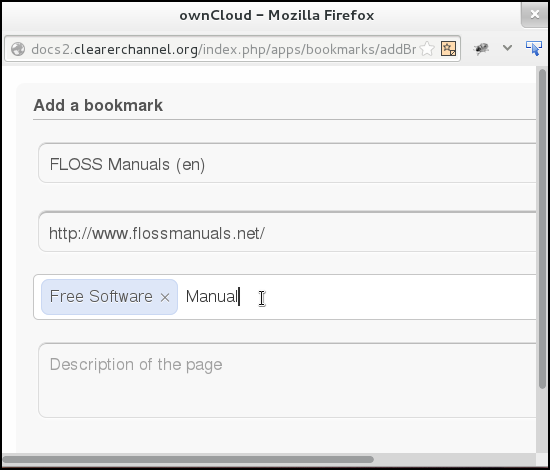
The page name and web address will be recorded automatically.
To help you find the Bookmark easily next time you need it, enter some tags by typing in the box, and hitting enter at the end of each tag (at which point they turn blue). A moment taken here to think of which tags to put will save you time looking for your links later.
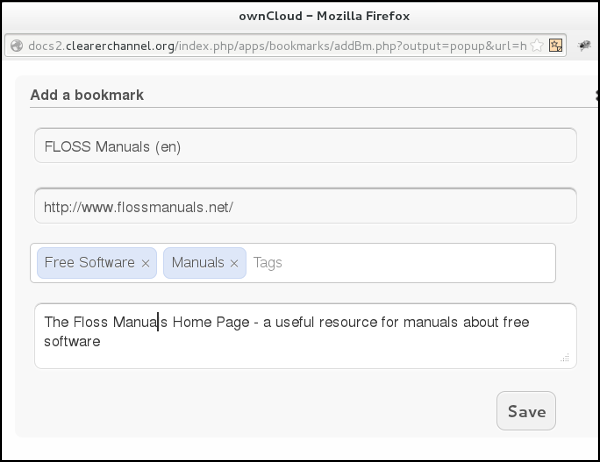
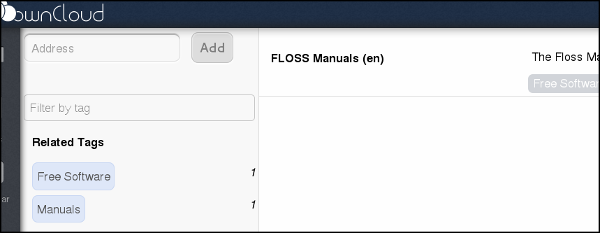
You can also include a description. Click Save, and the window will close. Your bookmark, and any new tags you used, will appear in your ownCloud instance (you may have to refresh the page).
You can also use the search bar of ownCloud in the top right of your screen to find saved bookmarks.
The tasks app
Enable tasks in your apps section, and a new icon will appear in your navigation bar.

Click on the Tasks icon to go to your tasks window.

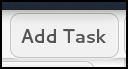
To add a new task click Add Task.
This will bring up an untitled, empty task. Click on the text reading <no title> to name your task.

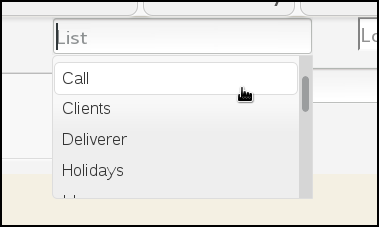
Then fill in the details if you need to. You can chose a category, which will function like a to-do list.
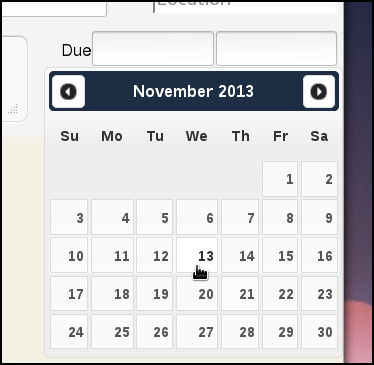
You can set a due date for the task.
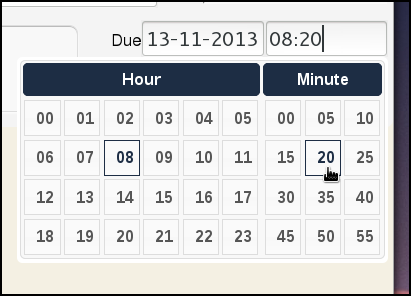
You can set a time for the task, in hours and minutes.
You can add notes, and even a location.

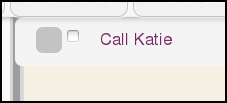
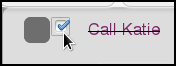
To mark a task as complete, click the tick-box next to the task name.
To minimize a task so you only see the name, click the little black arrow.
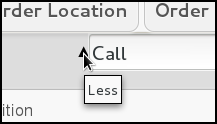
If you have several tasks you can order them using the filter buttons at the top of the page.

You can also use the tags down the side of the page to view individual lists. This relies on you reliably linking tasks with list categories. It can be easy to lose tasks once you start using the list filters. It seems advisable to only use a few of the list categories, for example, just use work and personal. You can only add each task to one list.