Exporting Ranges
Exporting is the process of saving a Region, Track or Session to a file on your computer. As we learned previously, Exporting a Region does not Export all of the changes you might have made to that Region. To Export edits such as Normalizing, Fading and Panning, and Automation, you must Export either a Range or the entire Session.
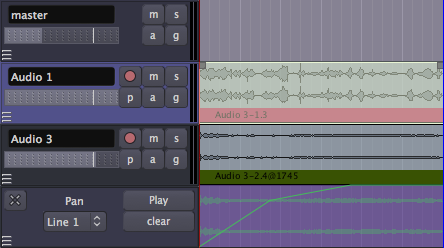
To Export a range, select the Select/Move Ranges tool, then Right-Click Export range or use the top menu: Session > Export > Export selected ranges to audiofile.
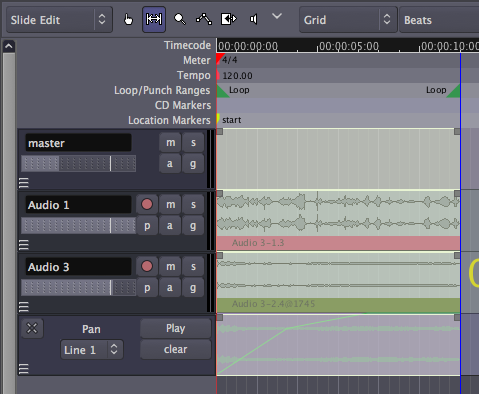
Since the Export is handled through the Master Bus, every Track within the Range you select is Exported together, exactly as they play back in your Session. Unlike the Export Region command, this kind of Export includes any Normalizing, Fading and Panning, and Automation you have created, along with the individual edits made to the Regions as well. If any of the Tracks have the Mute or Solo buttons engaged, this will also affect which Tracks are heard in the Exported file.
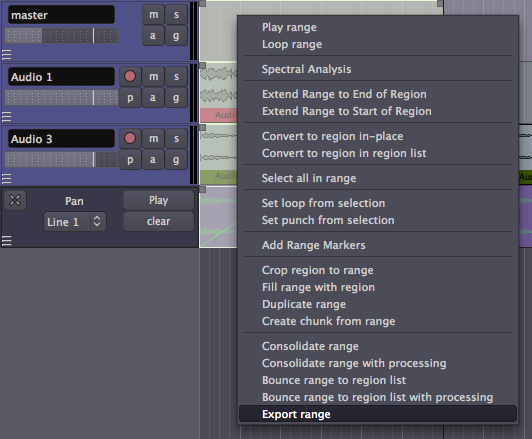
This opens a dialogue box with several options. Generally, you will want to export a Stereo mix as an AIFF or WAV file, at either 16-bit or 24-bit. 16-bit files can be burnt directly to an audio CD, but if you intend the audio to be further processed, it is best to export at 24-bit. Having chosen your options, enter the track name at the top and select Export.
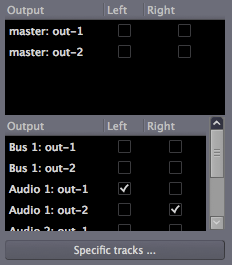
Define the output channels by selecting them: left and right are normal stereo outputs.
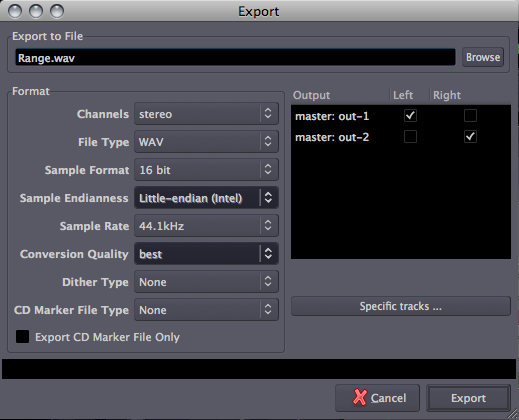
To export only specific Tracks, de-select the master outs, and click the ”Specific tracks” button and select the channel(s) of the Track(s) you wish to Export.
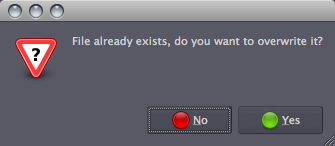
Warning: overwriting existing files causes Ardour to become confused, resulting in empty files being Exported. Be sure to use a unique file name each time you Export!
Continuing
Once you are happy with your entire Session, you will probably want to to Export the whole thing as a Stereo Mix. Please go ahead to the next chapter to learn about Exporting Sessions.


