Audio Set Up
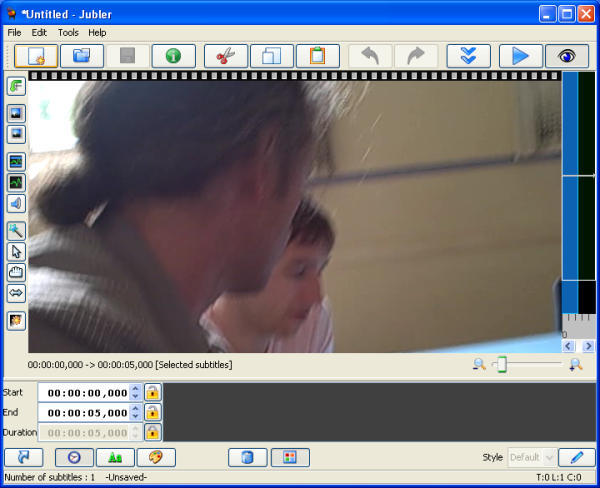
There are many options for working with audio in Jubler. Before we look at audio you need to have prepared a video and loaded a preview video file (the video you wish to prepare subtitles for) :

Viewing Audio Wave Form
It can be very useful to view the audio track when creating subtitles. A audio track is represented by lines that look like a 'wave'. This wave is a graphic illustration of the shape of the actual sound wave. If you can see when a sound waves starts it can help to time the subtitles more accurately and add extra comments for noises the occur in the background.
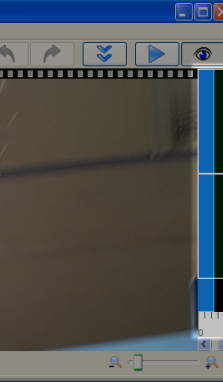
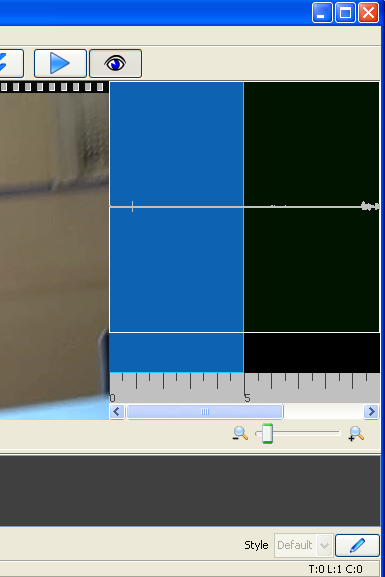
By default the audio track is displayed. However it maybe that your window is not wide enough to see it. If this is the case you will see something to the right of the video image preview similar to this :

In the above example there is a small area for displaying the audio track but it is too small to be useful. To extend it click on the right edge of Jubler and drag to the right. This will extend the window and give the audio track more display space.

It is also possible to see the audio displayed below the video which might be better if your screen isn't wide enough. To do this press the 'orientation' button :
![]()
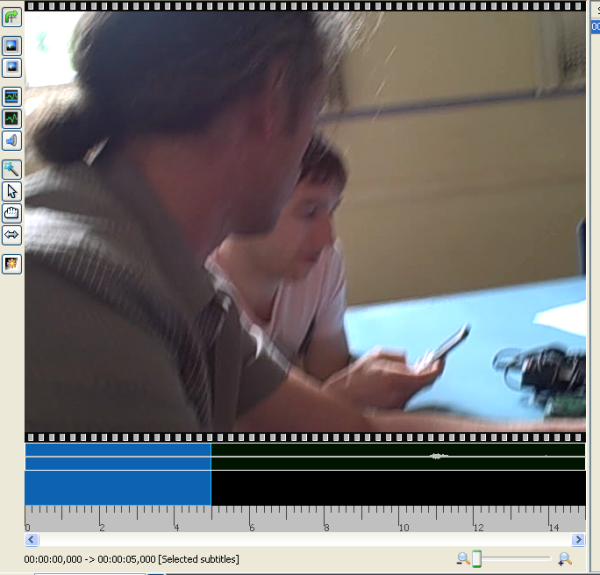
Pressing this button will change the position of the audio. I prefer the audio below the video so use the orientation button to place the audio in this position :

Scrolling
If you grab the blue section and drag it then Jubler will display a video still corresponding to the video at that point on the timeline. The video still will only display once you have dragged the video and released the mouse button.
It is also possible to magnify the timeline with the slider :
![]()
This is useful if you want to focus on a small section of audio or wish to see the entire audio timeline displayed at once.
Maximising Audio Display
If you wish to maximise the audio waveform displayed vertically then you need to press the maximise button :

When you have the audio maximised this button will change its appearance from having blue lines to red lines at the top and bottom. Now your audio display will scale the wave form to the maximum space vertically. This is a selection of my audio before maximising :

and after :

Changing the Active (blue) Area
There are different tools for changing the active area of the audio preview.
The default one is a wand with a star. This automatically decides if you want to adjust the edge of the blue active area to change the length of the selected area, or slide the whole area unchanged in length to earlier or later in the clip. Use this one. If you want to change the length of the highlighted clip go the edge and the cursor should change to a double ended arrow. Hold down the mouse and slide it to change the length.

And if you want to move the whole area forward or backwards without changing the length move your cursor over the highlighted area and it will turn into a hand. Hold down the mouse and move it left or right it to change the position of the active area.


