Permanent Subtitles
Software name : Avidemux
Software version : 2.4
If you want your subtitles to be 'burned' permanently into the video image rather than overlayed then you can do this with the Subtitler filter in Avidemux. It is much quicker to create an external timecoded subtitle file and burn it to the image than to manually create and place them in a video editing programme.
First open your video file. In this case we are using a MPEG-2 file in order to create a DVD but the process will work with an MP4 or MPEG-1 file or similar.
Select 'File' and 'Open':
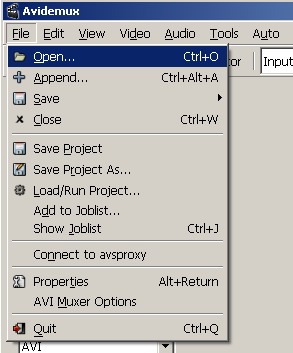
In this example we are going to select the 'Auto' and 'DVD' option to create an MPEG2 file ready for a DVD. Look at other parts of the help to make sure that you choose the right encoding options.

Add Subtitler Filter
Click on the 'Filters' button on the left of the screen
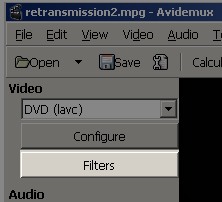
Then in the filters menu click on the 'Subtitles' image on the left.
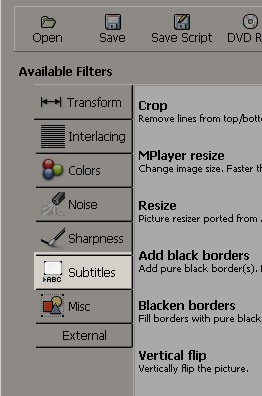
Click on the 'Subtitler' option and click on the '+' button at the bottom of the window.
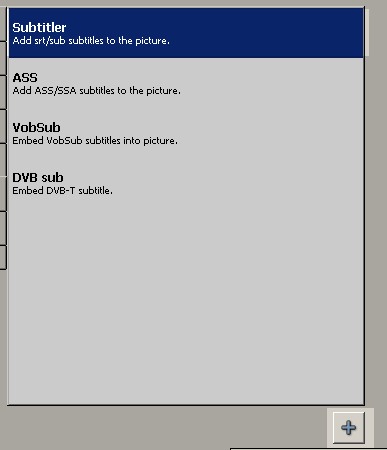
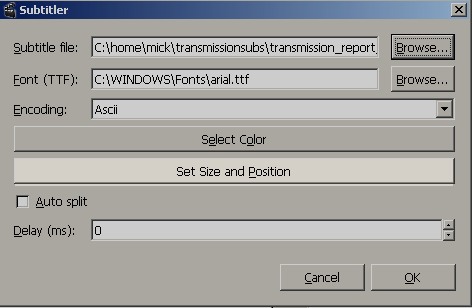
Choose the srt file you want to add to the video file.
Change Font Type and Size
Choose the font. Make sure this window points to a valid font. The default is set for a Linux installation. So if you are on Windows or Mac you will need to choose one from your fonts directory. A typical location for a font in windows is 'C:WINDOWS\Fonts\arial.ttf'
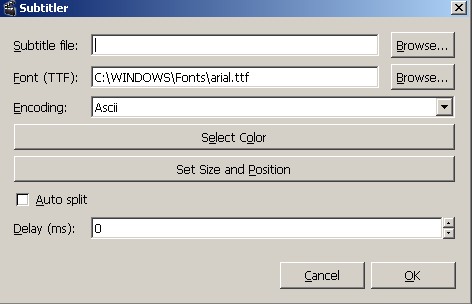
To change the font size and position, click on the 'Set Size and Position' button.
Choose a size for your font. '32' seems a good choice if your video file is full screen (ie 720 pixels wide). A font size of '24' seems to work quite will for a video file that is quarter screen (around 320 pixels wide).
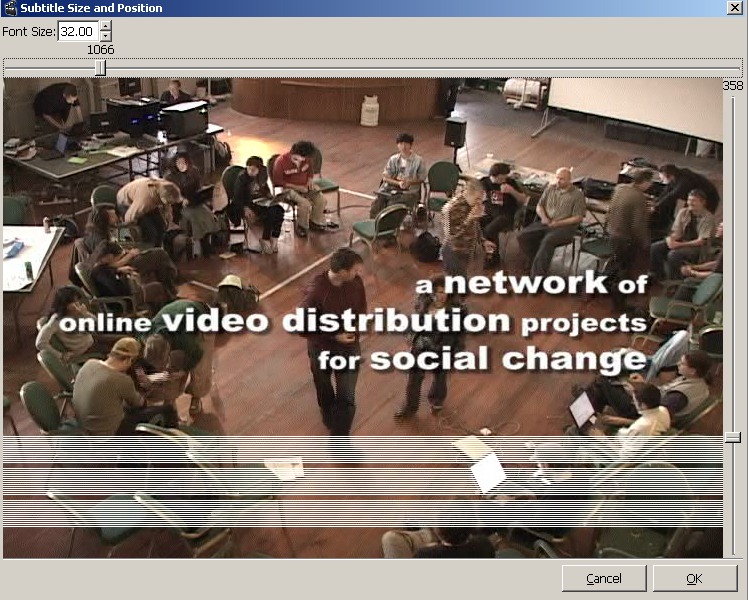
There is a slider on the left which allows you to alter the position of the subtitle on the screen. The slider at the top of the screen allows you to preview the video file and check that the position is correct.
Click 'OK'.
Previewing the Subtitles
In the 'Filters' menu click on 'Preview' to check that the subtitles are readable and appear in the right place.
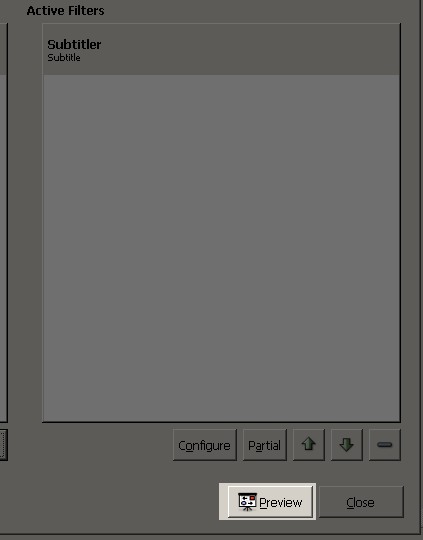
There is a slider at the bottom of the screen to allow you to preview each part of the video.
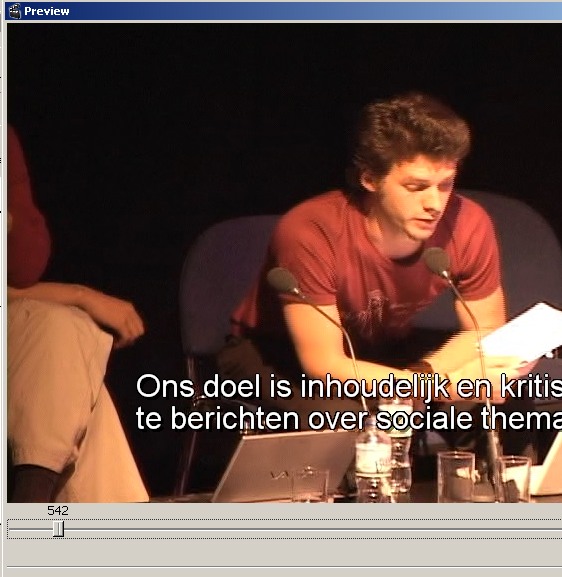
Then click 'Close' to return to the main menu
Saving your File
Click on the 'Save' button at the top of the screen and choose a location for your video file.
Your file with hard burned subtitles is now ready to use in a DVD project or to upload to the Internet as you need.


