


Adding images to posts
There are several ways of adding images to posts. The two most common are uploading an image file from your computer or linking to an image that is already on the internet by finding its web address (URL).
The advantage of linking directly to an image that is already on the internet is that you don't have to spend time uploading it to your site. The disadvantage that the image you link to may disappear. To be safe, take a moment longer to download the image and upload it your own blog.
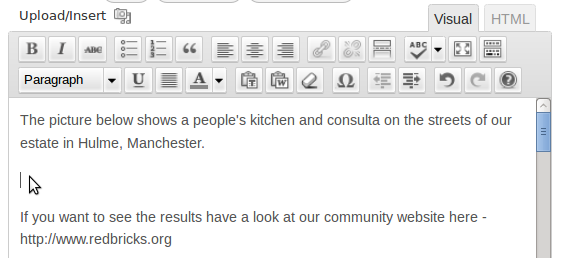
If you are using your own installation of WordPress, you may have to make changes to your Upload Settings in the Settings part of your Dashboard before you are able to upload images. There is help on that aspect elsewhere in this manual.When you are in the editing interface for your post, place the cursor where you want your image to appear. This is usually easier if you write the text first.
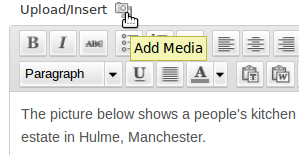
Then click on the ![]() icon, which is the button to Add Media.
icon, which is the button to Add Media.
A dialogue box will appear. This gives you a choice of several ways to add your image
Uploading images from your computer
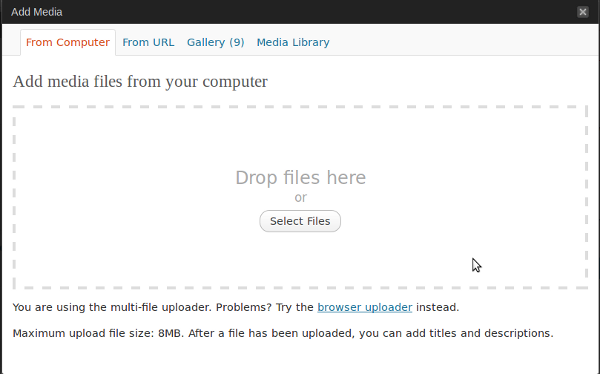
You can then drag and drop files from your computer's file browser into the big space shown in this window.
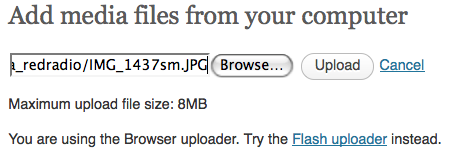
Or, there is also an option to use 'browser uploader' which will give you the following dialogue box.
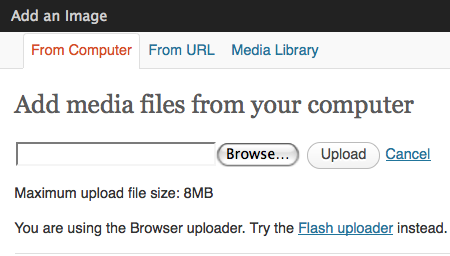
You will be presented with a File Upload or similar dialogue box that allows you to navigate to the image on your computer; this will look different depending on the type of operating system you have. When you find the file you want to upload, select it and click Open.

This will bring you back to the Add Media screen. You should see the path and the filename of the image you selected in the box. Now click on the Upload button to the right of this.
Configuring your uploaded Image
After your file/s has uploaded, you should see a thumbnail of the image followed by options about how to display it in your post.
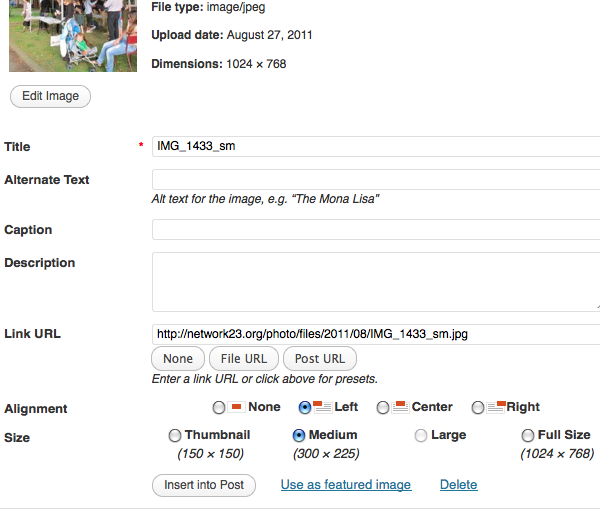
For this image I want to align the image to the left so that the text I've written wraps around it. I also want to select a Medium version of the image as the Full Size one would be too big to fit on the page.
I don't need a caption or description at the moment (if I change my mind, I can always return later and add that information).
When you have filled in as many details as you need to, click Insert into Post at the bottom of the options.
You should now see you image in your post about the right place you wanted it, or at least where you had the cursor flashing when you started the process.

Making changes to an image
If you want to adjust the size of the image on your screen, or change the spacing around the image, then you need to edit the image.
Changing image spacing
To change the spacing you need to alter the Advanced Settings of the image. First, click on the image in your post. Remember we are still in the edit mode; if you have published your post and are looking at the final result you'll need to go back to the editing interface.
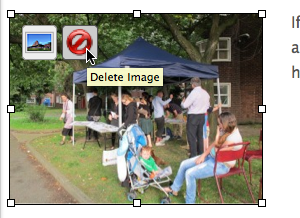
When you click on the image, you'll see two icons appear in the top left of the image:
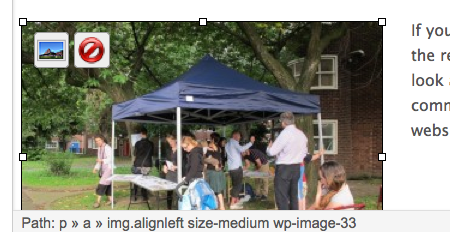
The first icon shows a landscape; this allows you to change the settings of the image. The second is a red circle which is to delete the image if you no longer want it to appear in your post.
Click on the landscape icon. You'll see a dialogue box similar to when you first inserted in the image into the post. Click on the tab which says Advanced Settings.
To create a bit of spacing around the image, enter numbers in to the boxes. Vertical space creates a margin on the top and bottom of the image, and Horizontal space creates space to the left and right of the image.
Enter a number in the box of your choice. Something around 10 pixels creates a good margin. Then click Update at the bottom of the window.
Preview your post to check the result before you publish or update the post; the margin around the image may be bigger or smaller than you want. Just go back to the Advanced Settings to adjust it.
Changing the size of an Image
There are a few different ways to change the size of an image. When you upload you are normally given four general options: thumbnail, medium, large and full size.
Another way to change the size and alignment of an image is in the Advanced Settings. Navigate to the Advanced Setting screen as shown above.
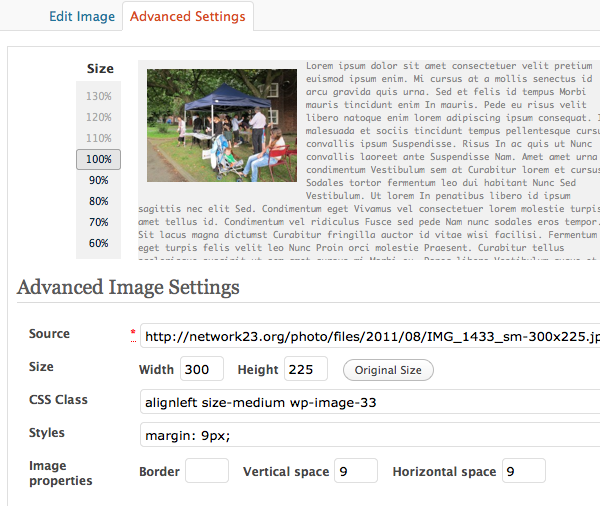
You will see the image size as you inserted it in the Size row. In this case it is Width 300 and Height 225. The numbers refer to pixels. A normal width for your posts in WordPress is about 600.
You are able to set a smaller size by clicking on the 90%, 80%, 70% and 60% numbers to the left of your image.
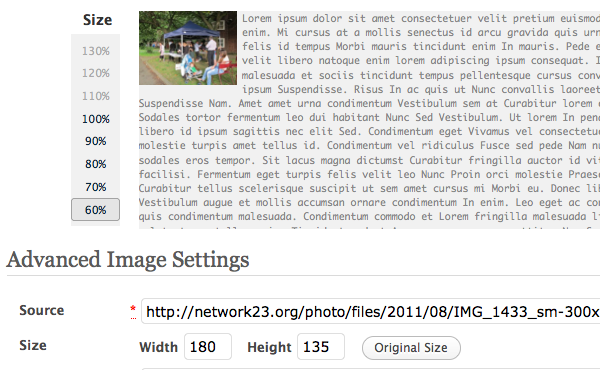
In the example above, 60% is selected and you can see that the Width and Height figures have gone down. You can also put in your own numbers into the Width and Height boxes.
When you have found a size you like, click Update at the bottom of the window, and then either Publish or Update your post.
In this example you may have noticed that once we had inserted the image as a medium sized image, in this case 300 pixels wide, that we couldn't increase its size even though the original had been 1024 pixels wide.
We could upload the image again and insert it as full size, but we could also do it another way if we learn how to use the Media Library.
Using the Media Library
To continue with the example above, let's re-insert our original image as a full size image. We can select the image in our post and delete it. Click on the image and then Click the red icon to delete it.
Although the image is no longer visible in the post, it is still in your WordPress system somewhere behind the scenes. To insert it again, we need to find it in the Media Library.
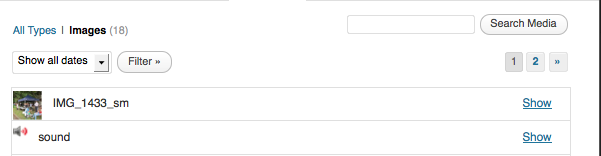
To access the Media Library, follow the same procedure as above when you are adding an image for the first time. However after you click Add an Image icon, select the tab Media Library in the Add an Image window.

This shows you all the images that have been uploaded to your WordPress site. If you have uploaded more than 10 then you may need to click on the numbers on the top right to move to the next pages of images to find the one you have looking for. You can also use the Search function, if you know the name of the file.
In this case the image we want is right at the top. To re-insert it at its original size, click the Show link to the right of the relevant image.
This will open up a familiar looking window which will allow you to change the settings for the image. In the screenshot below, the image is full size and aligned to the centre. There is also a description of the image and a caption.

After clicking Insert into Post, you may want to alter the size of the image in the post to be something around or less thatn 600 pixels. This will depend on the theme your site is using, but most themes have a post width that is 600 or less.
You can alter the size in one of the ways described above or there is another way. In the edit view you can click on the corner of the image and drag it to the appropriate size. This will also preserve the shape of the image.

When clicking the mouse, hold it down and start to move the pointer. You'll see a grey window which tells you dimensions of the new image size. You can release the mouse button when you are happy with the size of the image.
Don't forget to click on the Update button on the right to save your changes.