


Adding Video
This chapter deals with now to embed a video that has been uploaded to a video sharing site into a post.
To add videos from YouTube, Vimeo and other similar video sharing websites, you can simply copy the URL of the video you want to embed and paste it into your post.
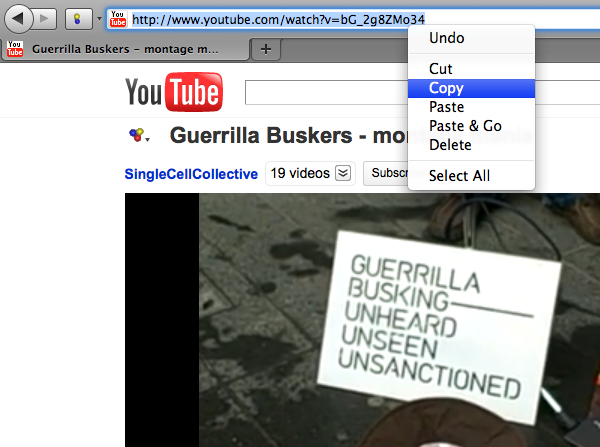
A URL is another name for a web address; you can find this the navigation bar of your browser. To copy the web address/URL to your computer's memory, right-click (ctrl + click on Mac) on the URL and select Copy from the menu that appears:
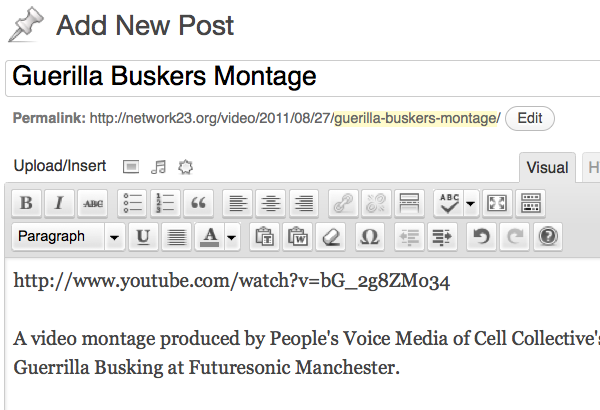
Then in your WordPress blog you can add a new post, give it a title, write a short description and then paste (right-click > Paste) the URL of the video where you want it to appear.

You can then click on View post to check to see if the embedding of the video has worked. You should see a box showing a still of the video and a play button:

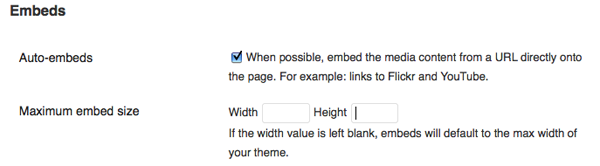
For this method to work you need to have the Auto Embeds setting turned on in Settings > Media. It is normally on by default but check it if this process doesn't work for you.
Controlling the size of videos and using embed codes
If you want to control the size of your video on the page when you embed it or if you are using a video sharing site that isn't supported by the WordPress Auto Embed method, then you will need to add your video in a different way.
One way is to use an embed code. Most video sharing sites will give you access to an embed code. They all do it in slightly different ways but look for buttons which say Embed or Share.
On YouTube, click on the Share button underneath the video you want:
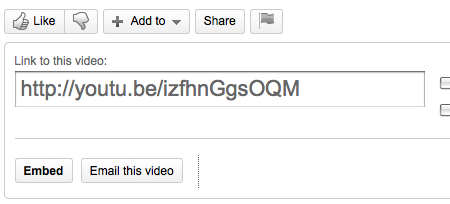
Now click on Embed to see the embed code you need.
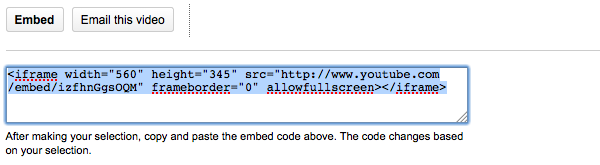
Copy this code to your computer's memory (right-click, or ctrl+click on Mac, and select Copy).
In the edit screen for your post, click in the body input field so that the flashing cursor is at the place where you want your video to be appear. If you are in the Visual editor, you will need to change the view from Visual to HTML.
If you are not sure what this means, have a look at the screen shot below. You will see two tabs to the top right of your editor. The default view is Visual.
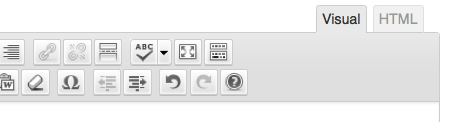
Next to it there is a second tab called HTML. If you click on it you will see that the formatting icons in the bar above the body input field are replaced by other buttons:
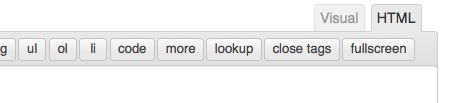
We don't need to know what these Visual and HTML buttons mean right now (they are explained in another chapter), so go ahead and paste in the Embed Code that you copied earlier and give your post a title. It should look something like the screen shot below.
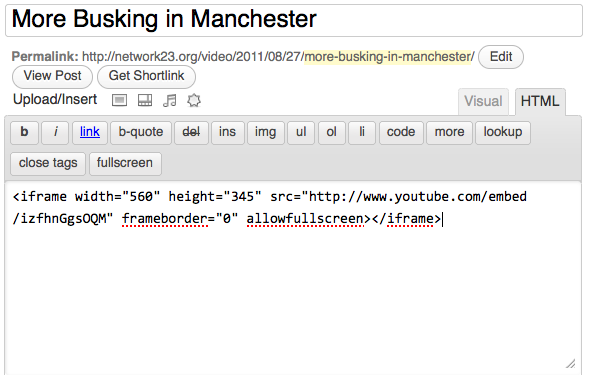
If you now switch back to the Visual Tab you'll see a square where the video will appear:

If you want to resize the video to make it smaller or bigger you can click on a corner and drag the square to be the size you want. As you drag it you will see the size change and display the news size in pixels. As a test, try making the video 320 pixels wide.
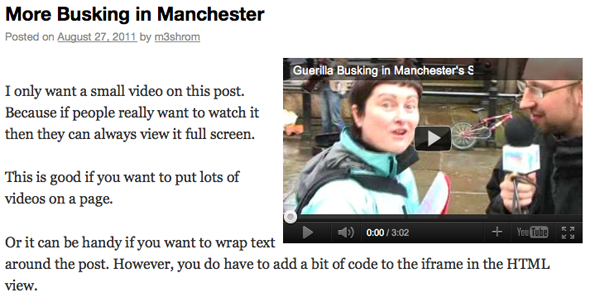
Click Publish and View Post. You will see that the video now only takes up half or so of the main area of your post.

If you want your text to wrap around your image then you may have to add a little bit of code to the HTML view. There may be other ways to do this but learning to tweak the code in the HTML view is a good thing to do as it will give you more flexibility on how your posts look.
Edit your post and click the HTML tab as explained above. You should see the embed code and any text that you have added to the post.
Add align=left to the embed code as shown in the screen shot below:
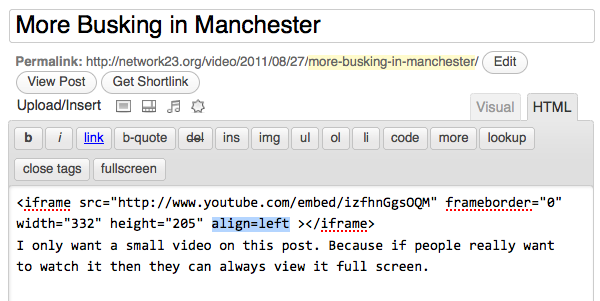
Now click Update on the right hand of the screen and View Post. Your text should wrap around the video. If you would prefer to have your video on the right, as shown in the example below, add align=right to the embed code.