


Organization Application and Acceptance Period
Before the organization application period, Program Administrators will create an "Organization Application Template" for the organizations to fill out to apply for the program. After all organization applications are submitted, Program Administrators will review the applications and accept or reject organizations.
Creating applications and evaluations
This section discusses how to create the organization application. You can also use these instructions for creating the midterm and final evaluations for Students and Mentors.
The blank template can be found via the Admin Dashboard -> Manage Organizations -> Edit Organization Application. You can then add and edit questions to be filled out by Organization Administrators.
One of the input fields on the application template is a start and end date and time in UTC. The Organization Application will be "live" on the date/time indicated in the template. Organizations interested in applying will then see an Apply button on the homepage.
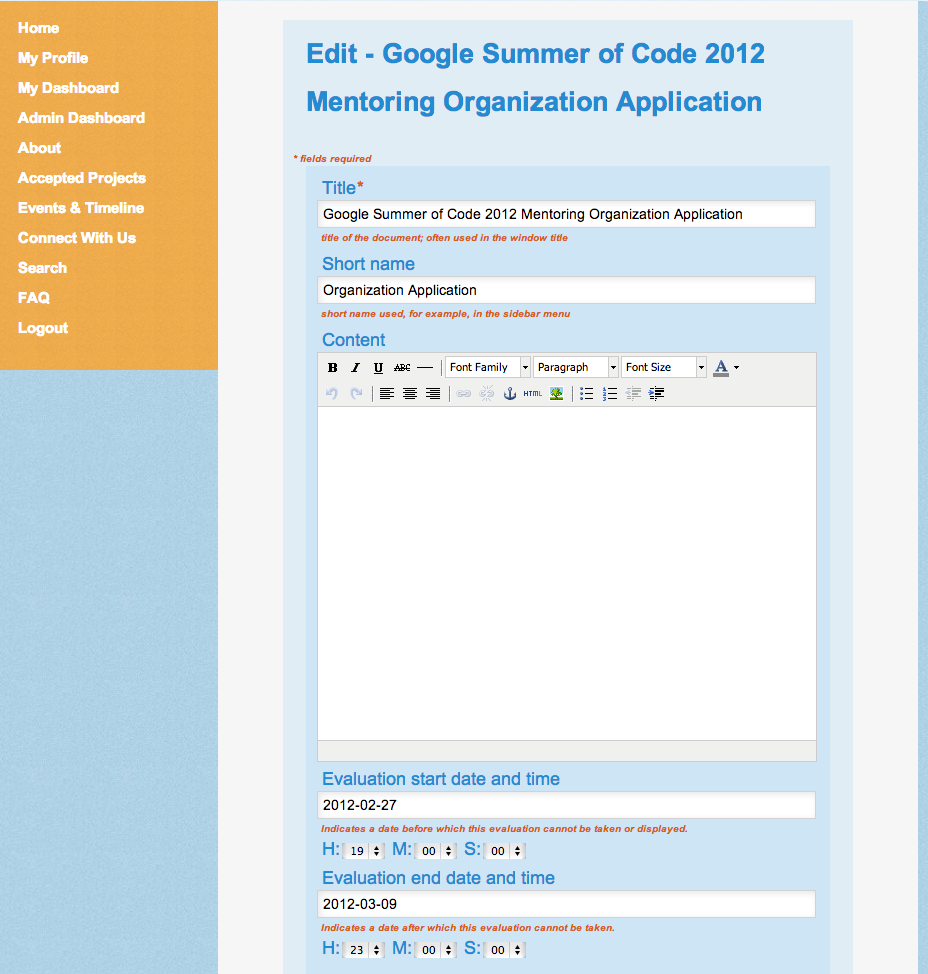
The list of the questions that will be shown to the organizations can be built using the tool found at the bottom of the page. The same tool will be available for the Student/Mentor midterm/final evaluations later in the program.
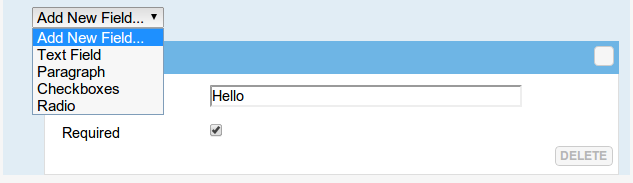
You can add different types of fields using the tool:
- Text Field
- Paragraph Field
- Checkbox Group
- Radio Group
You can add a new question by selecting a new field in the dropdown menu.
Text Fields
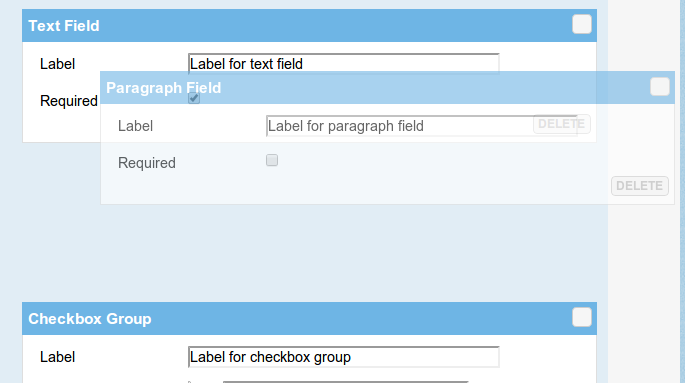
Creating a text field requires you to specify the label (generally the question you are posing) and select whether the field is required or not.
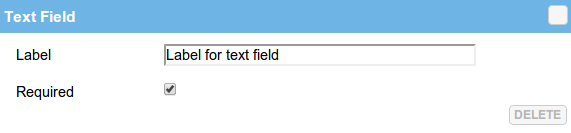
A text field created as seen above will be displayed to the final user like this:

The red star after the name of the text field indicates that the field is required (because the "Required" box is checked on the template). If a user does not fill out a required field they will receive an error message after they attempt to submit the form.
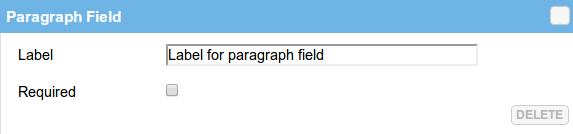
Paragraph Fields
A paragraph field requires you to complete the same steps:
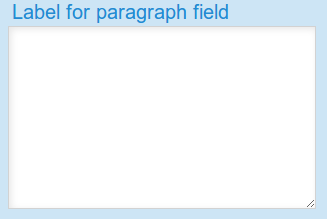
This will be displayed to the final user as:
Checkbox group
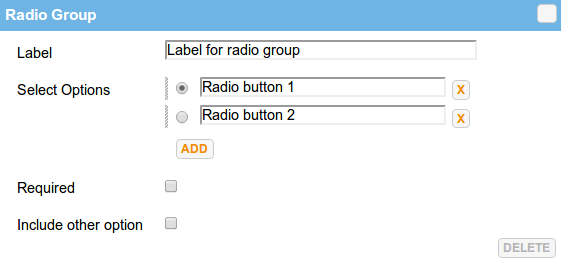
Once you add a checkbox group you will see an interface like the following:
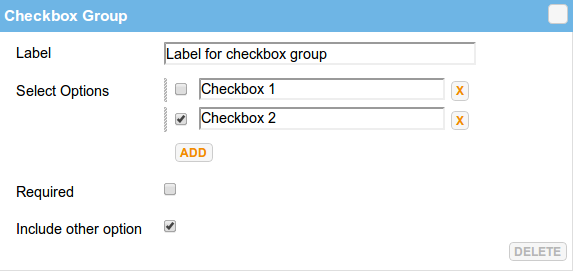
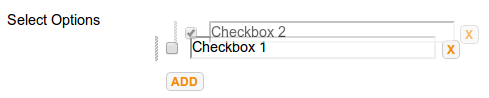
As before, you can specify a "Label", and then you can add different checkboxes that will be displayed in a group to the user. You can add a checkbox by clicking on the Add button. If you make a mistake you can delete the checkbox by clicking on the X button on the right of each checkbox. You can also move the checkboxes around inside the group:
The "Required" checkbox will work as specified above. The "Include other option" means that the final user will see an additional "Other" checkbox that, once clicked, will display an additional text field that will let the user specify something different.
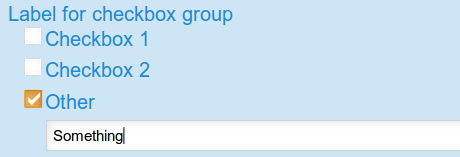
The checkbox group specified in the first picture of this paragraph will be displayed to the user like this:

Since we checked the "Include other option" box, if the user clicks on the "Other" checkbox, an additional editable text field will be displayed.
Radio group
The radio group works exactly like the checkbox group:
It will just display a radio selection instead of a group of checkboxes to the user. In this case we didn't check the "Include other option" feature, so the radio group will be displayed to the user like this:

Other features
Using the Organization Application Template, you can also:
- delete a field using its Delete button.
- temporarily hide a field using the upper right button, if the fields you're defining are too numerous and the interface gets cluttered.
- move around the fields if you change your mind about their order, by clicking on the blue bar and dragging and dropping them.
You may preview the organization application template by visiting Admin Dashboard -> Manage organizations -> Preview organization application to verify that the template is to your liking.
Review Organization Applications
The Program Administrator(s) will review submitted applications from applying organizations after the application deadline (as per the deadline listed on the Application Template) has passed.
Evaluate Applications
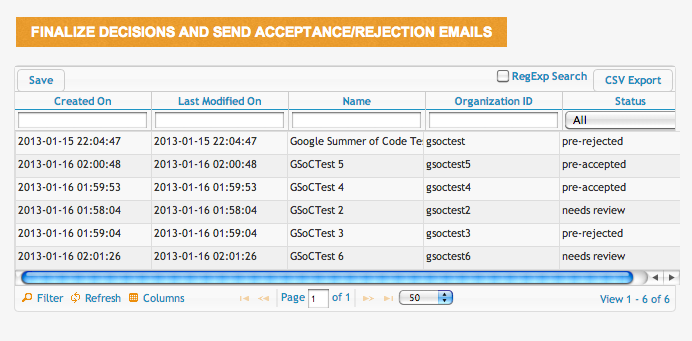
To evaluate organization applications, the Program Administrator should visit the Organization application list (Admin Dashboard -> Manage organizations -> Organization application records) and mark applications as "pre-approved", "pre-rejected", "ignored", or "needs review" by selecting the appropriate status in the drop-down and hitting Return. Please note you must click directly on the text in the Status column to make a change. The list will refresh each time you press Return and your work will be saved.
Finalize Decisions
Clicking the "Finalize Decisions And Send Acceptance/Rejection Emails" button on the top of the Organization application list page at any point will immediately send notification to all pre-accepted and pre-rejected organizations and mark them in the system as accepted and rejected, respectively. Only click this button when you are absolutely sure you are ready to approve/reject. The email text that is sent to the organizations can be specified in the Edit Messages (see the Setting up a new Program chapter in this manual) section on the Admin Dashboard. After notification, accepted and rejected organization applications will be filtered out (Status defaults to "needs review") of the organization application list. Organizations will not be further notified if the "Finalize Decisions and Send Acceptance/Rejection Emails" button is pressed again. The save button currently does not work.
Any organizations listed in the "ignored" or "needs review" state when the "Finalize decisions and send acceptance/rejection emails" button is pressed will remain in the list in that state. No email will be sent to those organizations.