


How to create a new client
The individual client can have savings accounts and borrow money according to the rules of your MFI. If the client is associated with a group, that client inherits the loan officer, the meeting schedule, and the meeting location of the group.
Follow these instructions to create a client account.
-
Click Clients & Accounts. In the left navigation panel, click Create New Client.
The following screen appears:
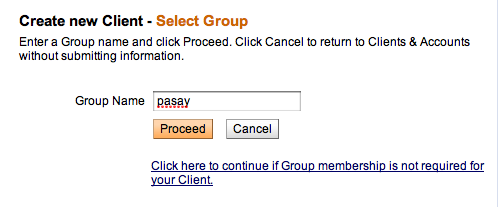
- In the Group Name box, type the name of the group that this client is assigned to, and click Proceed. A list of groups by that name appears; click the correct one. If the correct group name is not on this list (perhaps you mistyped it?), type the group name again and click Search to try again. When you see the correct group name, click it.
-
If group membership is not required for your client, click that link to proceed.
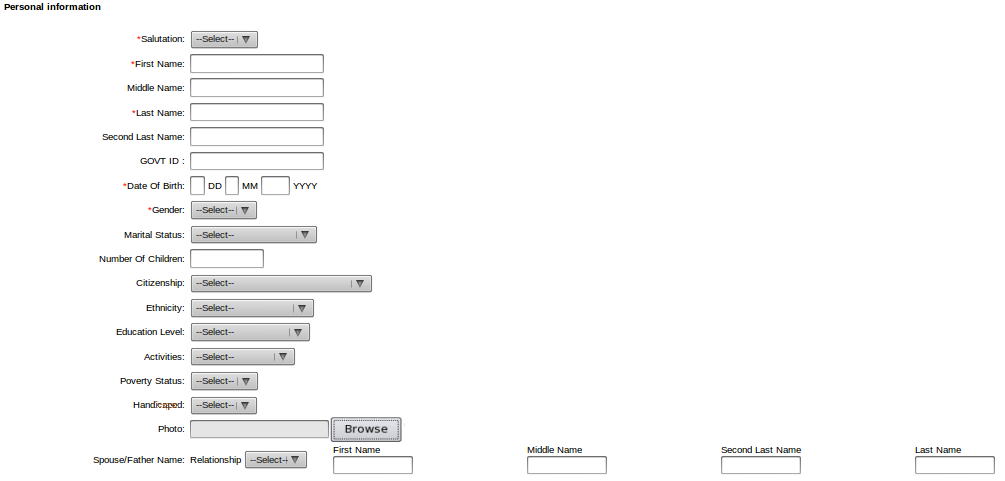
A screen for information about the client appears.The first section contains personal information. All fields with an asterisk (*) are required.
-
Enter information using the descriptions in the following table (note that some fields may not appear or may have different choices, depending on how Mifos is configured for your MFI):
Field name
Description
Example
Salutation
Mr, Mrs etc. In Mifos, the system administrator can define more salutations.
Mr.
First Name
Albert
Middle Name
Second Last Name
Smith
Last Name
Anderson
National ID
Can be Government ID, or National ID, or Social Security Number. This is not editable after a client enters Active state. Some external IDs might have characters associated with them.
N-001
Date of Birth
Nov-11, 2005
Gender
Male
Marital Status
Married
Number of Children
The total number of children the client has.
4
Citizenship
Kenyan
Ethnicity
Arab
Education Level
Captures the maximum level of education the client has attained, for example, Graduate
Graduate
Activities
The nature of the client's business
Self-owned business
Handicapped
If this field is present, check whether there is a handicap or not.
No
Poverty Status
If this field is present, click the appropriate status for the client, if known.
Very poor
Income
If this field is present, click the appropriate monthly income for the client, if known.
200
Photograph
User can upload a photo, which will be a part of the client details page and may be edited after client's creation. The maximum allowed size is 300kB and required formats are jpg, gif or png. Other formats and size over than 300kB are not accepted and error message is displayed.
Click Choose File, browse your computer for the photograph file, and double-click it so that the filename appears next to the box.C:\microfin\photos\smith01.gif
Spouse/Father Name
Relationship, First Name, Middle Name and Second Last Name and Last Name
Names of the spouse or father.
Jane Smith, Spouse
The next section is for the address of the group.

-
Enter information using the descriptions in the following table:
Field name
Description
Example
Address
Address
Address 1-3, city, state, country, postal code, Telephone
P.O Box 2223, Stanford, California, 94305, +1650-271-2450
- The next section are Attachments. It is possible to attach any file to client details page (pdfs, word, docs, etc.).
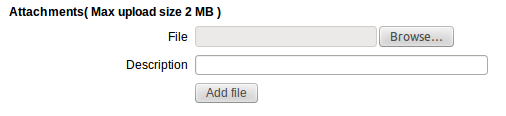 To attach file to client's details page, please select appropriate file (you can type directory manually or click on Browse button and choose file). It is also possible to add description of attachment. After selecting a file, click on Add file button. It is possible to add multiple attachments. After clicking Add file, below the button, you will see list of added files with descriptions. You can also remove attachment by clicking button "x".
-
The next section is for additional information about the client, if any is required.

-
If you have set additional family details information in database you will see, on next step, during client creation, following family details page:

Field name Description Example Relationship Possible to chose kind of relationship from drop-down list: Spouse; Father; Mother; Child Father First Name Albert Last Name Smith Date of Birth Jan-21, 2012 Gender Male/Female Male Living Status E.g. together, not together Together -
You may add more than one family member. To do it click on Add row button. You will see next row to fill. You may also delete the row by clicking Delete link.

After you add all embers and fill all necessarily fields, click continue.
-
The next section is for MFI-related information.

-
Enter information using the descriptions in the following table:
Field name
Description
Example
MFI related information
Recruited by
Select the loan officer to be assigned to the client. This is applicable if you selected to assign the client directly to a branch; otherwise the value is inherited from the group.
Loan Officer 1
Meeting Schedule
Define the meeting schedule. This field appears only if you assign the client directly to the branch; otherwise, the meeting schedule is inherited from the group. A client can be created without a meeting schedule if there is no need for one. Such client's name will not appear in the collection sheets.
External ID
The client's unique identifier in another system that shares client details with Mifos.
E003
Trained
Has the client been trained?
Yes
Trained On
The date when the client was trained.
Dec-12, 2005
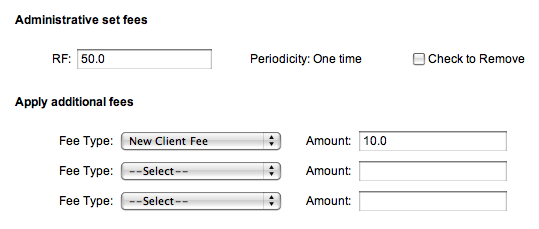
The next section is for client fees.
-
Enter information using the descriptions in the following table:
Field name
Description
Example
Administrative set fees
Any fees, if applicable
Any group or branch fees, such as membership application fees
8.85
Periodicity
The frequency the fee is applicable. Periodicity can be Once, Daily, Weekly, Monthly, Yearly
One-time fee
Check to Remove
Check to remove the application fee.
Apply additional fees
Fee Type; Amount
Mifos allows the definition of three custom fee types. Click the applicable fee type from the list and type the amount of the fee in the Amount box.
Processing fee, 3.00
The next section is for savings accounts.
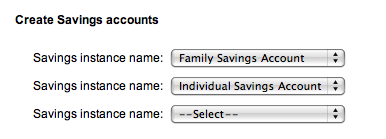
- If you want to create a savings account for this client now, click the name of the savings product from the Savings Name list. You can create up to three savings accounts.
- When you have finished, click Preview to review your work.
- If you want to make changes, click Edit MFI-related Information and make the changes.
- When you are satisfied with all the changes, click Submit for Approval. If you want to submit this client later, click Save for Later; the account goes into a Partial Application state, and you can build a custom report to find all client records in this state. (If you decide not to create this client at all at this time, click Cancel.)
A screen appears that might look like this:
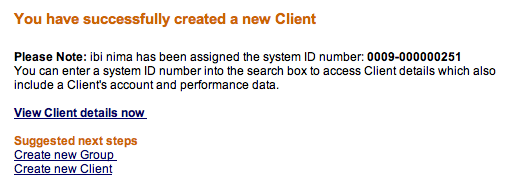
Note the system ID number for this client, so that you can use it to search for details about that client later.
The client details (dashboard) page might look like this:
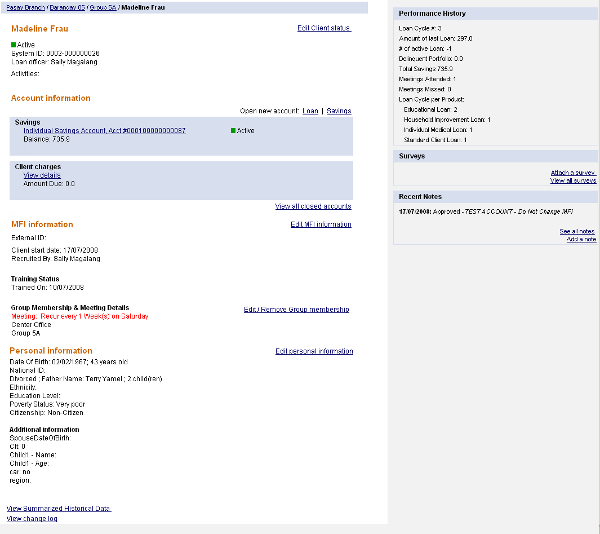
From the client dashboard, you can do the following:
- View and change client status
- Open new savings and loan accounts
- View closed accounts
- Edit MFI information
- Edit or remove group membership
- Edit personal information
- View summarized historical data
- View the change log
- View performance history
- View and attach surveys
- View and add notes
- View uploaded files
Check the appropriate chapters of this manual for information on each of these.