Profiles and Social Networking
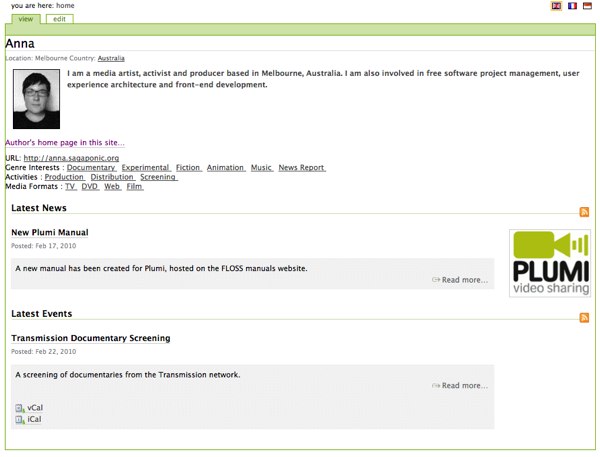
Each member of a Plumi website has a Profile or Author Page. This page lists biographical information, activities you are interested in, and a list of contributions you have made to the website.
New in Plumi 4.0 is the ability to add links to your various blogs or social networking sites, as well as a simple crowd-funding initiative - a way for other users to donate to you via PayPal to support your media activities.
Viewing Your Profile
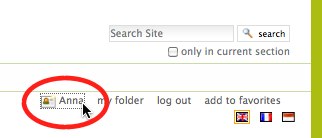
To view your Profile at any time, click your username:
This is your public profile on the Plumi site.
Viewing Another User's Profile
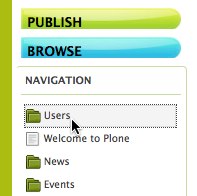
To find another member's profile, click Users in the sidebar.
You can search for users by username, email or full name. Enter one of these, and click the Search button.
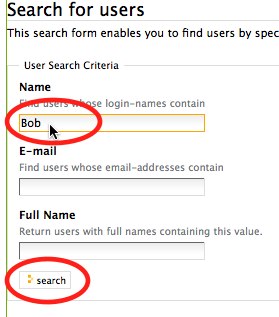
Choose the user from the search results.
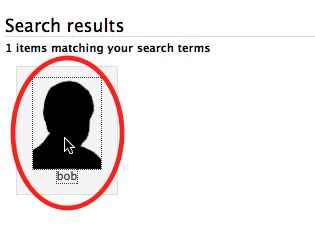
Click the username next to any of these folders
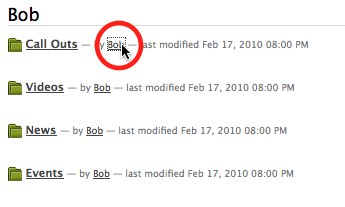
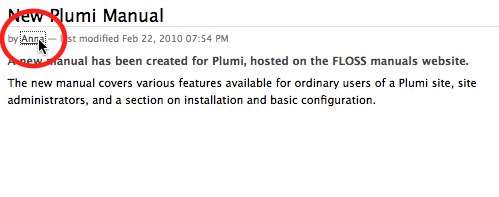
You can also view a user's profile by clicking on their name alongside any content they have created throughout the website.
Networking Using Plumi
You can find other users in a Plumi site who share the same genre interests, your activities, the media formats you use, and those who are based in the same country as yourself.
Click on the activity, genre, media format or country on the user's profile.
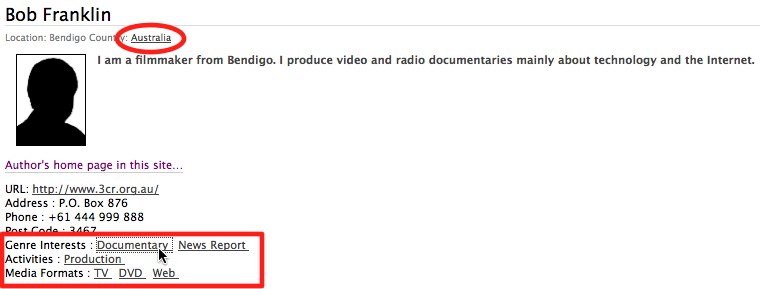
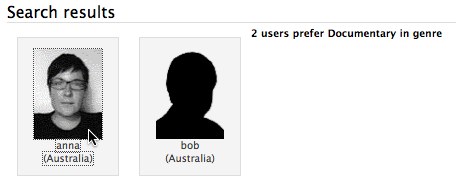
This shows you a listing of all other users who share the same activities, genre interests, media formats, or those who live in that country.
Editing Your Profile
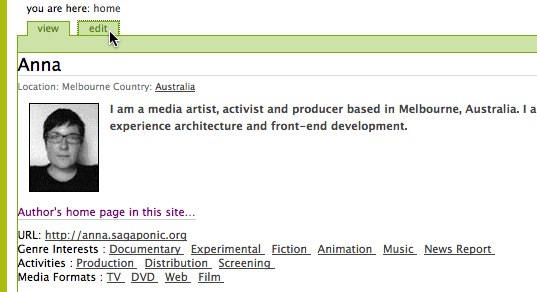
To edit your profile, just click the edit tab when viewing your profile.
Edit your Full Name, Email Address and City of Residence. Choose your Country of Residence from the drop-down menu.
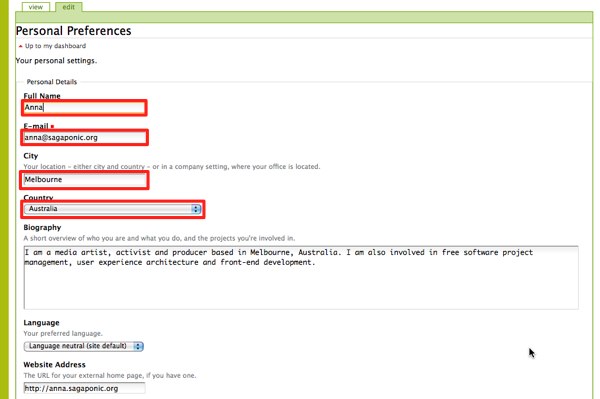
Enter a short Biography describing who you are and what you do. Choose the Language you wish the site to appear in from the available options in the drop-down menu.
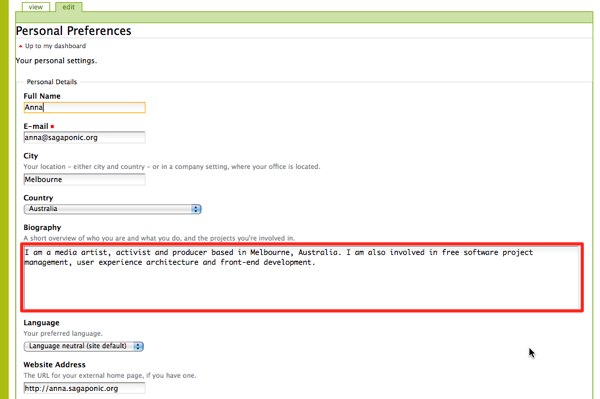
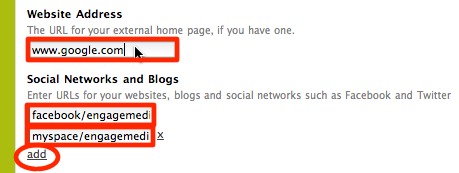
Enter your Website Address as well as any Social Networks and Blogs. If you want to add another social network or blog (such as MySpace or Facebook, or your Wordpress blog) just click the add button and another field will appear:
Enter your Physical Address, Postcode and Phone Number (these are optional, please be wary of privacy issues before publishing your contact details online).

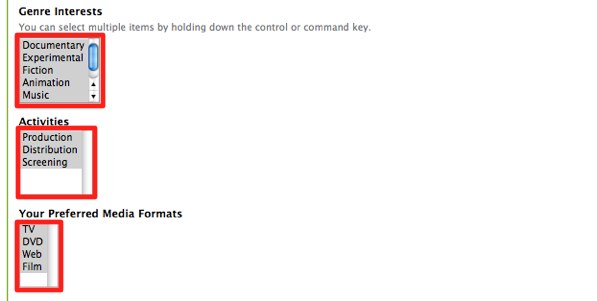
Choose Genre Interests, Activities and Media Formats that you use, or are interested in, by multiple selecting items from the list (hold down control or command key as you click each item).
Choose your Content Editor (this is the WYSIWYG or What You See Is What You Get editor, which allows you to format HTML without having to enter the code, for most users you will leave this as the default - TinyMCE). Enable external editing if you choose (this requires that you have some software installed on your computer to assist you with editing pages on the Plumi website, for most users you will leave this as the default - unchecked). Choose whether or not you wish to be Listed in Searches (for most users you will want other users to find you, so leave this as the default - checked).

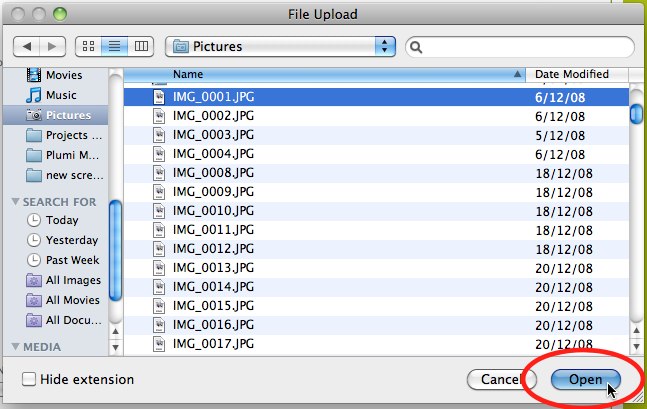
Browse for a portrait image of yourself to attach to your profile by clicking the Browse... button.

Choose an image from your computer to upload.
You can also delete your portrait image if you choose, by selecting the tickbox next to Delete Portrait.

If you wish to include a donate button linked to your PayPal account, follow the instructions in the next section.
Click the Save button.

PayPal Donations - Crowd-funding Your Media Project
If you have a PayPal account, you can add a button to your profile so that other users can donate to your media projects. Plumi plans to include other crowd-funding and donating options in the future.
1/ Login to your Paypal account e.g. www.paypal.com
2/ Click Merchant Services.

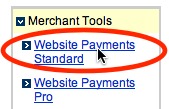
3/ Click Website Payments Standard.
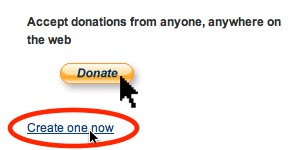
4/ Choose the donate button - click "create one now" for "Accept donations from anyone, anywhere on the web"
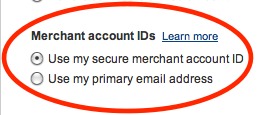
5/ Create button making sure Merchant account IDs has 'Use my secure merchant account ID' selected.
6/ Copy and paste the generated code, the complete PKCS7 wrapper, into the Donations via PayPal field (once you've closed this help box by clicking the  symbol).

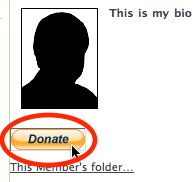
A donate button is now displayed on your author page profile:
