


Uploading via FTP With Plumi
Introduction
Having trouble uploading videos to your Plumi based site because your Internet connection keeps breaking? Uploading large files through web based forms can be difficult as the connection can often break. FTP (File Transfer Protocol) is a protocol that lets you resume broken uploads. You can use an FTP extension within Plumi to upload your videos straight into your account on the website.
To use this you will need a program called an 'FTP Client'. There are many of these around; Filezilla is a popular free program which can be used on Windows, Linux or Mac OSX, and will be the focus of this chapter. You can also use most other FTP programs (except Cyberduck with which you may encounter errors) or FireFTP lets you integrate FTP into the Firefox web browser.
This chapter uses www.engagemedia.org as an example Plumi site. The visual design (skin) looks a little different to the standard Plumi skin, but not very much. Many Plumi sites will opt to have a different skin in any case.
Note: currently you can't upload files in .m4v format via FTP. This issue is being addressed in future Plumi releases, for now please convert your files to another format.
Filezilla (All Platforms)
Note: before continuing, please ensure the filename of your video contains no spaces. E.g. instead of using a file named "My Video About Forests.avi" you should change the name to "My-Video-About-Forests.avi". Many systems, including FTP, do not like files with spaces in the filename.
- Download and install Filezilla from http://filezilla-project.org/
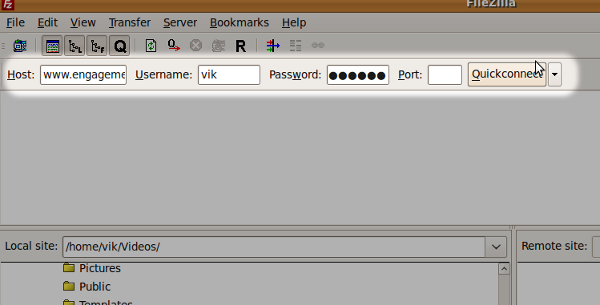
- Open Filezilla, and in the address bar at the top enter:
- Host: www.engagemedia.org (or your plumi server's address)
- Username: Your EngageMedia or Plumi login
- Password: Your EngageMedia or Plumi password.
- Click 'Quickconnect'
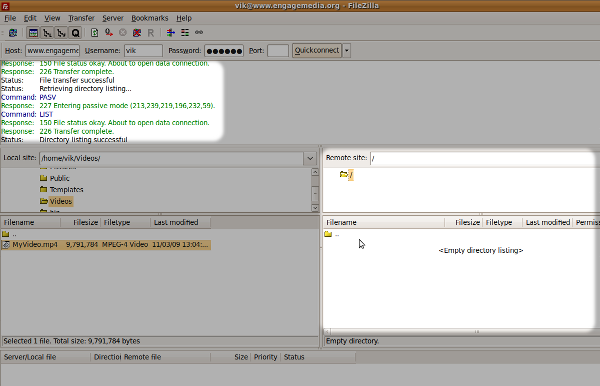
- In the top part of the screen you should get some server messages. Do not worry about these, unless you get 'Authentication failed' or 'Could not connect to server'. In this case, check your password and Internet connection, or contact your server administrator.
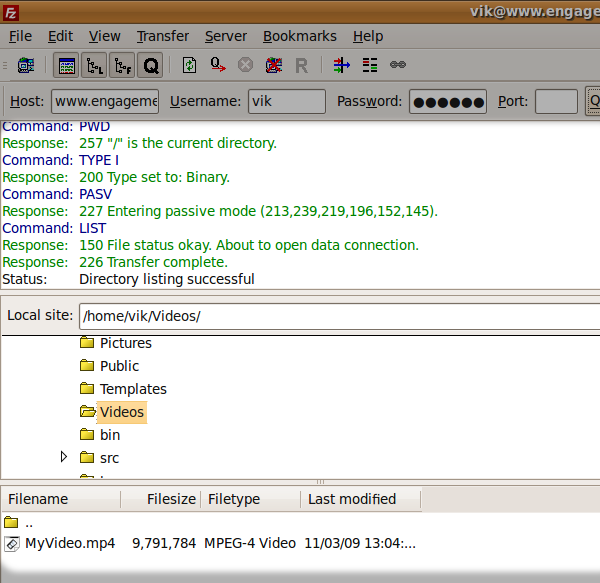
- The left side of the window has the files on your computer. Find the video you want to upload, then drag it onto the right side of the window (the server).
- While the file is uploading, you should see a progress bar at the bottom of the screen.
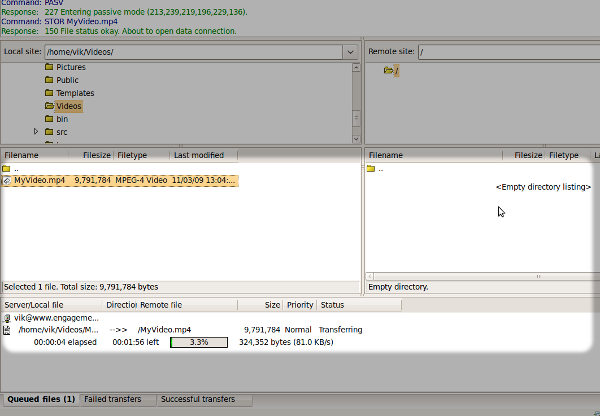
- If your upload gets interrupted or broken for whatever reason, start Filezilla again, and log in. Find the file on your local computer on the left side of the screen. In the right side of the window you should see the file you have started uploading. Drag the file again from the left to the right.
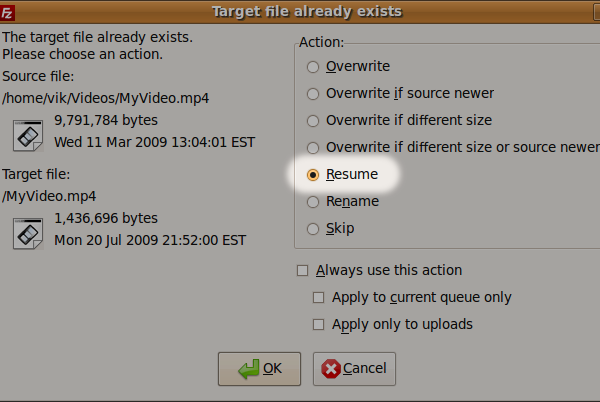
- You will get a message saying 'Target file already exists', and some options. Choose 'Resume' and click OK.
- There will be more server messages in the top part of the program. Eventually there will be a message saying 'Transfer complete', then 'Directory listing successful'.
- If your file has successfully finished uploading, it might not appear in the right window file listing as it has been copied across now to the website. Try the next step, rather than uploading again.
Adding Meta-Data
Once finished uploading, you will need to add meta-data (information) to your video. You do this in the same way you would normally publish a video, just without uploading the video:
- In a web browser, go to http://www.engagemedia.org (or other Plumi site) and log in. Then go to: http://www.engagemedia.org/Members/USERNAME/videos/folder_contents (replace USERNAME with your login name, and www.engagemedia.org with your website's address)
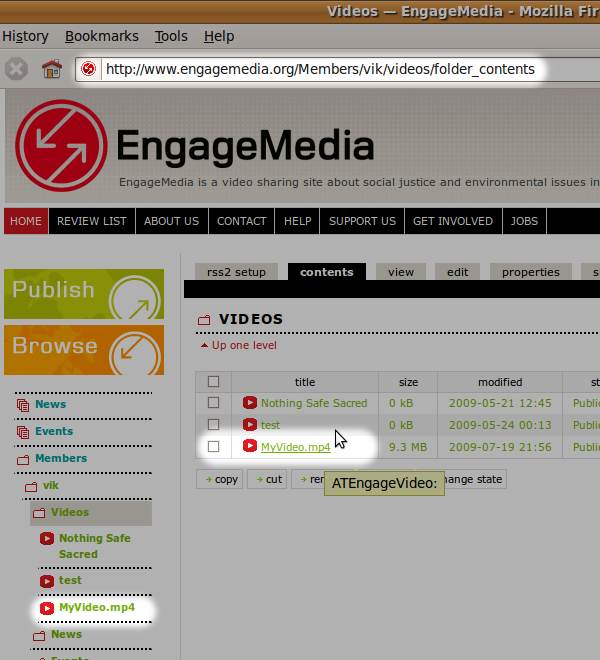
- You will be able to see the video you have just uploaded. You will also be able to see it in the folder listing on the left side of the page. Click on this video.
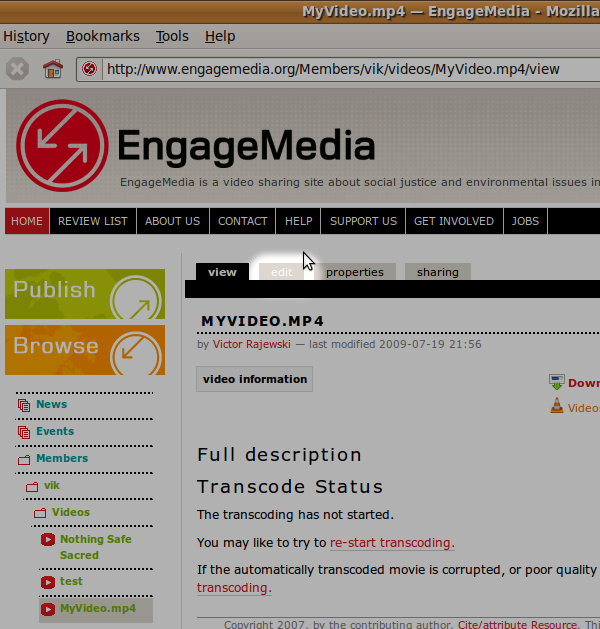
- There will not be any video information yet, so click on the 'edit' tab near the top of the page.
- Change the title, description, and any other information you want to add. This step is the same as publishing a video through the web form.
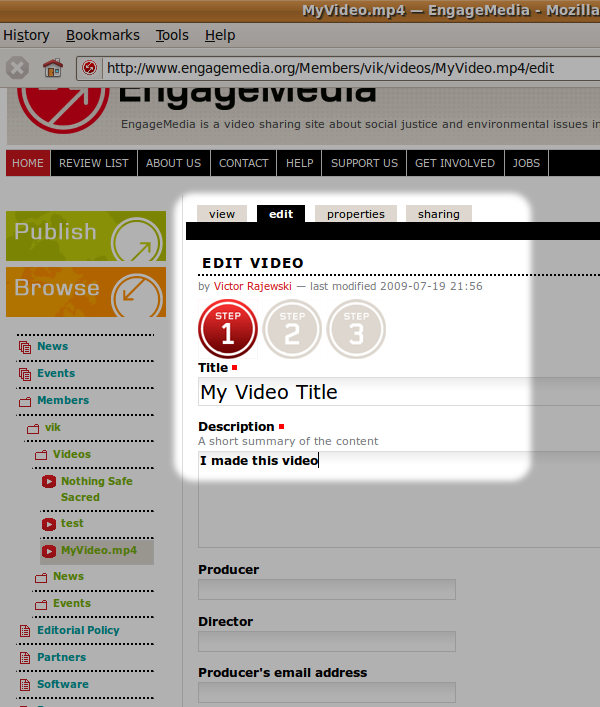
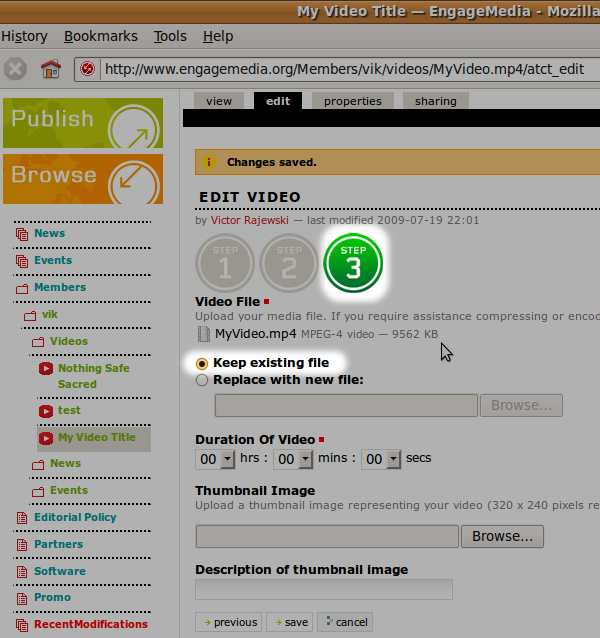
- At step 3, you need to make sure you have 'Keep existing file' selected.
- Click 'save'. Your video will then be added to the reviewers queue for checking.