Clipping paths and masks
Introduction
Clip paths, masks, and patterns are greatly useful additions to an artist or designers' tool set. A common property that all three share is the concept of boundaries. Clip paths and masks bound the contents of the items they contain, whereas patterns are only visible inside the bounds of the object they are applied to (in all three cases cropping visibility).
These methods do not delete parts of your objects, they merely tell the SVG renderer not to display them. This non-destructive editing makes it so that we can also release objects from from their bounded areas as well.
There are benefits to working with clip paths or masks combined with either individual or grouped objects.
Use of patterns fills is addressed in a dedicated chapter.
Clipping
The clip function in Inkscape allows an object or a group of objects to be clipped (cropped) so that only parts of the elements are visible. Clipping can be applied to any object (including groups, layers, bitmaps, etc.)
The easiest way to understand clipping is to see it in action. Take the following assortment of objects:
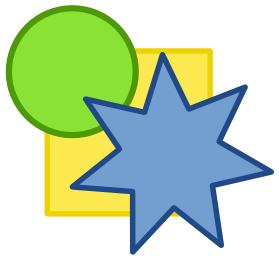
Now, place another object on top of all the others. This is what we are using for our clipping object. Note that the Z-order of the clipping object is important, as the default behavior in Inkscape takes the top-most object as the clipping object. Also note that the style (fill, stroke, opacity etc.) of the object is irrelevant, all that is used when clipping is the shape of the object.
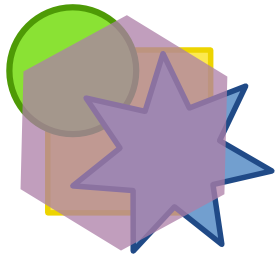
The next step is to select all the objects that you want clipped and the clipping object. Then in the menus, go to > > . The result is:

Since this is all non-destructive editing, it means that we can also release objects from a clip. Do this by selecting the object that you wish to release, and in the menus go to > > . In the following example the blue star object was selected, and the clip was released:
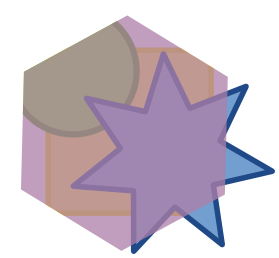
So the purple clipping object has now returned, and the blue star object is no longer clipped. Note that the other two objects are still clipped, as the clip was applied to 3 seperate objects. These clips still apply and can be released if needed. Because clipping paths can be applied to any object, if you wanted to treat the 3 objects as a whole, you would group them, then apply the clip to the group.
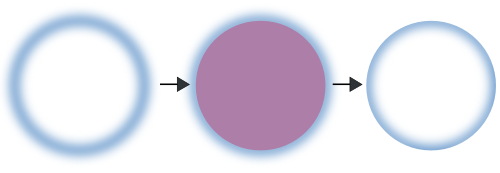
Clipping can be done on any object, even objects that have had filters applied to them. Below is an example of using clipping to create a bubble effect on a circle:
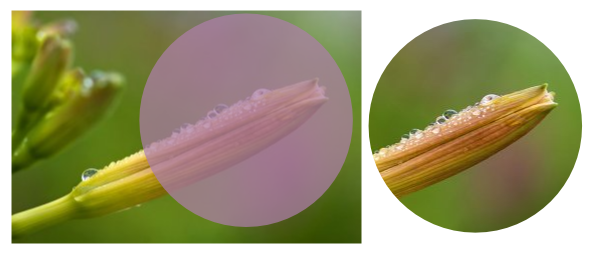
A clip can also be done on bitmaps that are embedded into or linked from an SVG:
Masking
Like clip paths, masks allows an object or a group of objects to be visually cropped. The difference is that the mask's black or transparent areas become fully transparent in the masked object; mask's opaque white areas become fully opaque; and all intermediate colors translate into intermediate levels of opacity in the masked object. This allows you to apply, for example, arbitrary transparency gradients to objects.
In the following example you will see both the masks and the items they're applied to. As you'll notice, masks offer the ability for you to texture objects, give them depth, and other things that clip paths can't provide:
