How to set rules for data display
- How to define and change lookup options
- How to specify that fields be mandatory and/or hidden
- How to define and change additional fields
How to define customized labels
This feature allows Mifos users to customize existing text based on their respective organizational needs and other regional preferences. For example, all labels in the Mifos system marked as “Center” could be replaced as “Kendra” (which is the Hindi term for Center). The following steps detail how this can be achieved:
1. Go to Admin> in Data Display and Rules section choose Define Customized Text. A screen similar to the following is displayed
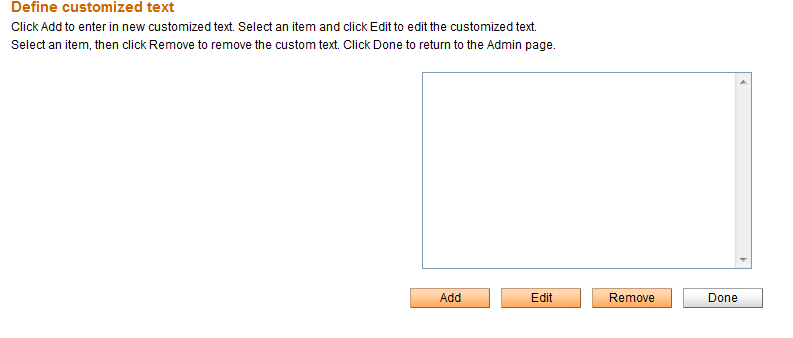
2. Click Add. A screen similar to the following is displayed.

Two fields are displayed:
Original Text: This refers to the text that needs to be replaced. In the scenario discussed above, the original text would read "Center".
Custom Text: This refers to the text that the original text needs to be replaced with. In the scenario discussed above, the custom text would read "Kendra"
Enter the required values for both fields and click Submit.
3. The Define customized text screen which previously was unpopulated now contains the customization that was defined and added to the system. A screen similar to the following is displayed.
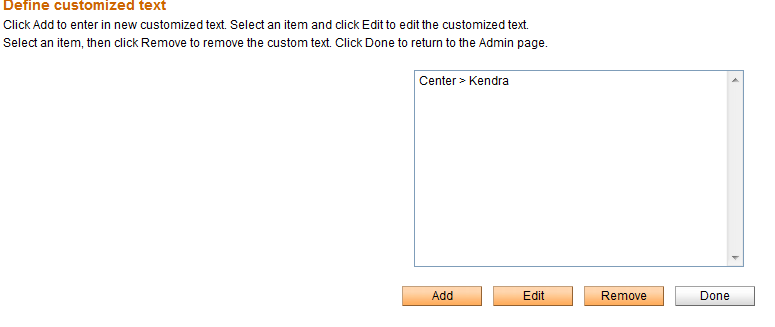
In this case, Center is the old label which has now been replaced by ‘Kendra’. If satisfied with the changes made, click Done. This will replace all occurrences of “Center” in the system with “Kendra”.
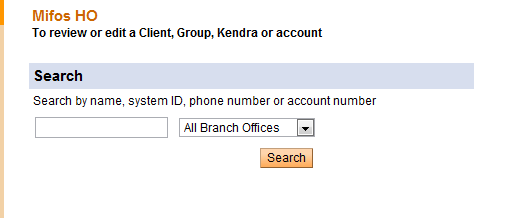
4. To check if the changes have been effected, go to the Clients and Accounts page by clicking on the “Clients and Accounts” tab. Center has now been replaced by Kendra as displayed in the screenshot below.
Note: The customized text is case sensitive and all references will be replaced.
For example: If the original text is "client" and the custom text is "member", then "client" will be replaced with "member" throughout. In addition, "clients" will be replaced with "members". However, "Client" will not be replaced with "Member".
5. If you want to change your entries, mark an item from the list, click Edit.
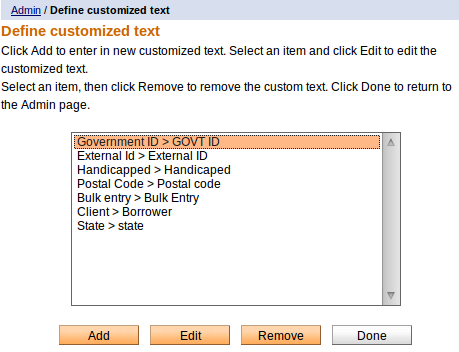
You may see a screen like following:
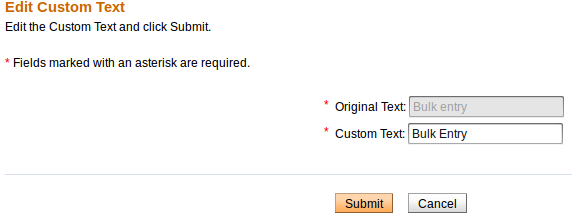
Original text field is not editable. Change a text in Custom Text field on appropriate one and click Submit if you are satisfied with your entried or click Cancel if you do not want to change anyting at this time.
6. If you want to delete previously defined customize text, choose and mark an item to delete, then click on Remove button. A definition of customize text will disappears from the list.

How to define and change lookup options
In many procedures within Mifos, you choose among items in a list. These are called "lookup options." For some of these lists, you can control the items that appear there to fit your local circumstances, either by adding new options or editing the existing ones. For example, in the list of salutations, you might want to add "Sri" or "Rev."
Note: You can add new lookup options or edit the ones that appear there, but you may not delete any.
Follow these instructions to change lookup options:
- Click Admin > Define Lookup Options.
A screen appears showing all current lookup options for lists that you can change. This screen (in two pieces) looks like this:
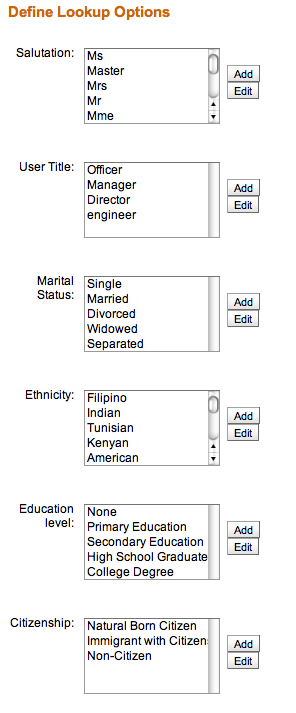
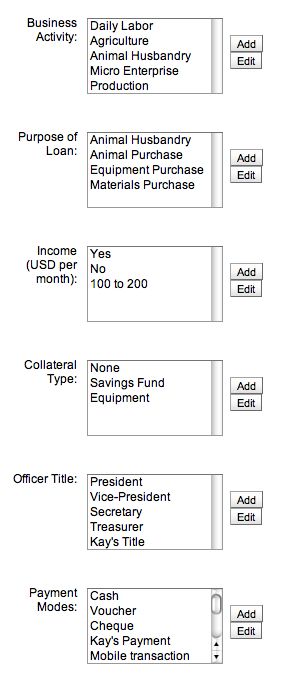
- To add a lookup option, click that option and click Add.
A screen appears with an empty box for that option. - Type the new option and click Submit.
- To edit a lookup option, click that option and click Edit.
A screen appears with a box showing the current option. - Type the changed option and click Submit.
For many of the fields in Mifos, if you have the appropriate permissions, you can decide whether a field is mandatory (meaning that the procedure cannot be completed until this field is filled in) and also whether a field is hidden. For example, if it is essential to fill in the purpose of a loan before that loan is granted, you can mark the "Purpose of loan" field as mandatory. If a field such as "Address 3" is unnecessary, you can mark it as hidden.
Note: Before marking a field as hidden, be sure that you will not need it later. MFI records that were created when the field was hidden may be different from those that are created later when the field is visible, and this can create problems.
Follow these instructions to make the specifications:
- Click Admin > Define Mandatory/Hidden Fields.
A screen appears showing all fields for which you can make these specifications. These are grouped:
- Fields that are systemwide (they appear everywhere in Mifos)
- Fields that are filled with information about clients and system users
- Fields that are filled with information about groups
- Fields that are used for loan accounts
The screen looks like this:
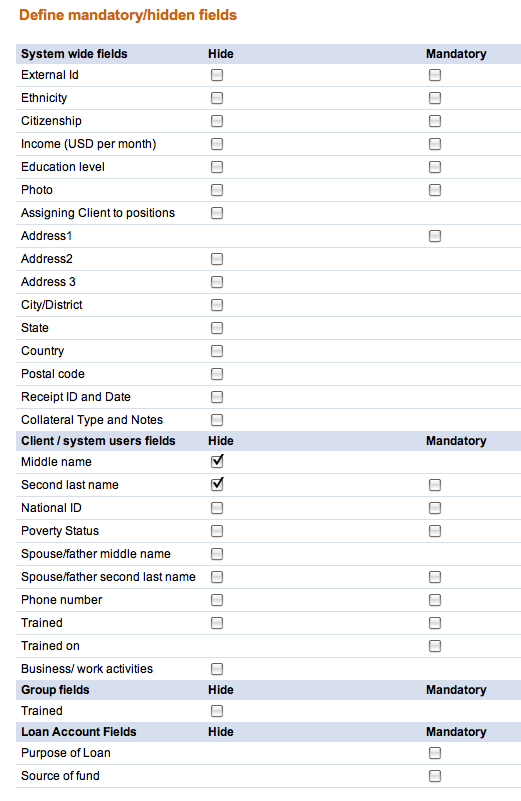
- Check and uncheck the boxes according to your preferences.
- When you are satisfied with your specifications, click Submit. (If you decide not to change the status of any fields at this time, click Cancel.)
Note: If you make a field mandatory, it will always have an asterisk (*) next to it.
How to define and change additional fields
As of the Mifos 2.x release and beyond, additional fields in Mifos are now handled through the Question Groups functionality. You have all the flexibility you need to gather additional fields about a client's business along with the added control of choosing where to insert these into your regular workflow. These question groups can be a part of your regular workflow (like an "additional field") or collected periodically (like a survey).
Please follow our Question Groups section to learn more. Essentially instead of using the previous Admin > Define Additional Fields capability, you will now Add a Question Group and then Insert New Questions (additional fields) into your Question Group.


