


Adding and Editing Posts
One of the first things to do when starting up a blog is to learn how to add a post. There is a section later in the chapter showing you how to edit a post you have created earlier.
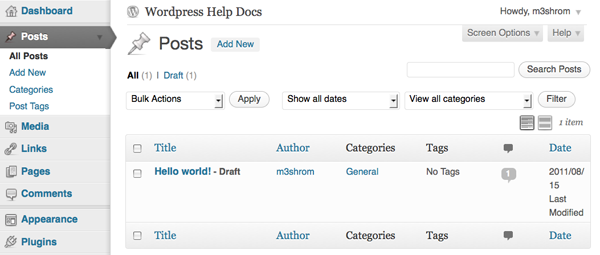
Once you have logged in, you should be on a page called the Dashboard (explained in the previous chapter). On the left there is menu which includes Posts.
To get started, click on Add New. You can click on the button shown below or on the text in the lefthand menu.

If you have already created a post and want to come back to it to make changes then you can hover over the post you want to edit and then click on the Edit link when it appears:

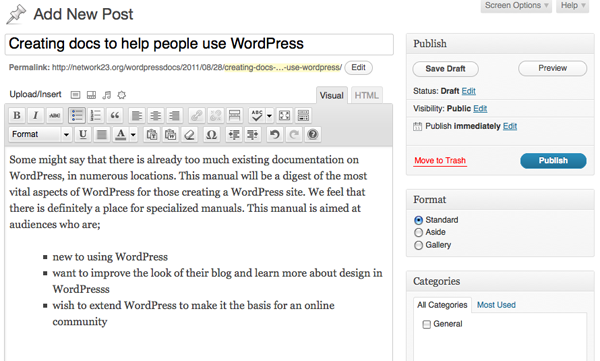
Enter a title for your new post and some text which is the main body of the post. Think of this as similar to writing an email - it really is as easy at that. The title is important, as it will act as a link to your post in some cases, so don't forget to fill that out.
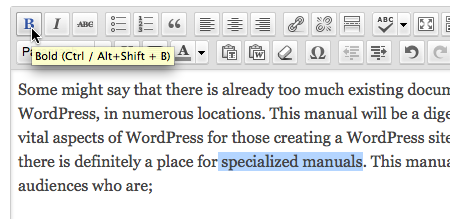
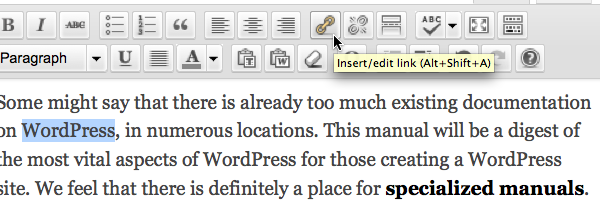
Click in the large blank space and type (or paste) the text content of your post. This space for text functions in the same way as a word processor: there are icons above the space which allow you to format the text. This called a WYSIWYG editor, which stands for "What You See Is What You Get". In the example below we are highlighting some text and making it bold.
When you have finished writing your post, you can click Preview to see how the post will appear to readers of your blog; the preview will normally open in another browser tab, so that you can easily switch back to the edit screen to make any changes.
When you are satisfied that your post is finished, click Publish. Your post will now appear on your web site for site visitors to read.
If your post isn't finished and you want to come back to it later, click Save Draft to save it without publishing it. You can then find it in the list of posts on the Posts page, and click Edit to continue working on it.

If you want to see what your post looks like, click on the View Post link that appears above what you have written.
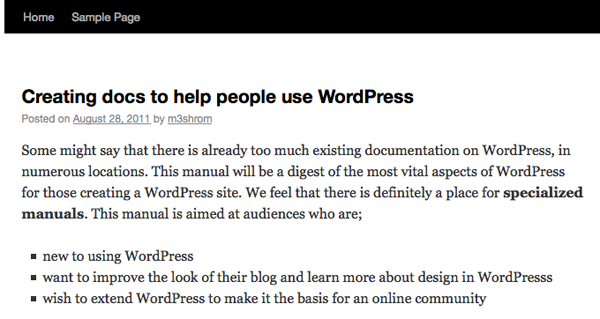
On clicking this link you will be taken to the web page which features your post. You can see the formatting changes that you have made.
This is the core information you need to know to add a new post. We can do a lot more if we learn how to format using the WYSIWYG editor.
Using the WYSIWYG editor
We can use the WYSIWYG editor to make lots of formatting changes to the post. If you want to add images and other documents to the post, this is covered in other chapters.
You will notice that at the top righthand corner of the text input area are two tabs: "Visual" and "HTML". You need to be on the "Visual" tab in order to use the WYSIWYG editor. The HTML tab will show you the HTML code as well as the text content of your post, and no formatting icons.
Adding links to other internet pages
![]() We can add a link to another page on the internet by highlighting the text that we want to make into a link and then clicking on the icon with chain links on it:
We can add a link to another page on the internet by highlighting the text that we want to make into a link and then clicking on the icon with chain links on it:
A dialogue box appears; enter the web address (URL) of the web page you want to link to. You need to include the http:// at the beginning of the address:
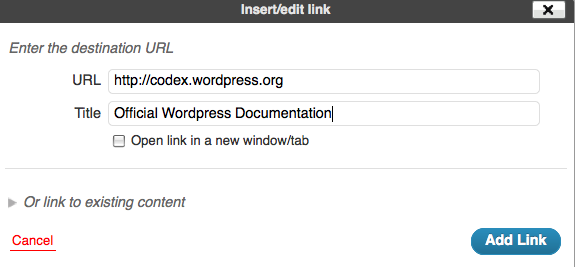
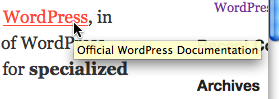
Then click Add Link. Your link should now be in your editor's window and show up as a blue colour. When you have Published or Updated your post, you will see that when you hover over the link, the title of the link shows up in an information box.
Adding Bullet Point Lists
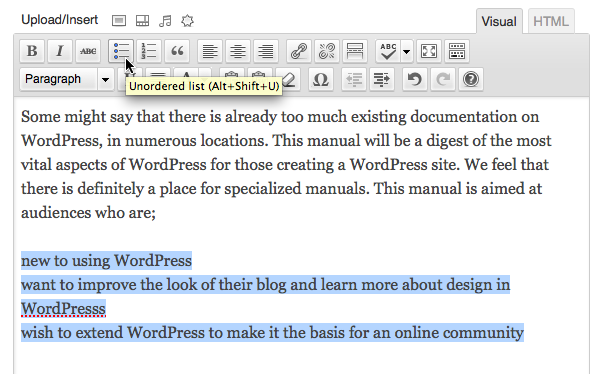
![]() You can make bullet points by selecting text and click on the icon to add a bullet point list:
You can make bullet points by selecting text and click on the icon to add a bullet point list:
Using the 'Kitchen Sink' icon
If you are looking at these screenshots and thinking that there are more icons shown there than you can see, then you need to know about the "Kitchen Sink" icon:

Clicking on this icon either hides or shows a second row of icons which give extra options for formatting your text. These functions include adding different headings, underline, adding colours to text, indenting and more.
Adding headings to WordPress posts
Text headings can be very useful to divide up your writing into different sections, making it more readable on the screen. Headings are also useful as they are read by search engines and therefore make your content more findable.
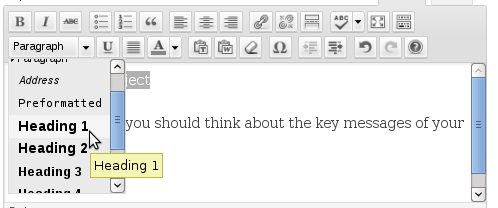
WordPress allows you to select from Heading 1 to Heading 6, with Heading 1 being the largest font size. Normally you will only need to use Headings 1 to 3. If you think you need more than that, you might want to consider restructuring your writing.
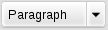
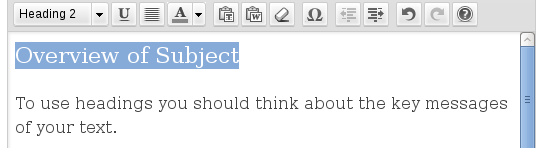
Select the text that you want to make into a heading. Then click on the Paragraph drop down menu (if you can't see that then first click on the Kitchen Sink icon - see above).
Select the size of heading that you want to apply to your text:
You should see a change in the size of the text you highlighted:
Indenting text
You can indent text when you are formatting a post in WordPress; this is often used when quoting another source. The example below shows a quote which we want to make more distinct from the rest of the text. First we highlight the text that we want to indent:
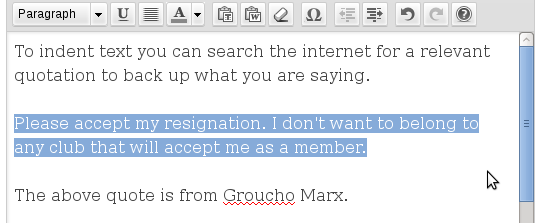
Click on the Indent button. This is the righthand button of the two similar looking buttons which feature lines and an arrow. The arrow indicates if the text is to be indented (pointing to the right) or outdented (pointing to the left).

When you have pressed the Indent button the text should move to add more space on the left as shown below:
