


Creating an Image Gallery
You can create an image gallery in a number of ways, including installing a theme that is customised to include image galleries, installing a plug-in, or the simplest way is to create a default image gallery.
Creating a default Image Gallery
You can create a simple image gallery without having to install any plug-ins, and this will work on Wordpress.com sites as well as your own hosted site.
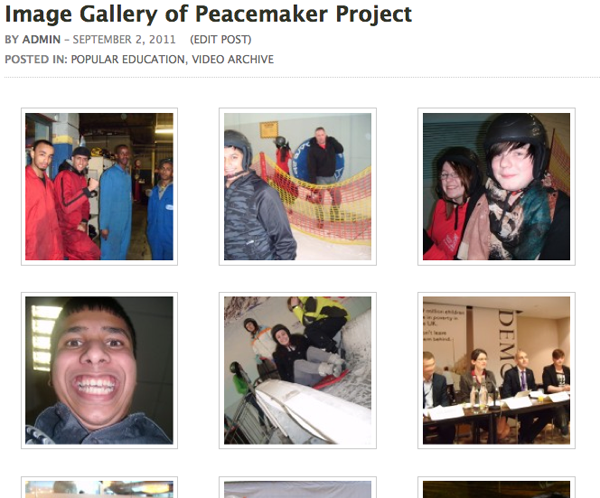
First upload the images you want in a gallery to a particular post or page. You are able to decide how many images you want to display per row, and decide what happens when your visitors click on an image. A sample image gallery is shown below:
To create a gallery in a post, open the Add Image dialogue box as if you were adding a single image to add your first image (see the chapter Adding Images for more information on this). If you are using the Flash uploader you can upload several images at once. If you upload one image at a time, rather than clicking Insert Into Post you should click Select Files and repeat the process by browsing for another image.
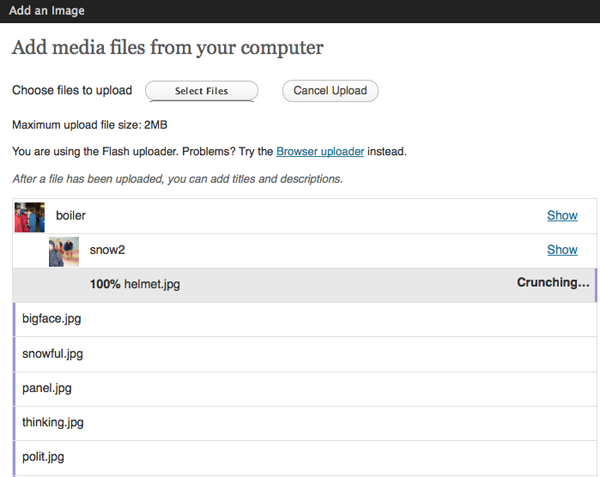
Click Save All Changes.
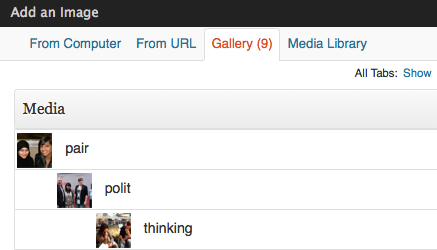
As you do this you will see the Gallery tab appear and a number will appear next to it. This shows that you have added your images successfully:
 .
.
Click the Gallery tab; you will see all of your added images there. You have the chance to add a caption and description, by clicking Show on the right of the screen.
There are options for adding your Gallery to this post, for example you can choose how many columns to display. This may depend on the theme you are using and you may want to experiment with this.
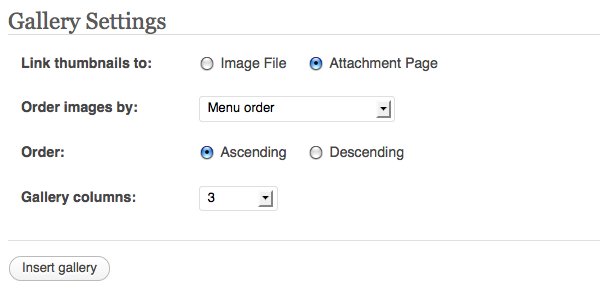
You can also choose if you want your visitors to see only the image itself when they click on it, or a page with the image within the look of your site. Experiment with both settings for a comparison. I would recommend keeping the Attachment Page setting, as it makes it easier for your readers to navigate to different parts of the site.
When you click on Insert Gallery you should see a yellow block appear within the body of the post. If you want to add text to the post as well you should click after the yellow box and type there.
Click Publish, and then View post to see the result of your image gallery, as shown in the first image of this chapter.
Gallery Short Codes
The following is a summary adapted from the Wordpress Codex page on Gallery short codes. 1
The [gallery] shortcode is used in a Post or Page to display a thumbnail gallery of images attached to that post. It can be used in its simplest form like this:
[gallery]
The following basic options are supported:
- columns
- specify the number of columns. The gallery will include a break tag at the end of each row, and calculate the column width as appropriate. The default value is 3. If columns is set to 0, no row breaks will be included. For example, to display a 4 column gallery:
[gallery columns="4"]
- id
- specify the post ID. The gallery will display images which are attached to that post. The default behaviour if no ID is specified is to display images attached to the current post. For example, to display images attached to post 123:
[gallery id="123"]
- size
- specify the image size to use for the thumbnail display. Valid values include "thumbnail", "medium", "large" and "full". The default is "thumbnail". The size of the images for "thumbnail", "medium" and "large" can be configured in WordPress admin panel under Settings > Media. For example, to display a gallery of medium sized images:
[gallery size="medium"]