


Using Menus
WordPress allows you to create and change menu lists. Menus are something you might need on a website, especially a WordPress website that isn't just a blog. Menus help you navigate to other pages in your website, and also to links outside your website.
You might choose a theme that already has a menu as part of the layout, in which case you can easily add or remove items from the menu. If you are using or creating a 'blank' theme, you can set up your own menu, name it, and specify it in the PHP code in one of the pages in the WordPress theme.
Simple Menus
Let's look at the easy way of creating and changing a navigation menu first. The current default WordPress theme, Twenty Eleven, has a default menu that is based on the structure and order of pages (to add pages click Add New under the Pages heading in the lefthand menu of the Dashboard).
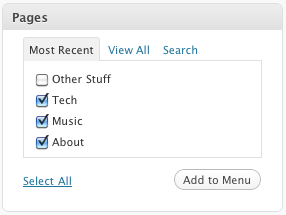
All of your pages should appear as menu items; see below for an example. Here there are five pages listed on the Pages section the Dashboard.
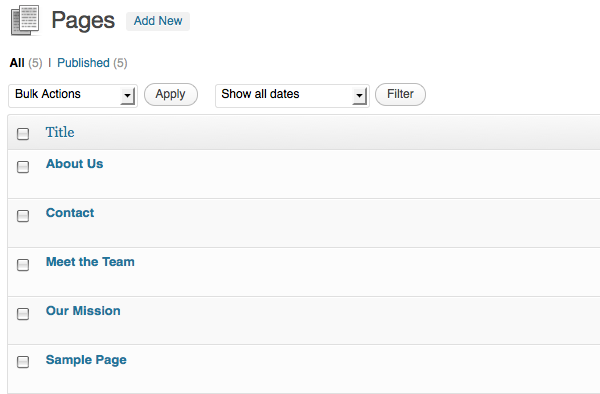
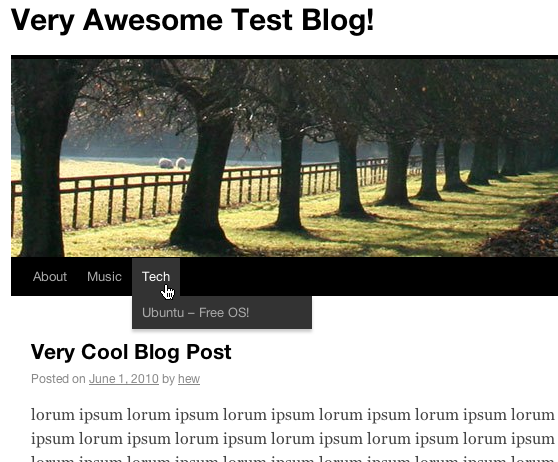
When we navigate to the front page of the site we can see that those pages are listed in the top menu (as mentioned, this is the default behaviour):

Changing menu order
It's possible to change the order of the menu items. As you can see from the example above, by default they are listed in alphabetical order.
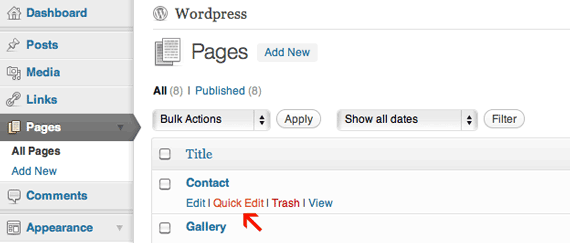
Choose Quick Edit to only change the page order:
Set the order of one of the pages to be 1 and click Update.
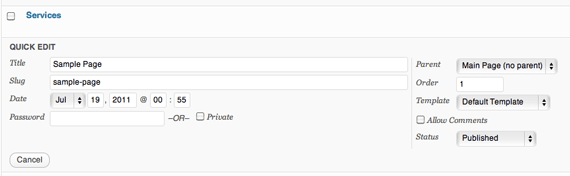
Set another page to an order of 2 and click Update again.

Reloading the front page of the site will show the changes to the order of the menu:

Creating custom menus
This section is adapted from a page on Wordpress.com support.1
If you have a theme that supports the Custom Menus feature, you can customise your navigation menu. This allows you to:
- change the order of pages
- nest pages to create sub-menus
- display posts on multiple pages by creating category pages
- add posts, tag pages, and custom links to your navigation menu.
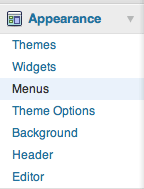
From the Dashboard, click on the left-hand menu item called Menus, under Appearance:
To create a custom navigation menu, type in a name for it (only you will see this) and click Create Menu:

Adding pages to your menu
Adding pages to your menu is as simple as checking the proper boxes for the pages you want and then clicking Add to Menu.
Adding category pages to your menu
All posts will appear on your main posts page, but you can also create category pages that only display posts that you’ve designated with a specific category.
Simply check the box of the categories for which you want to create a page, and click Add to Menu.

Be sure to click Save Menu each time you make changes to your custom menu.
Adding tag pages and posts to your menu
You can also add your tag pages and posts to your custom menu. To display these options in the custom menu editor, click the Screen Options dropdown menu at the top right of your screen:
![]()
Check the boxes for posts and/or post tags, and those modules will appear in the custom menu editor:
Adding custom links
Want a menu tab to link directly to another website? No problem! Type in the URL, the label name, and then Add to Menu.

Changing menu item titles
You can also change the label and the hover-over text of menu items independently from the page name itself. To edit a page or category title, click the down arrow to the right of the item.
![]()
Once expanded, enter the new label name and any desired hover-over text. The underlying page will always show its name in the Original section of the menu item:

Your menu item will now look something like this:

Changing the order of menu items and creating sub-menus
At any time, you can change the order and placement of menu items. Drag and drop the items up and down to change the order of menu items. Drag and drop the items left and right (as shown below) to create sub-menu items.
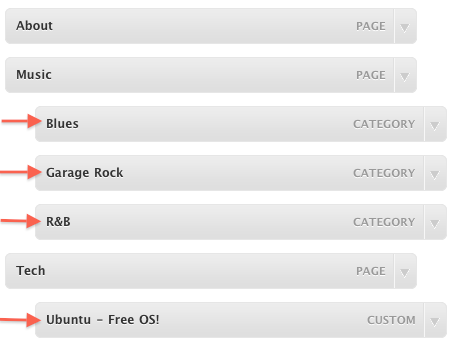
The final product from the customized menu:
Adding static top-level tabs
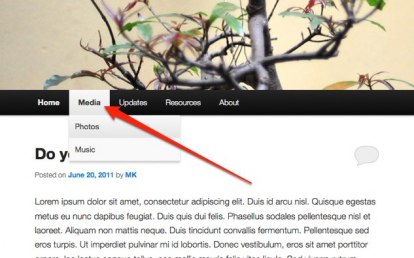
Here’s a nifty way to add static top-level tabs that you can use to organize your content. These tabs are basically place holders – they don’t link to any content, but are there to add structure to your menu items.
Check out the screenshot below: the top-level tab Media doesn’t actually link to anything. You can click it, but nothing will happen. It’s solely there to organize links the various media-related menu items.
Here’s how you can add static top-level tabs:
- Go to Appearance > Menus
- Add a Custom Link and set the URL as #. Using # will prevent the page from refreshing when you select the tab.
- Label your link and hit the Add to Menu button.
- Organise your menu items as you would normally, click Save Menu, and you’re done!

Activating your menu
In the Theme Locations module, under Primary Navigation, select the title of the custom menu you want to activate and click Save.

Multiple menus
Most themes have one menu. Some themes, such as the one in the screenshot below, support more than one menu. In both cases, you can create several different menu layouts and independently set the active menu.
If you’ve created more than one custom menu, be sure to activate the right one by selecting it from the dropdown menu and clicking Save.

To edit your various menus or create new ones, click the relevant tab:
