


Useful WordPress Network Plugins
This chapter details some of the plugins that could be useful for users of a WordPress network to help create a strong community.
WordPress Sitewide Tags
One of the things that you can do to help create a community is to create a page where all the Tags of the posts of the network are displayed. This can be achieved with the plugin WordPress Sitewide Tags.
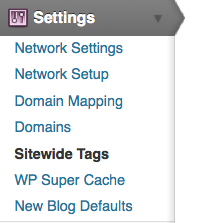
Install the plugin in the normal way and then go to Settings > Sitewide Tags.
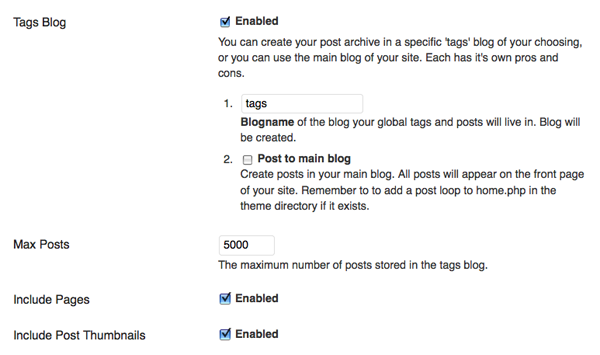
Fill out the settings below. The following are recommended, apart from the setting Include Pages, as this may give you a lot of About tags.
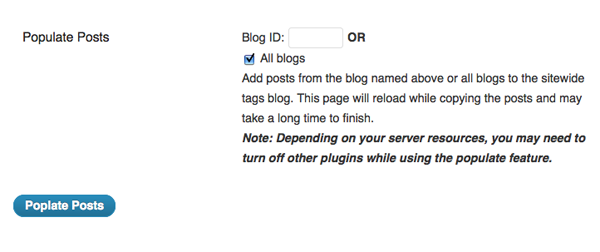
At the foot of this page in the Populate Posts section, tick All blogs and click Populate Posts. After a short time, you should see a tag cloud like the one above at the /tags page.
MU Network Domain Mapping
If one of the sites within your WordPress network has registered a domain name and wants to have their own URL for their site, it is possible to "map" that domain onto their site within the network.
The first step is to install a plugin called WordPress MU Domain Mapping 1. Install the plugin in the normal way, then you will need to do a little tweaking to get it fully working. These instructions are based on the installation notes for the plugin.Note: do not define COOKIE_DOMAIN in your wp-config.php as it conflicts with log-ins on your mapped domains.
Make sure the default Apache virtual host points at your WordPress MU site or WordPress 3.0 network so that it will handle unknown domains correctly. On some hosts you may be required to have a dedicated IP address. A quick check: in a web broswer, type in the IP address of your install. If you are using cPanel, use the Park a Domain menu to set the mapped domain to your main installation. If this doesn't make sense to you, then this may be something you have to ask your server admin or provider to do.
Install the plugin manually by downloading the zip file and unzipping it in your /wp-content/plugins/ directory, as explained elsewhere in the manual. Then activate and network enable the plugin.
Inside the folder wordpress-mu-domain-mapping there is a file called sunrise.php. Move the sunrise.php file into wp-content/. If there is a sunrise.php there already, you'll just have to merge them as best you can.
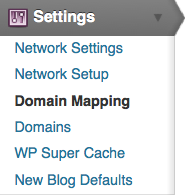
As a Super Admin for the network, you should change the settings for the plugin at the Settings > Domain Mapping page of the Network Admin Dashboard.
Enter the IP address of your server.
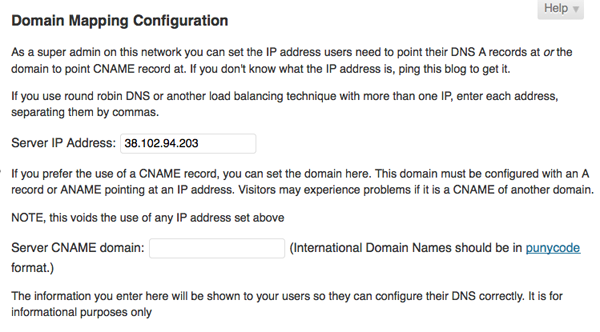
There are also some Domain configuration options which follow. More detailed instructions about these configuration can be found on the installation page of the plugin. 2 It is worth mentioning that the User domain mapping page affects whether the domain mapping is controlled by Super Admins or by Administrators of the individuals sites.
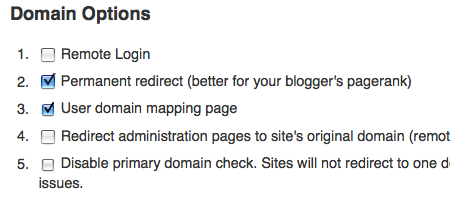
In the above example, domain mapping is controlled on the level of the User / Administrator of the individual site's Dashboard rather than only being controlled in the Network Admin Dashboard.
Settings for each Domain Mapping
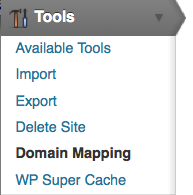
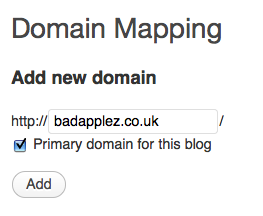
When users want to set their own domain mappings, this is done by adding the domain in Tools > Domain Mapping in the Dashboard of the site you wish to map the domain to.
Enter the domain you want to point to the site. Put a tick in the box Primary domain for this blog, then click Add.
If you want the domain to also work with "www" in the URL, you must enter that into the Add new domain box as well.
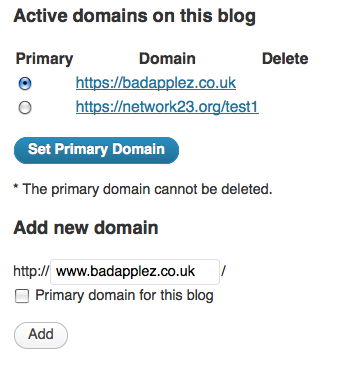
For full information on setting up domain mapping, see the home page of the domain mapping plugin.