


How to create a new center
A center is a collection of many groups. It is associated with a branch office. A center can have a savings account, like a group or a client. Groups or clients associated with that center can make deposits to and withdrawals from such an account, and the center can also pay fees for accounts.
Follow these instructions:
- Click Clients & Accounts > Create New Center.
A screen appears that might look like this:
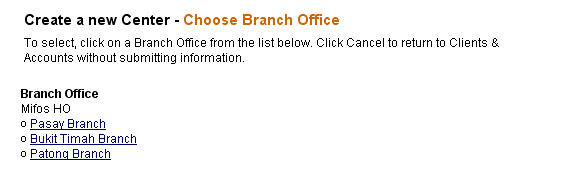
- From the list of branches, click the branch that this center will be associated with.
A screen appears showing the branch office you chose. The first section might look like this:
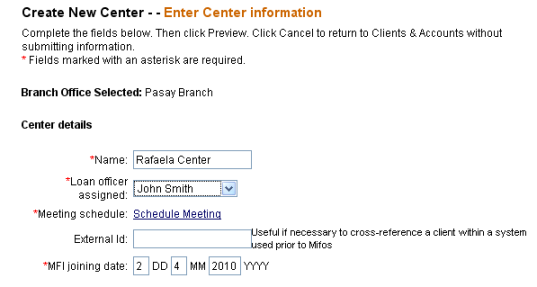
- Enter information about the center using the descriptions in the following table:
| Field name | Description | Example |
|
Branch selected |
The center's parent branch. |
Branch 01 |
| Center details | ||
|
Name |
The center's name (make sure that this is unique within the MFI). |
Fina Center |
|
Loan officer assigned |
The loan officer assigned to the center. Groups associated with this center inherit this value. |
Sri Nagesh |
|
Meeting schedule |
Click Schedule Meeting to set the number of times meetings are to be held within a time period. Groups associated with this center inherit this value. Click Weeks or Months. If you click Months, set a meeting for a specific day in each period or a specific day of a specific week in each period. If you click Weeks, type the number of weeks between meetings, and in the list next to it, click the day of the week on which the meeting takes place. In the Location of Meeting box, type where the meeting is to take place. Click save to save this schedule and return to the previous page. |
The 12th day of every third month or The 4th Tuesday of every second month Village store |
|
Collection sheet type |
The type of collection sheet used for collecting payment from members belonging to the center. |
|
|
External ID |
A unique identifier of the center in another system. This will be used to link the center in Mifos system and center's details in another system. |
BRA-001 |
|
MFI Joining Date |
Date when the center was first approved and saved in the system. |
01/02/2002 |
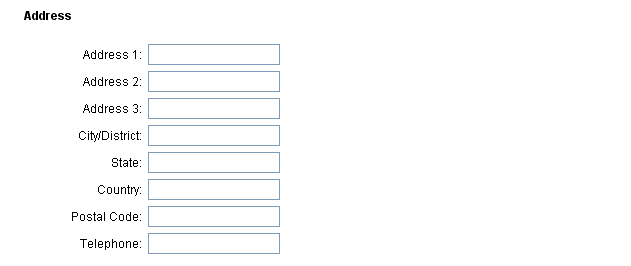
The next section is for the address of the center.
| Field name | Description | Example |
|
Center Address |
||
|
Address lines 1 -3, city, State, country, Postal code and Telephone |
|
#224, Wheeler Road, Bangalore, Karnataka, INDIA, 560090 91 80 23456787 |
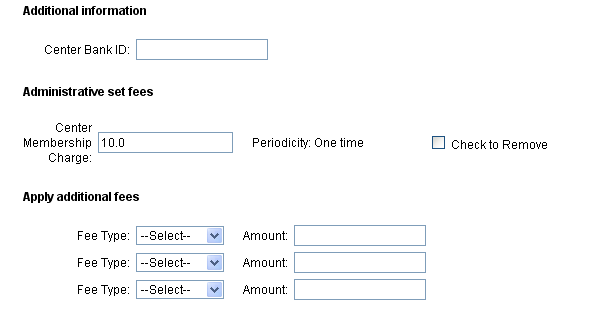
The next sections are for additional information and any fees.
| Field name | Description | Example |
|
Additional information |
||
|
Customized fields |
Fields that are configured by the system administrator to allow the MFI to capture more information. |
|
|
Administrative set fees |
||
|
Application or other fee (if charged) |
Fee charged to be a member, process membership application, etc. These fees are set as default when defined. |
2.50 |
|
Periodicity |
The frequency the fee is applicable in a given period. |
One-time fee |
|
Check to remove |
A user can check this box if they wish to remove the default fee. An unchecked check box means that the fee is applicable. |
|
|
Apply additional fees |
||
|
Fee Type, Amount |
Additional fee type and amounts defined by the MFI. |
|
- When you have made all specifications,
click Preview and review your work. - If you want to make changes, click Edit Center Information, make the changes, and click Preview again.
- When you are satisfied with your changes, click Submit. (If you decide not to create a center at this time, click Cancel.)
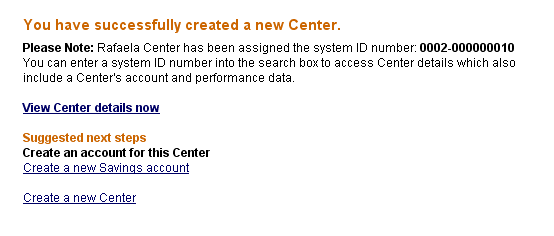
- A screen appears confirming the creation of the center and providing a system ID number. You can use this number to find details on the center (including its performance data) quickly. The screen might look like this:
The center details page might look like this:
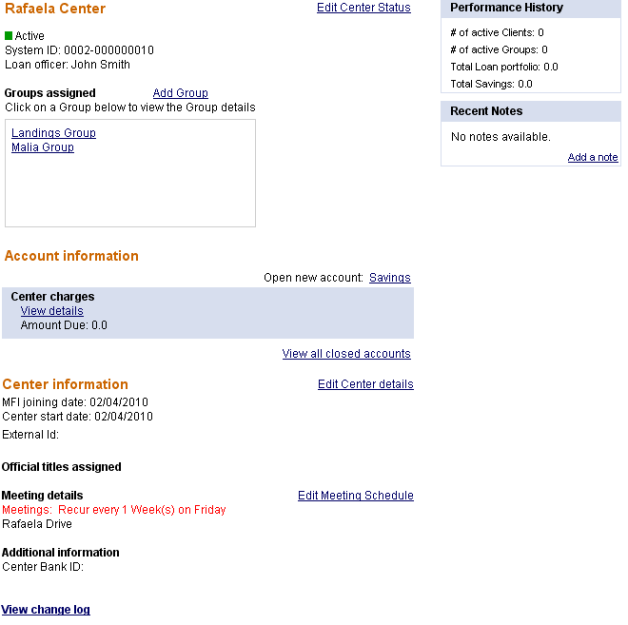
From the center dashboard, you can do the following:
- View and change center status
- Add groups
- Open new savings accounts
- View closed accounts
- Edit center details
- Edit meeting schedule
- View the change log
- View performance history
- View and attach surveys
- View and add notes
Check the appropriate chapters of this manual for information on each of these.